Master Bathroom Renovation (New House!)

I recently shared a little sneak peek of our new home (this one is nicknamed “Cottage in the Woods“) and I shared that we were about to start a good bit of renovations and happy news is that I’m ready at last to start sharing the “after” photos!
The Before
First, let’s take a look at what we started with in the master bathroom. The previous owners had renovated the bathroom within the last 3 years but it was not to our taste and certain parts were not done with high-quality materials and workmanship.
(Our last bathroom renovation taught us the value of an awesome contractor and what a difference that can make in your projects!)
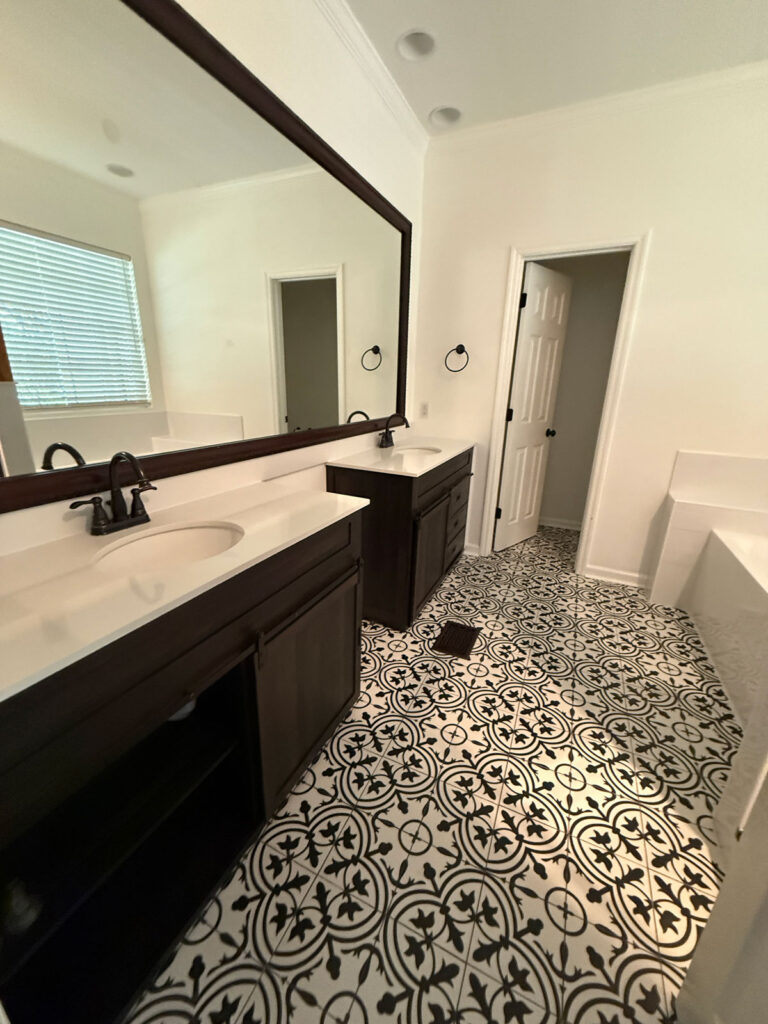
I know some people may love the bold pattern on these floors but it is not our taste at all. It felt busy and distracting and we disliked it enough to deal with the cost of replacing it.
The vanities looked fine at first but once we were actually living in the house I HATED them. They had a barn door style cabinet on one side and drawers on the other side and my vanity cabinet door would not stay shut. It would slowly roooooolllllllllll open and cover my drawers every. single. time.
It drove me nuts.
They were also cheaper materials (pressed wood) and just overall not great. They had to go.
The mirror looked like they had just framed out the previous builder-grade mirror and you could see the mirror glue marks through the glass. Four big splotches right when you looked in the mirror over the vanities. Again, had to go!
(Sorry for the dark phone photos, I didn’t take too many photos before we started ripping stuff out!)
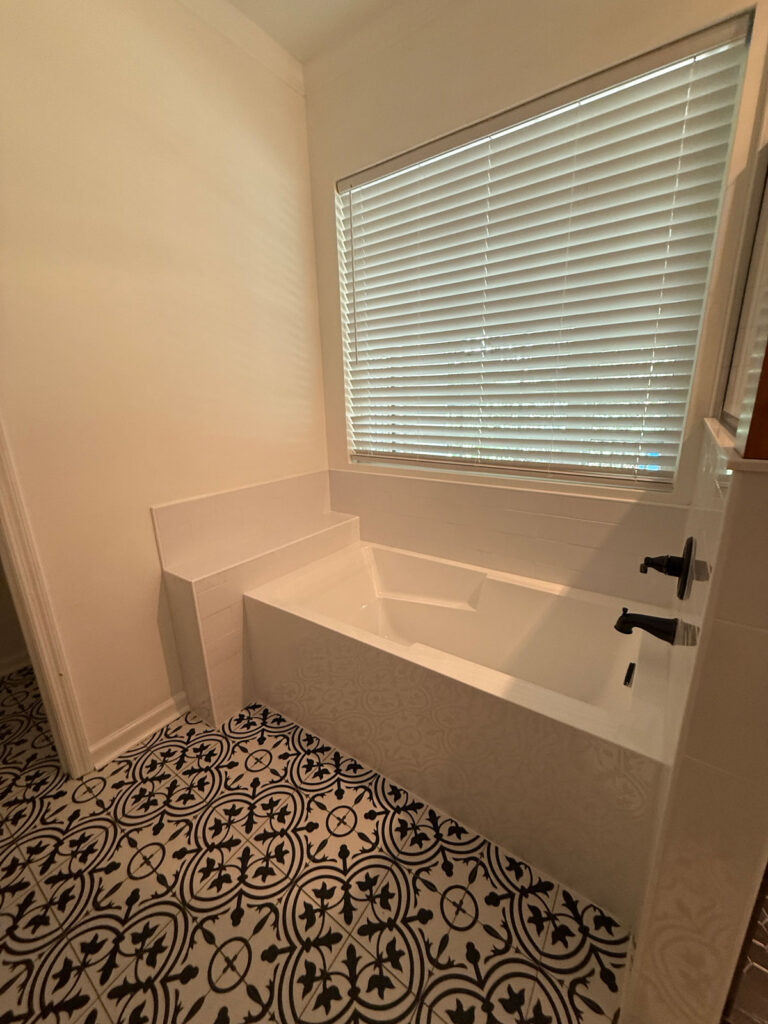
The bathtub I actually like, along with the white subway tile, so we didn’t change anything about this part of the bathroom. The toilet is in the little room past the tub and that was fine, only the tile needed to change in there.
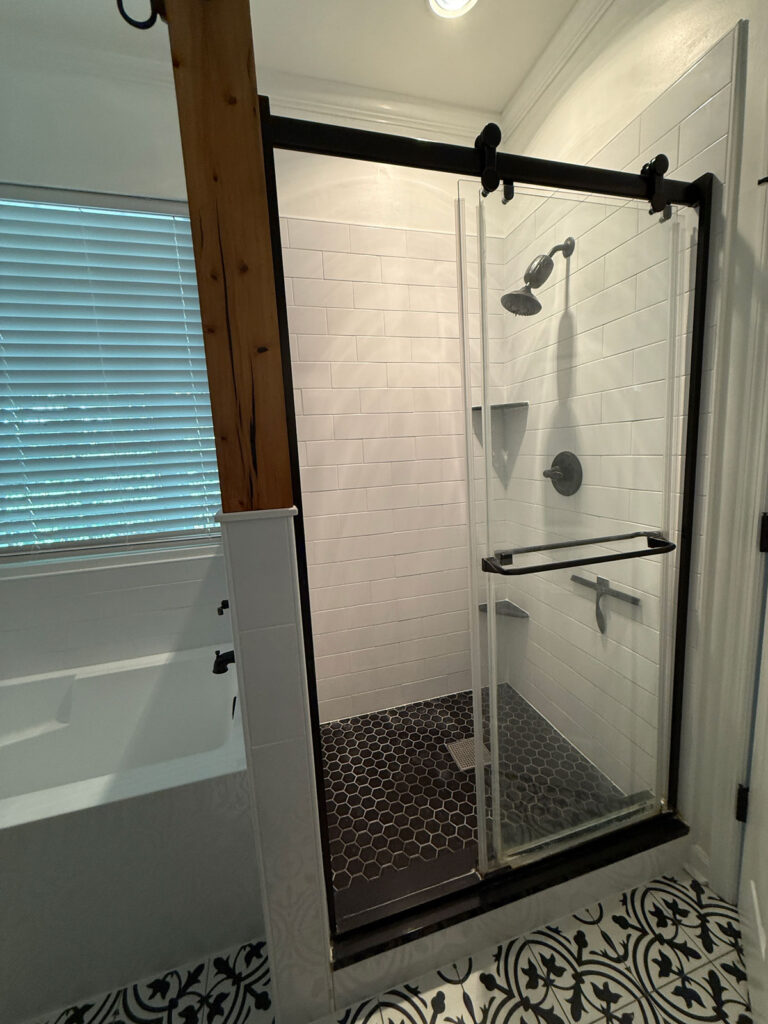
Similarly, the shower footprint was not something were going to pay to change. It’s not a huge bathroom and this layout seemed like the best for the space. We decided to work with the existing tile and fixtures in the shower but the cheap sliding door had to go. We had custom glass doors in our last bathroom reno and knew we wanted that again.
(Oh, and can you see the buildup on that shower floor?? That grout is BLACK and I’m assuming that’s white mineral buildup from hard water? That will be fixed, but that’s a whole other blog post!)
The Plan
Keep: tub, shower, and toilet.
Replace: floor tile, vanities, mirror, and shower glass.
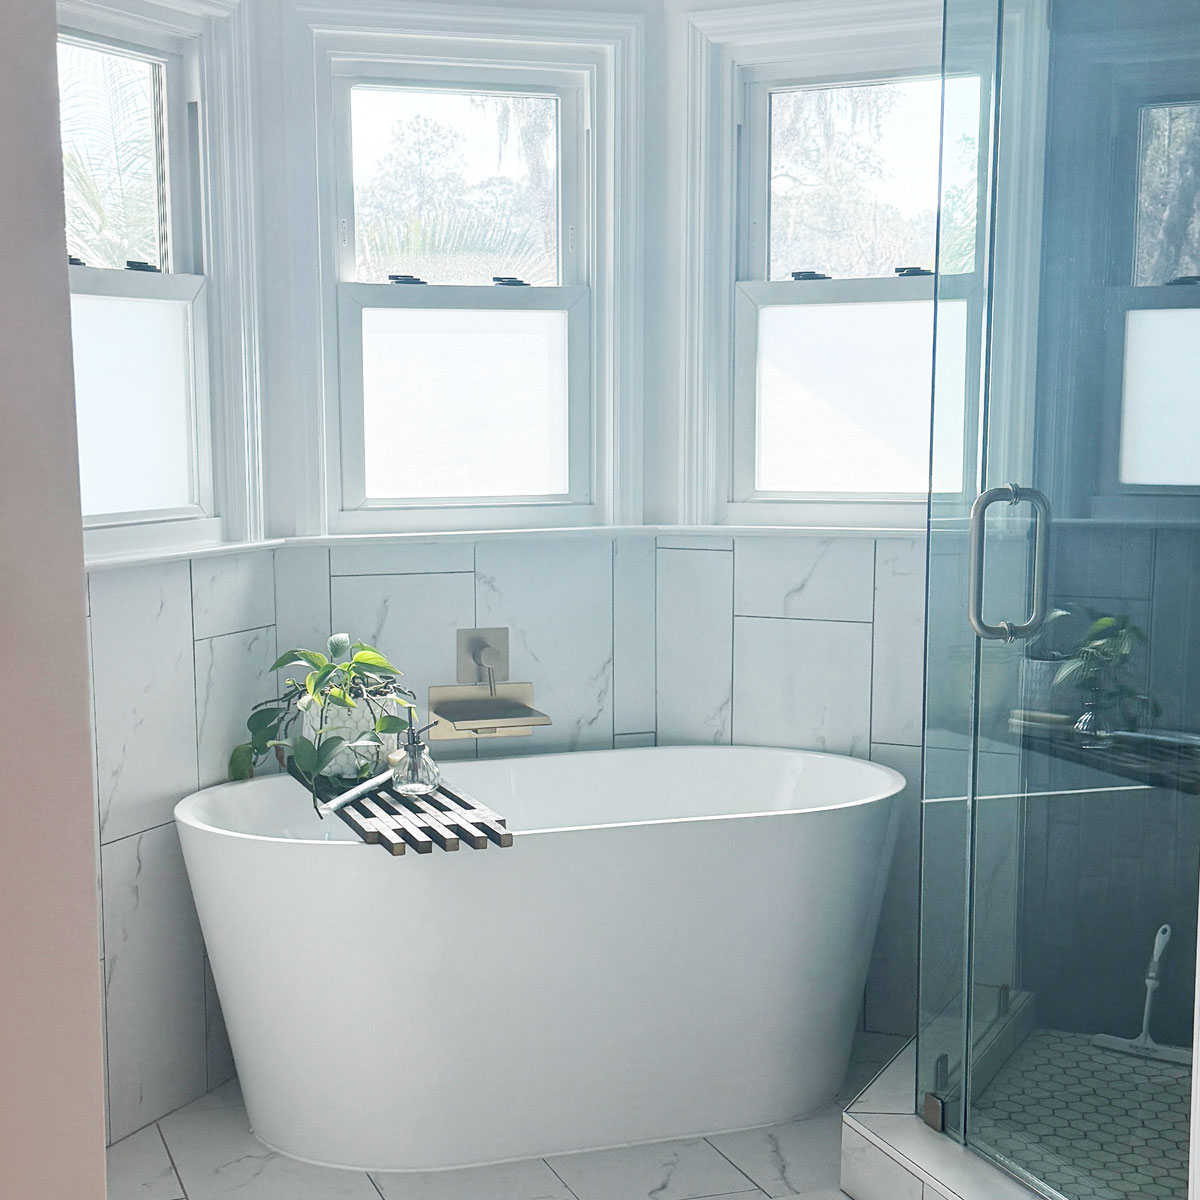
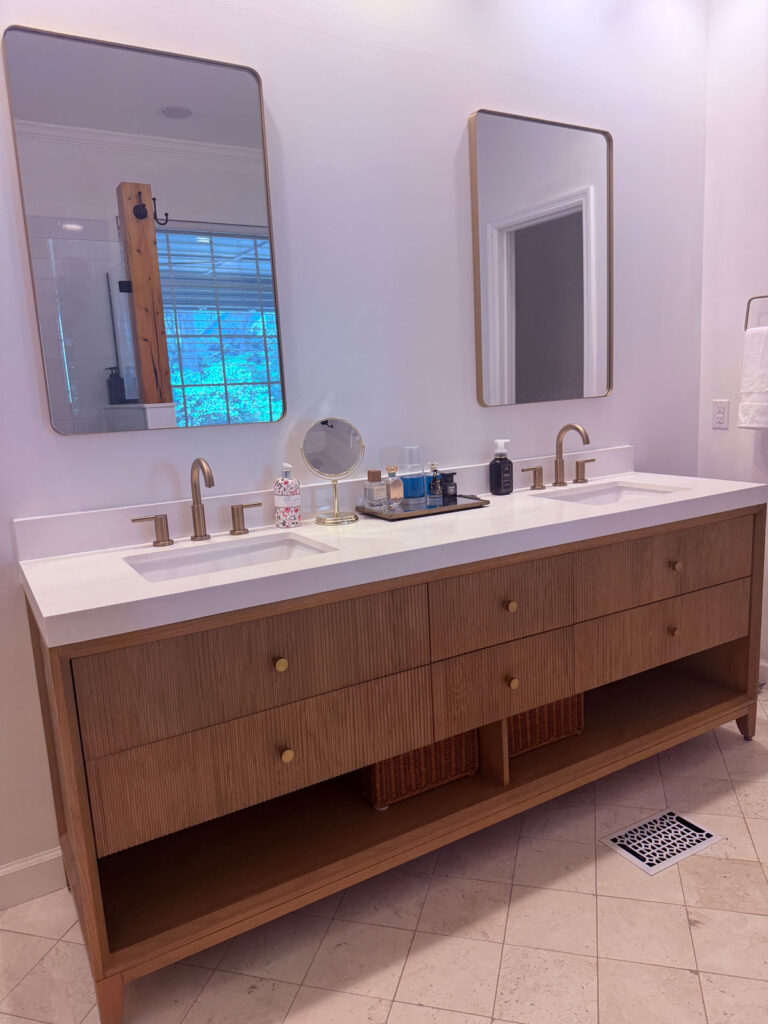
The After
You guys! Do you love it as much as I do??
It was a lot to get from point A to point B but here we go:
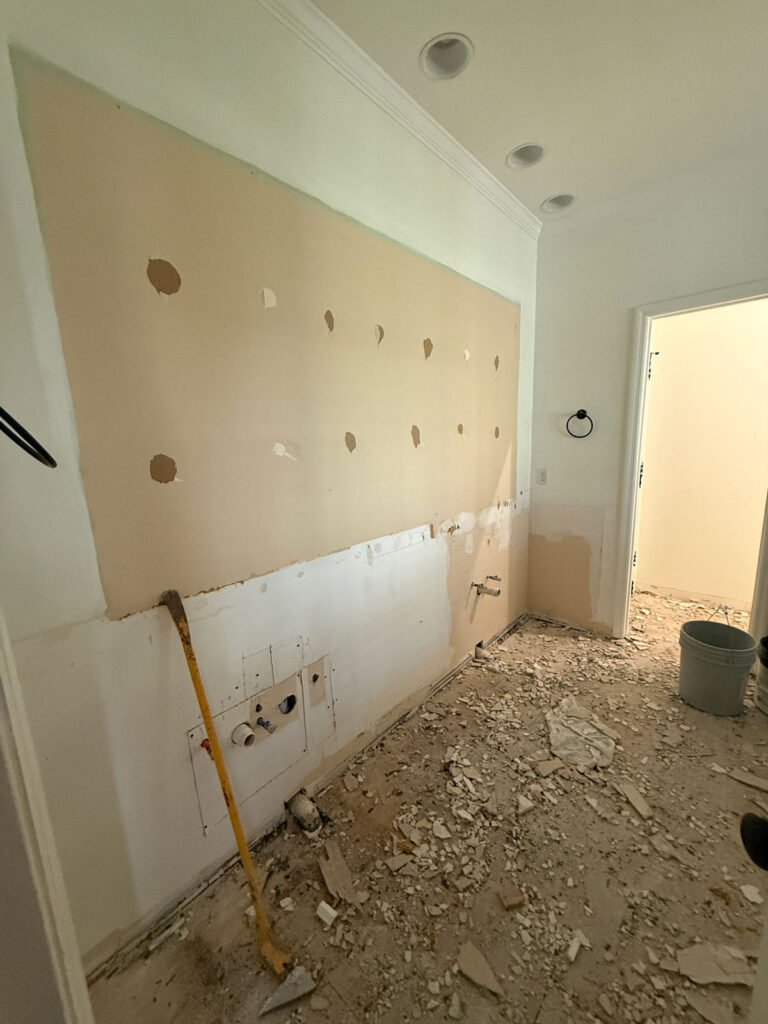
The first thing was, obviously, demolition. I almost asked if I could help them break up those vanities when they took them out because I hated them so much. I was also SO happy to see that tile ripped up. Yay!
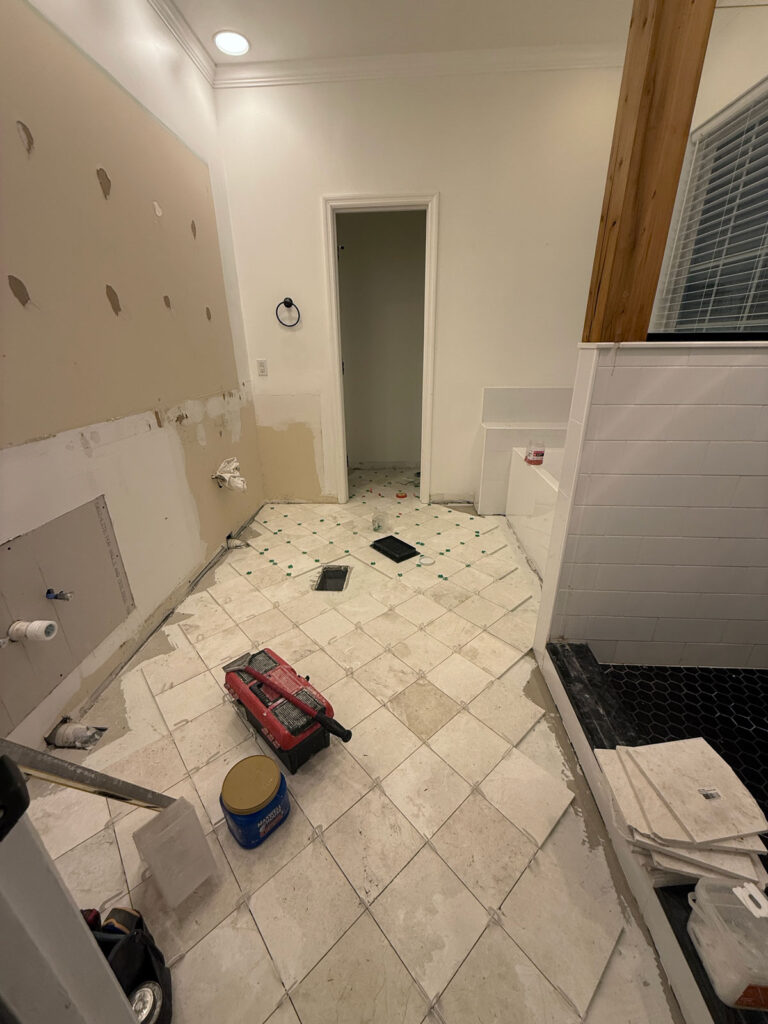
When the tile we chose started being laid down I was so happy. The space felt so much bigger and more serene. We chose a brushed marble tile we found on clearance at Floor & Decor. Like when we did our kitchen backsplash at The Brick Home, finding tile on clearance was a big help for the budget.
We originally found the tile in a rectangle but there wasn’t enough of it at the store. We then switched to the smaller square but chose to put it on a diamond-shaped pattern to add a little more interest and not have the grout lines “chop” up the space.
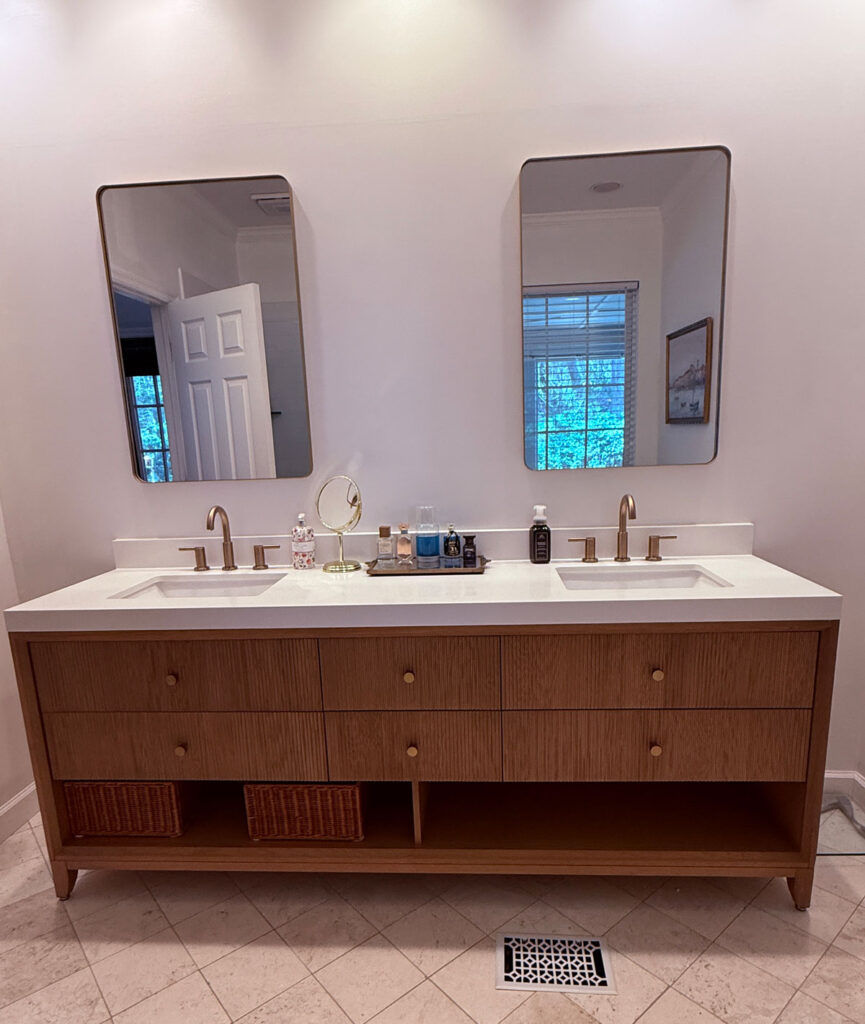
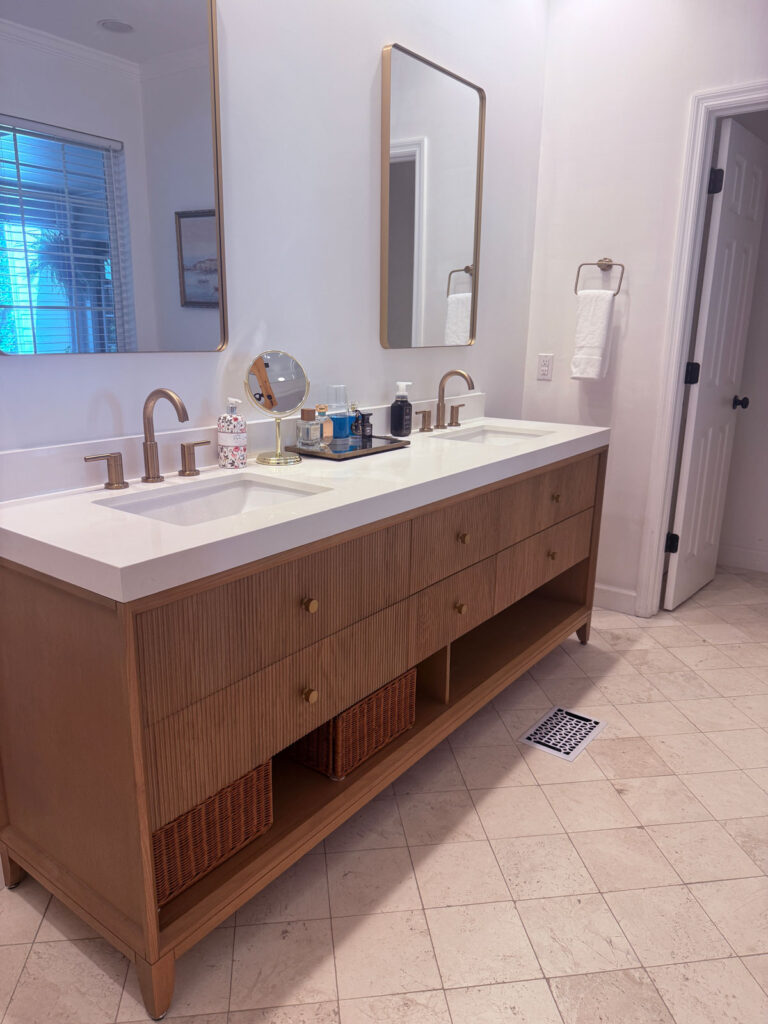
The vanity I chose is probably my favorite purchase for this project. It’s 84 inches to cover almost the entire wall. This was another clearance find, although it is still available as of this writing. I love the lighter wood to keep the tighter space light and the texture on the drawers and the thick white quartz countertop.
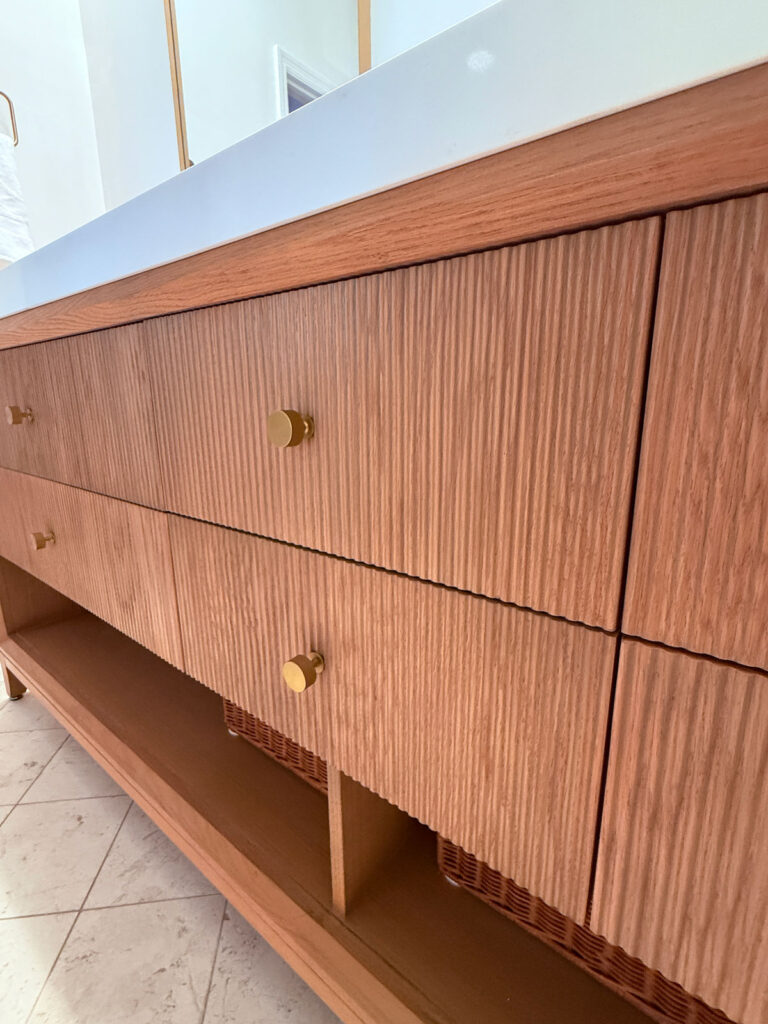
This is such a high-quality piece, it’s solid wood and it shipped in a wood shipping container. It is legit! After the cheap vanities we took out, it was a change I am in love with!
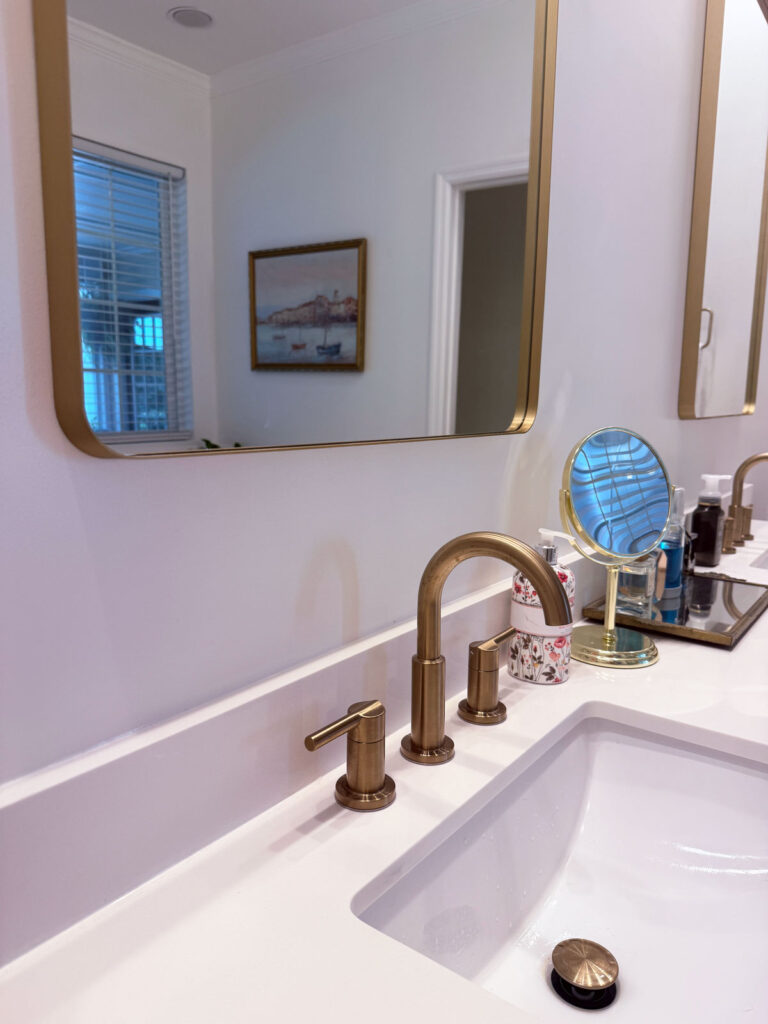
The mirrors are from Amazon, we chose very similar to the mirrors we put in our last master bath. We also changed out the towel holders to gold to match the vanity hardware and added these faucets and drainsets to match as well.
One thing I wanted to share and point out was the quality of the previous work that was apparent when the previous vanities were removed. Our contractors were very surprised to see how shoddy this work was done.
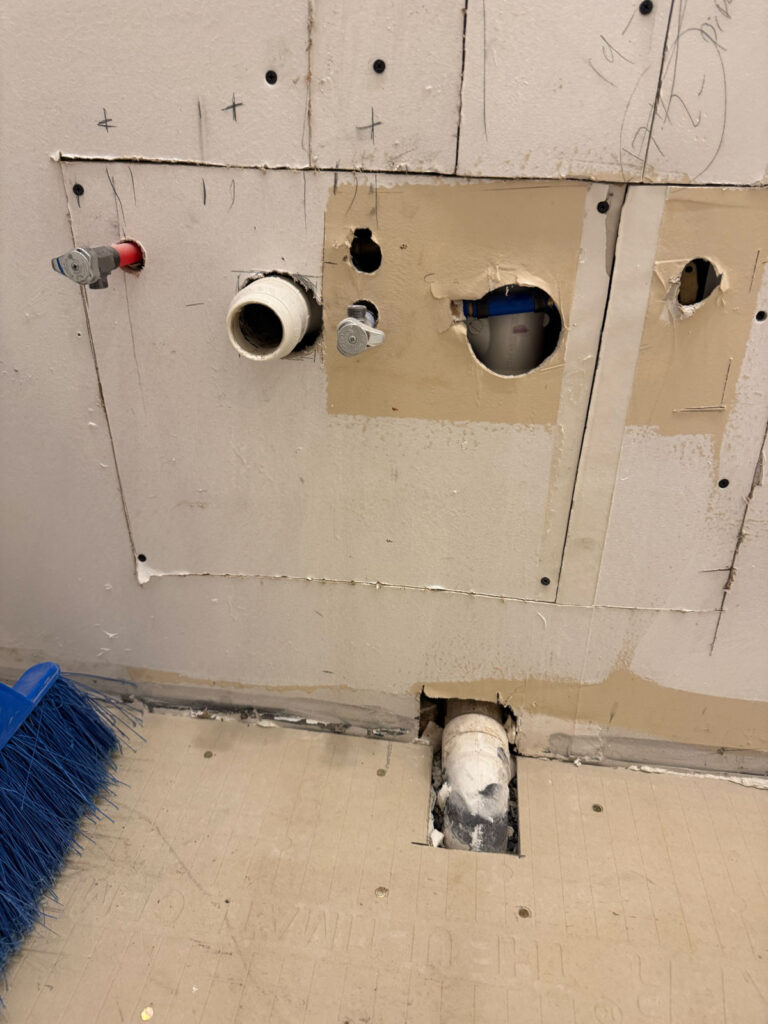
They had moved the water over when they installed the much-hated vanities and it was not done professionally. I don’t know who did the work but it was a big indicator of a lot of things we were going to have to deal with as we worked on the house (yes, those horror stories are to come!)

Finally, the shower door! (I cannot for the life of me get this angle to not photograph with a purple tone, forgive the weird color!)
Like last time, the custom shower door always tests your patience because they can’t measure for it until the area is prepared and then it takes 2-3 weeks for it to be cut and installed, plus a day or so until you can use it. Luckily, we had already completed the upstairs bathroom to use while we waited.
This door is so much better than the big-box store premade door that was previously there. My husband is over 6-foot so he was able to ask for a full 3-foot opening to make it easy to get in and out whereas he had to kindof sideways scootch into the previous door. It’s also much easier to clean since it’s frameless.
Shop the bathroom

Compare before and after!

So what do you think?? I’d love to hear your thoughts if you’ve made it this far. It wasn’t an “on the cheap” renovation but I truly love the way it turned out!