Master Bath Renovation

Get ready to walk through our transformation of our 1990s era bathroom into a sleek, sophisticated and modern owner’s suite!
Y’all, when we bought this house 3 years ago I almost backed out. The master bathroom was SO BAD. It was bad in a way far beyond simple DIY projects like paint and fixtures could update. I already told you about how we fell in love with the marsh house and got a great deal on the purchase but even with all we loved about it I had serious doubts about the master bath.
And since a picture tells a thousand words, I’ll let you see it for yourself. First a few horrible iPhone photos of the master bath when we originally purchased it so that you can see what we started with and the minor “bandaid” type fixes we have done of the last 3 years.


First up: carpet in the sink area. I mean, why?? I was a teen in the 90s but I don’t remember this being a big feature of nice bathrooms…why in the world would you do this?
Like I mentioned in the marsh house tour, the whole house was painted very colorfully as you can see with the bright peach and baby blue walls above. The carpet in the home’s upstairs might have been original to the home. It was threadbare and stained.
We had the walls painted and the bedroom carpets replaced immediately after the purchase and just went ahead and kept the vanity area carpeted, knowing the whole bathroom needed to be addressed at a later date. I completely stained the new carpet within a few months with all of my random lotions/potions/tanners/makeup/etc.

After you get past the carpet you get to see the tiny bathroom completely dominated by a massive, elevated built in tub. This thing is gargantuan. It forces the shower to be shoved into a corner.

The cultured marble in the shower was pretty fancy for 1990 I think. As was the built in shower system. Functionally I didn’t have a huge problem with the shower. I thought the marble and textured glass didn’t look good but the shower worked. That is, until it didn’t.

First the wall sprayers stopped working, then the temperature control knob broke and the shower was stuck at the highest possible temperature. Scalding.
Our plumber had two problems with trying to fix it…one, there is no access panel. To repair the shower we would have to tear out the wall behind the shower in the back of our closet. Second, the shower is an obscure German brand that no longer produces that model (gee, 30 years later, imagine that!) and he didn’t know if he’d be able to find a part to fix it.
Knowing all this and that a remodel was inevitable we didn’t repair the shower, we ended up lowering the entire house water temperature at the water heater so we could use it and that’s were we’ve been. For 9 months. With a blazing hot shower as the only option for us and our boys getting a tepid shower at best.
Back to the bathroom.

The tile floor you see here is painted. It was Pepto Bismol pink when we moved in and I hated it so bad that my husband used tile paint to cover it up as a short term fix. You can see it has not held up well to the wear and tear of the floor.
Bathroom renovation plan
So what is the plan?
I was not up for moving walls even though our master suite is huge and the bathroom and shower are cramped. The problem is that we have a working fireplace in the bedroom and making the bathroom any larger would require moving or closing it off.
After all the work we’ve done on the house I just wasn’t up to it. We decided on improving the space as a whole within the existing footprint would be the best choice.
- Remove existing carpet and tile, replace with a large porcelain marble-look tile (see below).
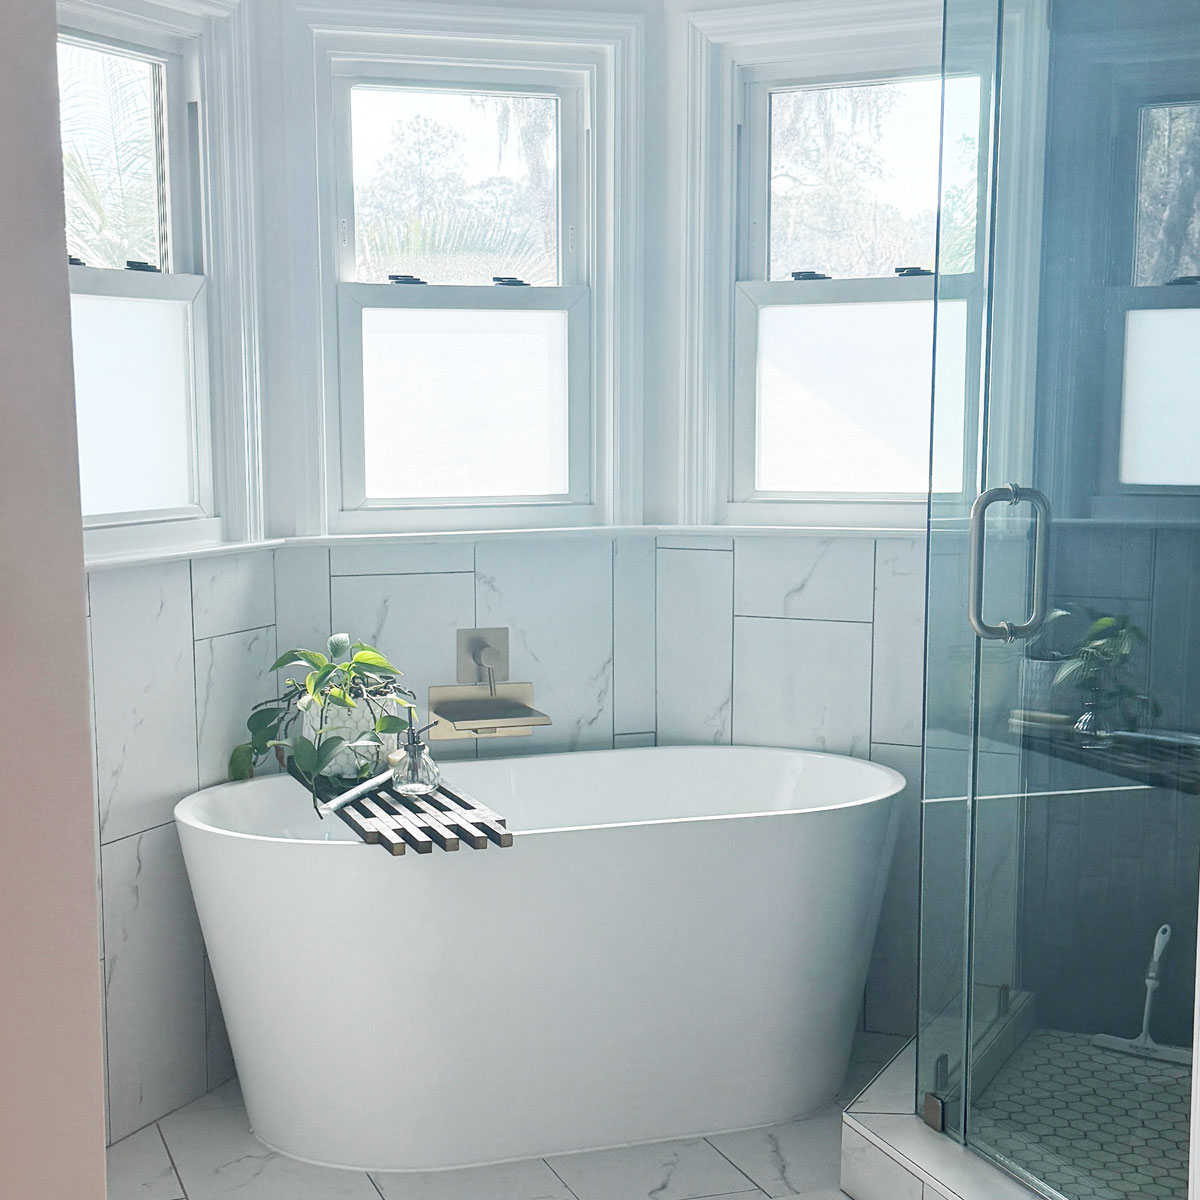
- Remove the tub and platform it sits on. Replace with a standalone tub. We will push the standalone tub flush to the back wall to maximize space for the shower.
- Remove the existing shower and make a new one with vertically stacked beautiful hunter green tile and brushed gold shower fixtures. Install clear glass walls and door to allow all the beautiful light to shine through and make the space look bigger.
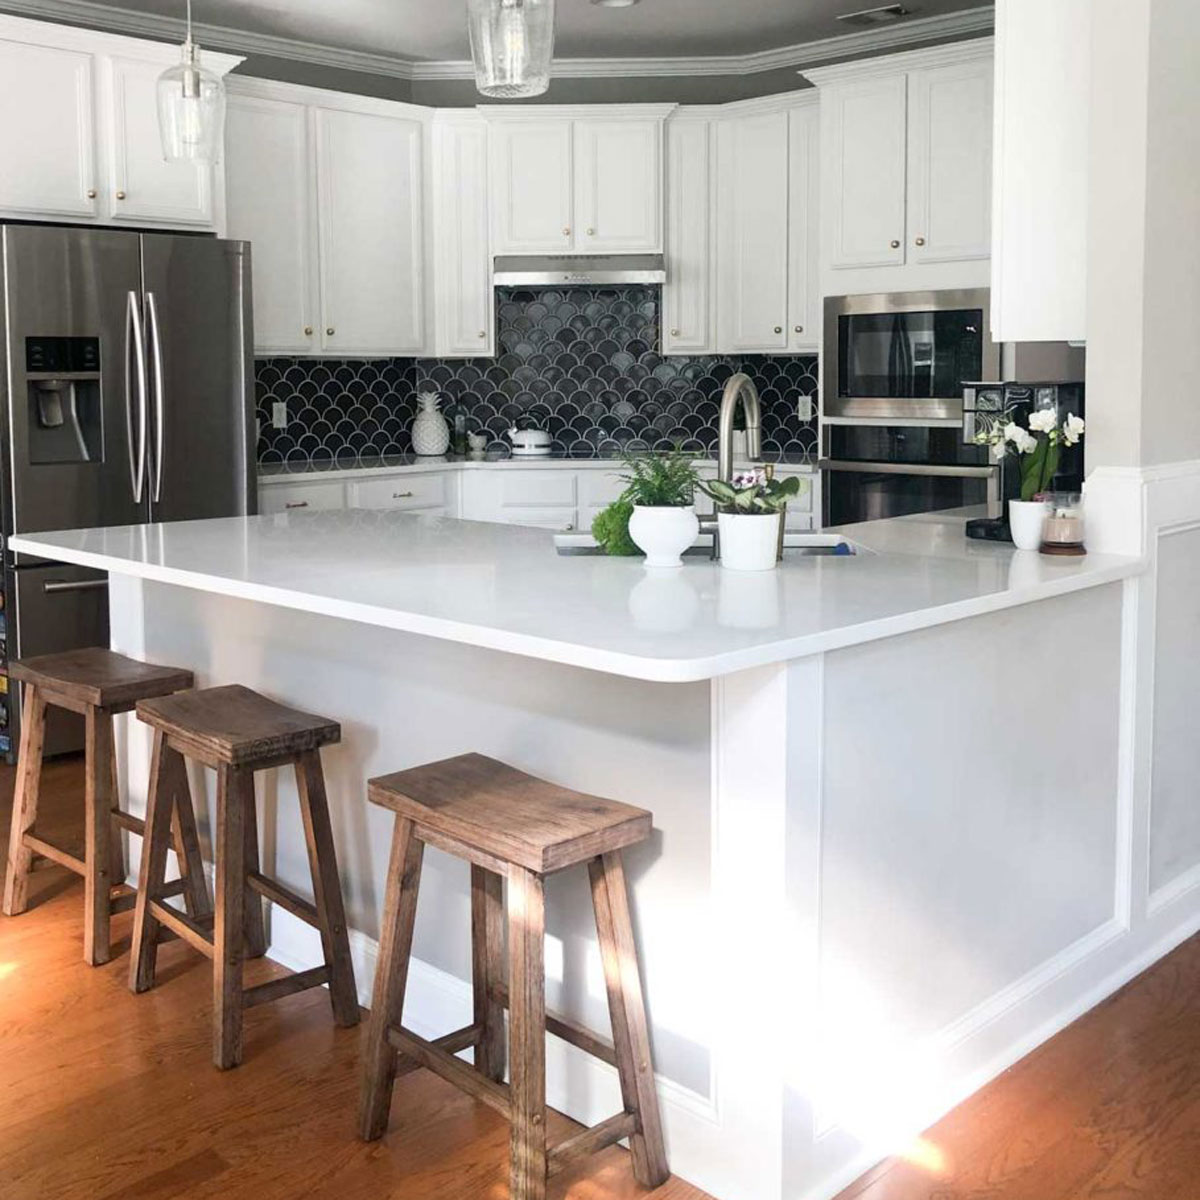
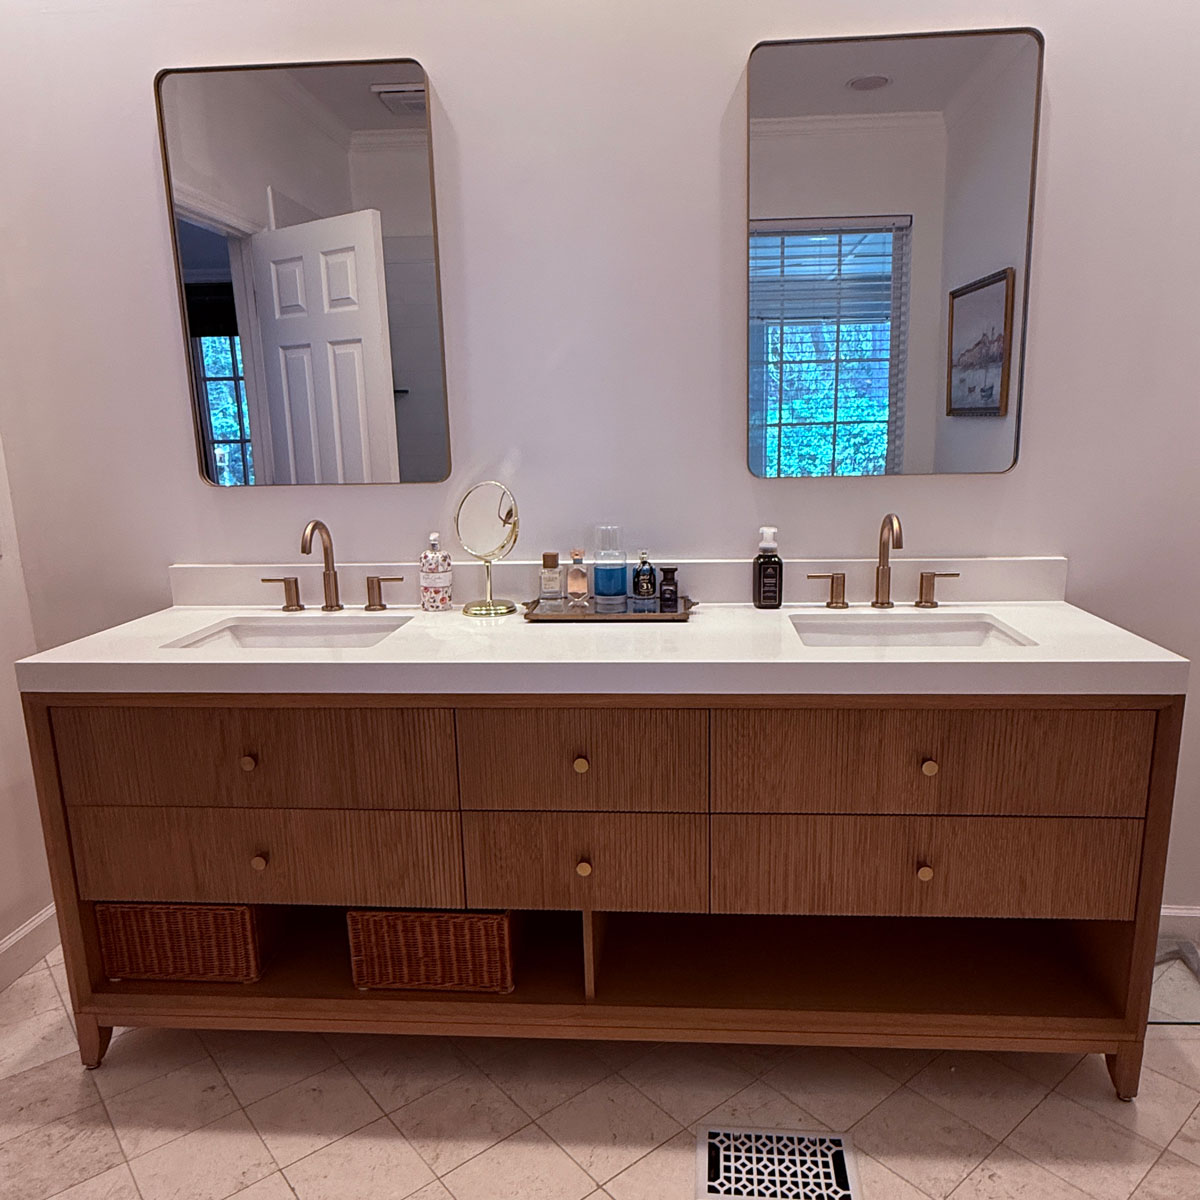
- Replace the existing countertops with new white quartz counters. We are using the same white quartz as the kitchen renovation in our last house.
Here are our tile picks for the master bath:

It’s hard to see but the rectangle tile is a gorgeous deep dark green. I wanted it to play off the view from the windows with the marsh and the palm trees. The hex tile is a white marble and we will be using the marble-look porcelain tile on the floors and up the wall around the tub.
Stay tuned, because like crazy people we are renovating our boy’s bathroom at the same time so all five of us will be sharing a half bath downstairs and one shower located in the apartment over our garage. Oh, and we are doing this renovation over the Christmas break/holiday!
I will share the plan for the boy’s bathroom soon.
Fun times!