Upstairs Bathroom Renovation

After weeks and weeks of renovation we are finally wrapping things up and I’m so excited to show you our boy’s bathroom renovation now complete!
The Befores
First, let’s revisit the before pictures of this bathroom original to the 1997 build of our home.
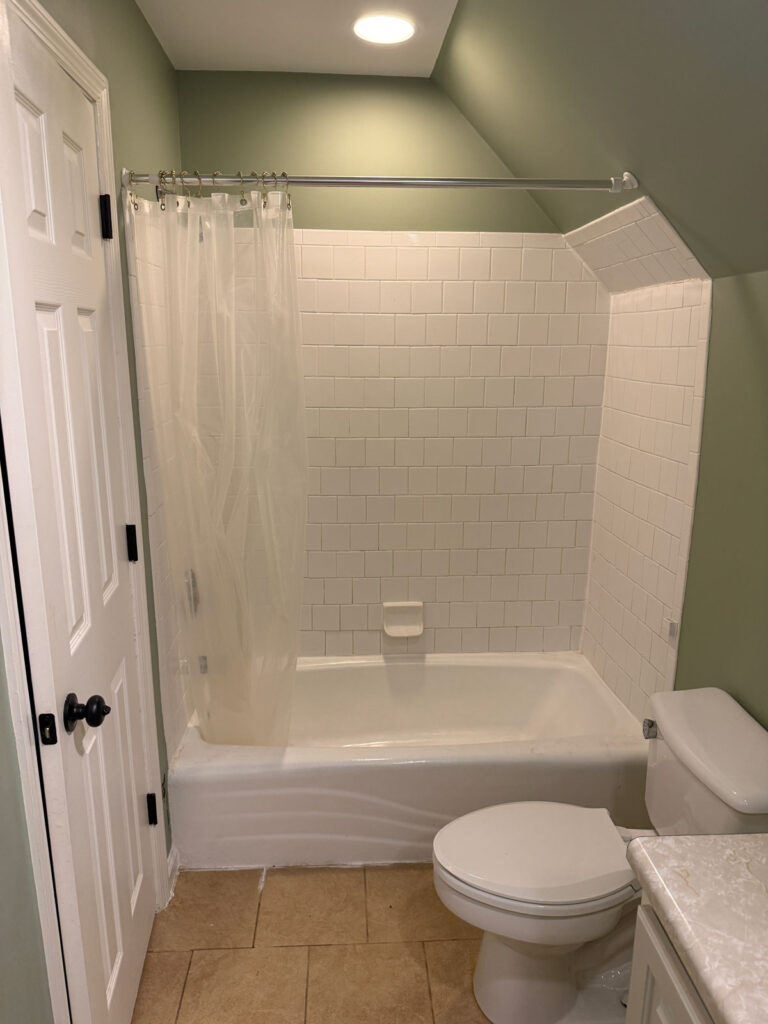
This is a narrow and tight bathroom with a built in tub/shower combo and double vanity. The back wall is sloped and we didn’t have the option to change the footprint so we had to work with what we had.
(Notice the “extra” caulk at the bottom left of the tub. We knew this was going to be a problem area.)
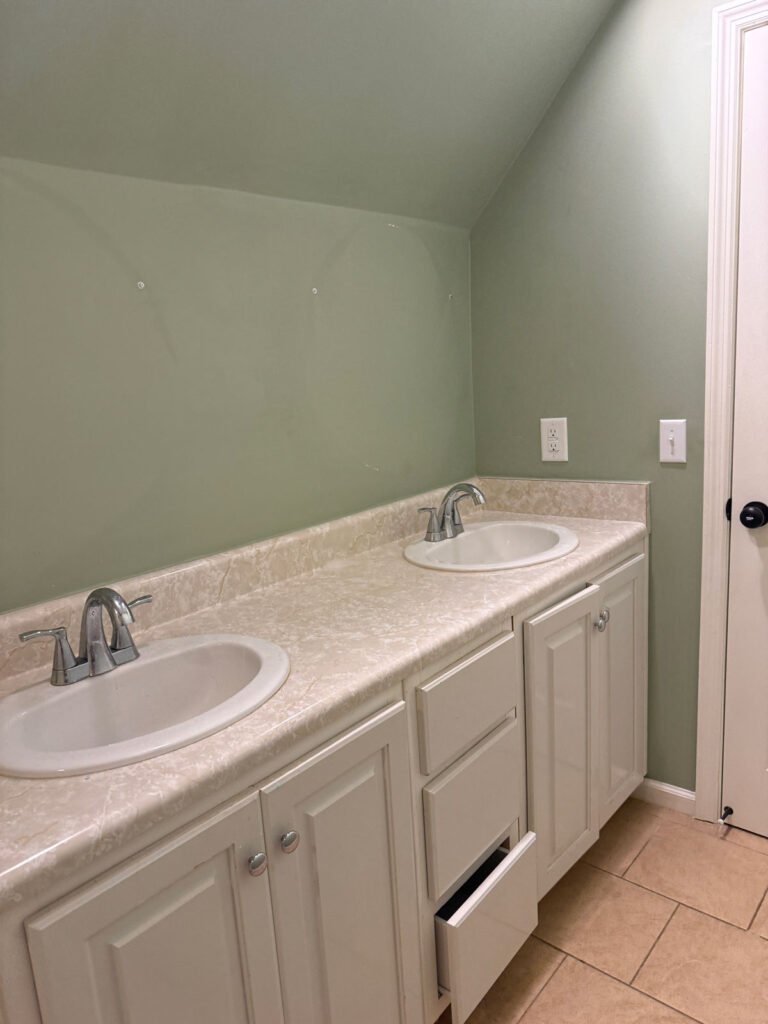
The old vanity had a decent amount of storage but formica counters and while the faucets had been updated at some point, the sinks were origital.
Because of the footprint we kept the same layout but updated EVERYTHING. Complete to-the-studs renovation.
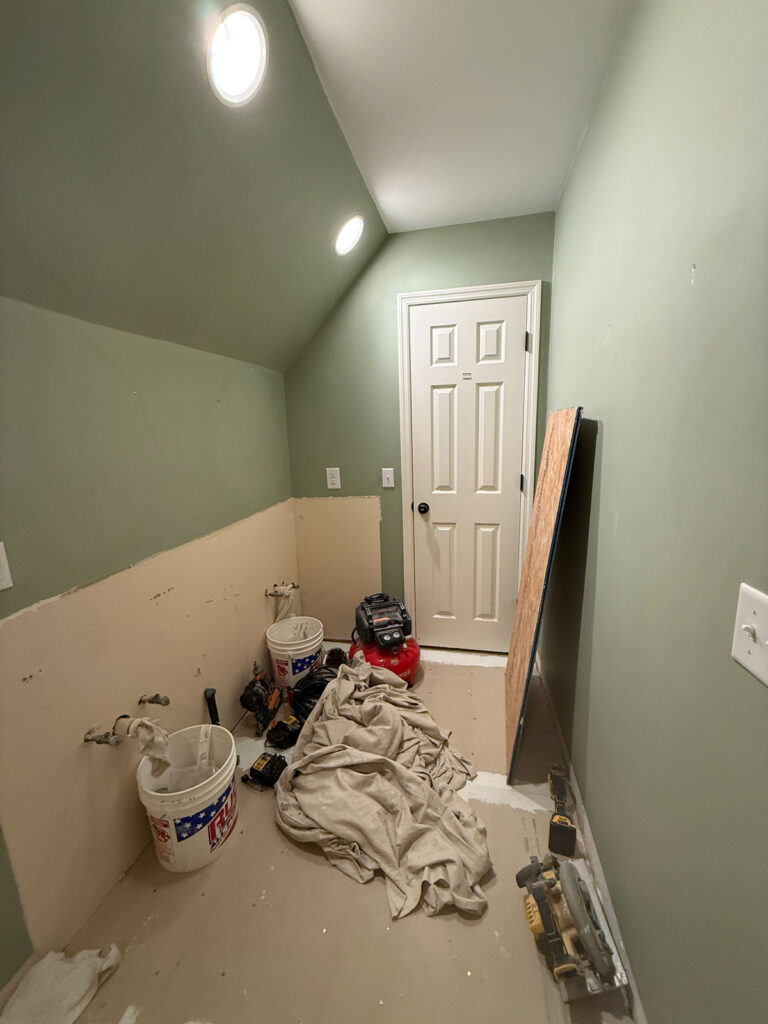
The process
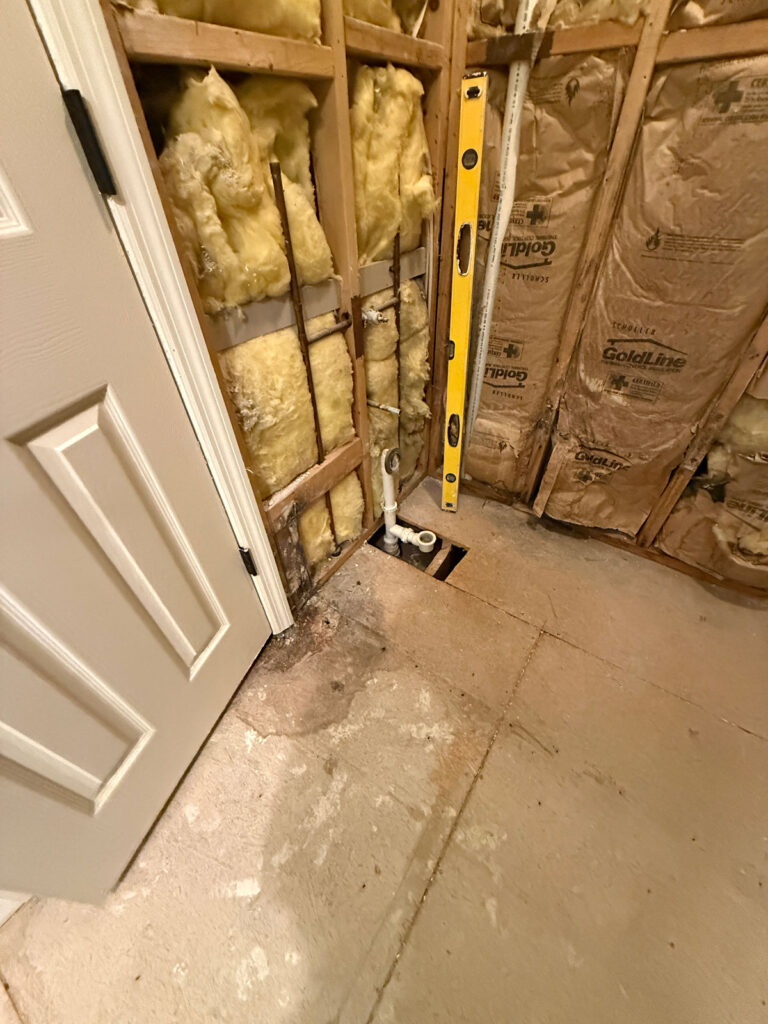
Obviously the first part of the process was for everything to be ripped out. You can see below the water damage under that heavily caulked area of the bathtub. We were grateful we chose to do the renovation quickly after move in because the original tile was laid directly on the subfloor without cement backer board and that is a no-go!
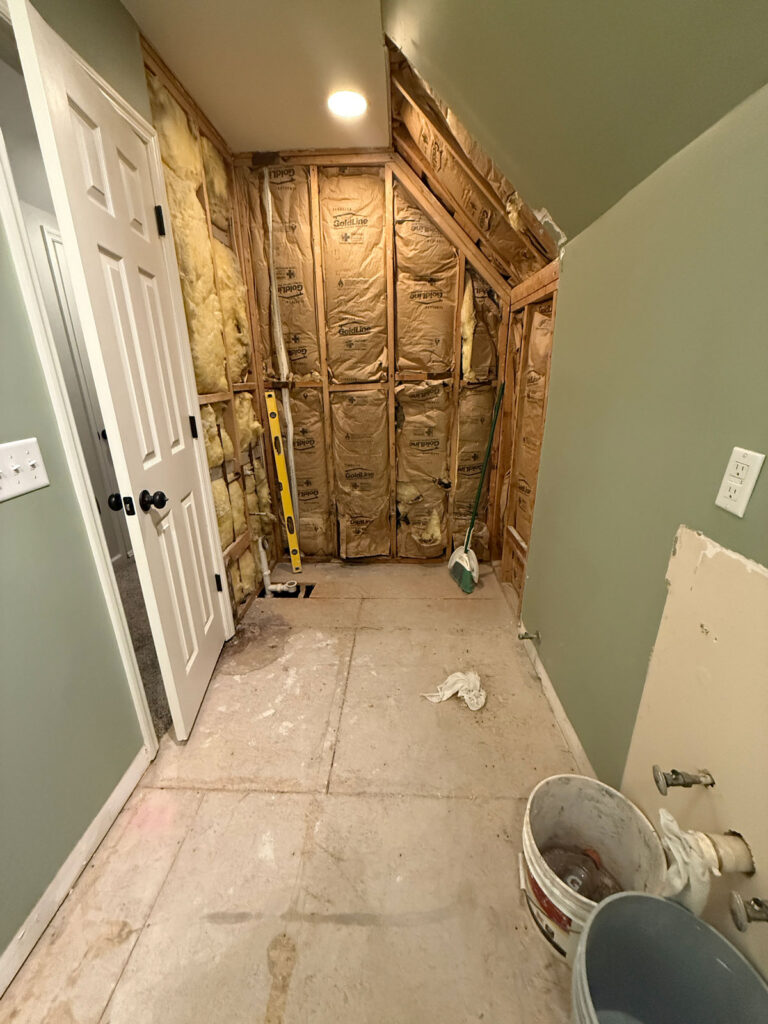
The previous owners did not use the upstairs bathroom except for when they had guests staying with them and with our having our two sons (plus a third on college breaks) using it, that damage would have probably gotten much worse very quickly.
The new bathtub was put in and we had the showerhead fixture raised higher, it’s my husband’s pet peeve to have low showerheads, he is over 6-foot tall and hates having to bend down to rinse his hair. After that, the new cement board was installed for the tile. We chose to tile all the way to the ceiling to make the space look bigger and protect it from water damage.
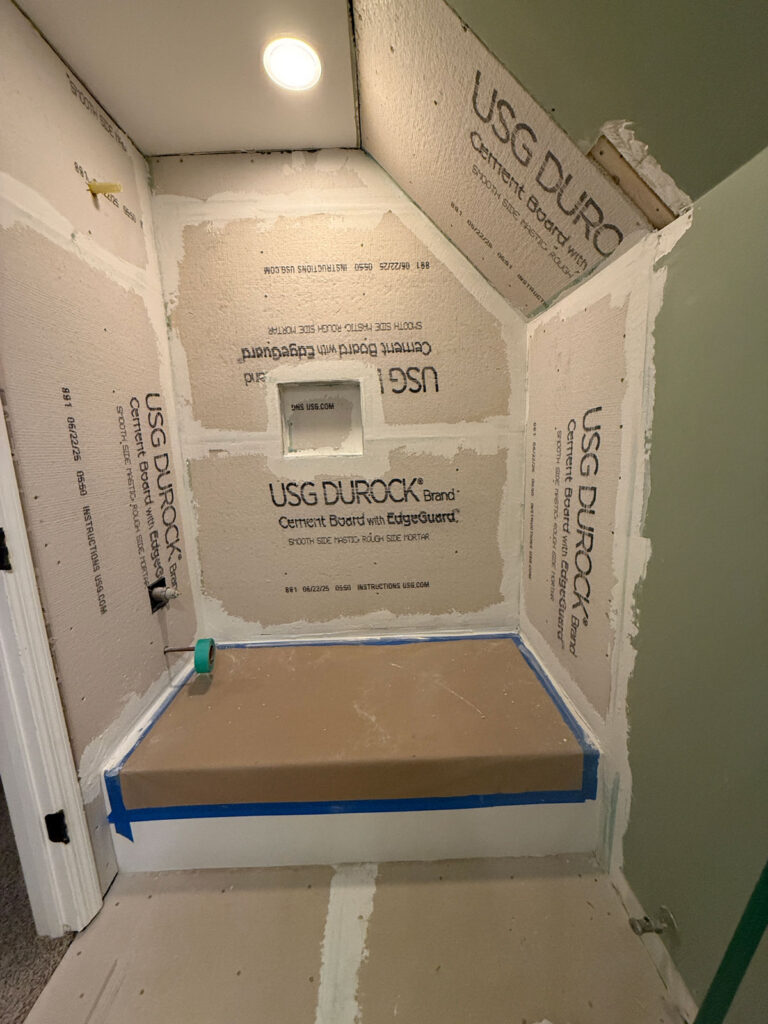
We chose a white glossy elongated subway tile from Floor and Decor and chose to run it vertically (like in the last bathroom renovation) to make the space feel taller. We also had a built-in recess installed for shelving.
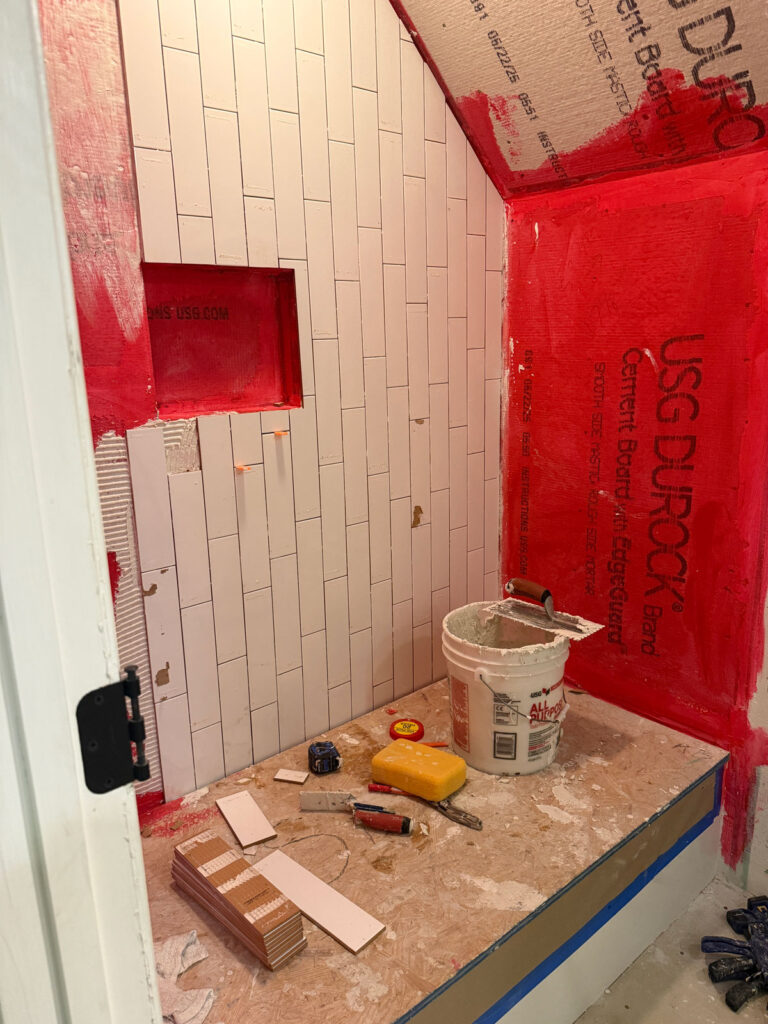
I was very happy with the way the shower tile turned out.
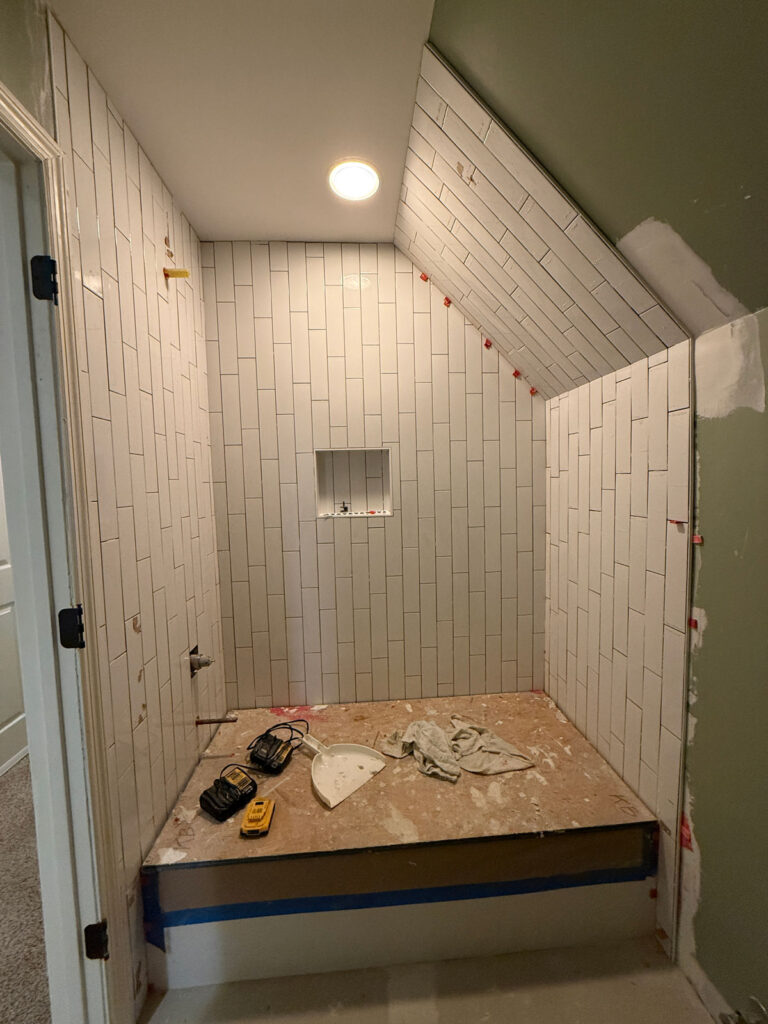
We also chose a very light grout (see below once grouted), I didn’t want those grout lines being a distraction. It definitely brightened the space up!
Next up was the floor tile. We kept it simple and affordable by choosing the same tile we used in both the boy’s bathroom reno and the master renovation at the last house. The larger tile in this tight space meant we didn’t have to buy much of it and it minimized the grout lines on the floor.
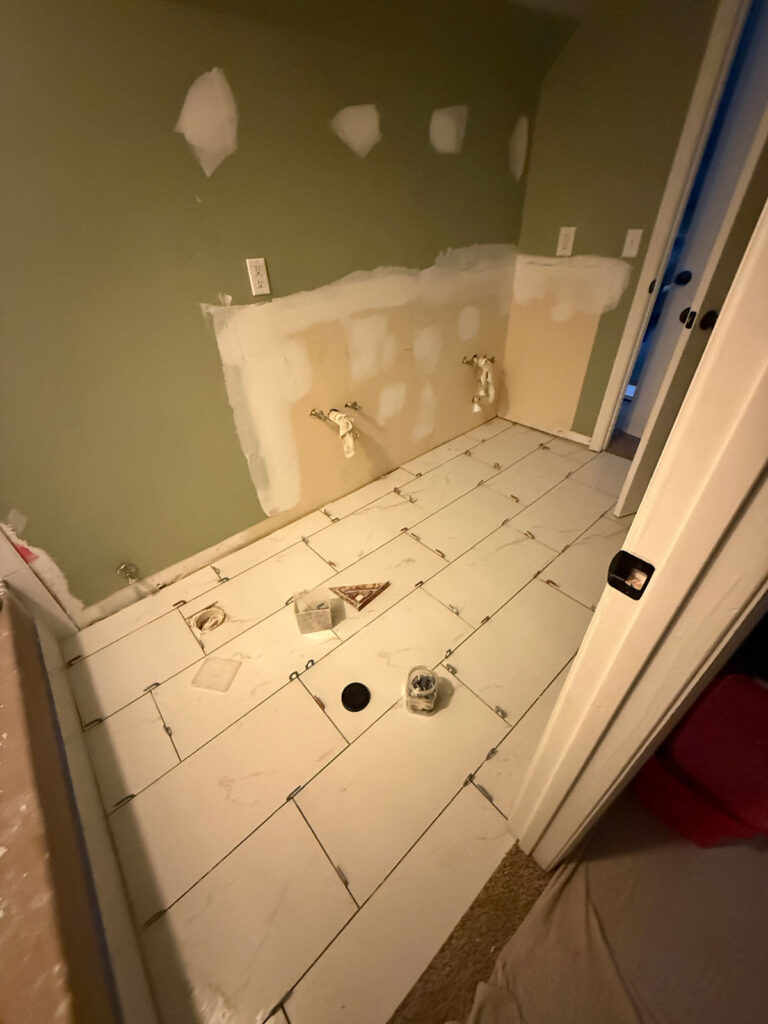
Once the floor tile was in we painted the bathroom ourselves with my favorite white paint and from there it was simply bringing in the new vanity, installing fixtures, and having the custom shower glass installed.
After
Ready??
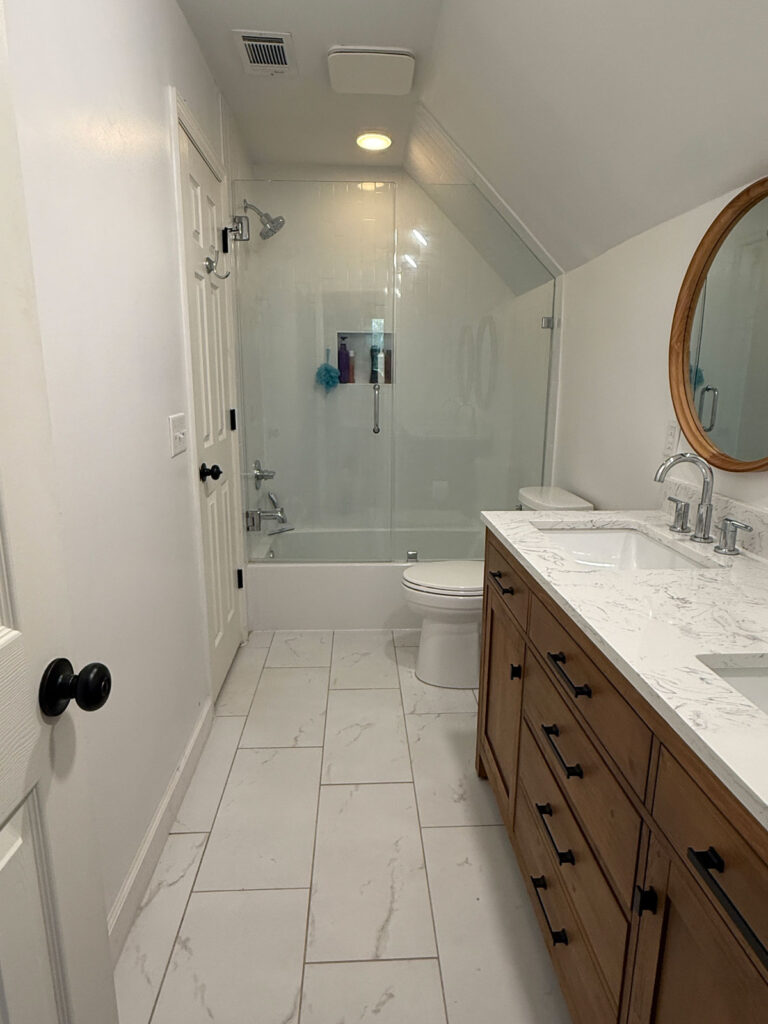
Isn’t it great??
I’m so pleased with the way it turned out for dealing with such a narrow space.
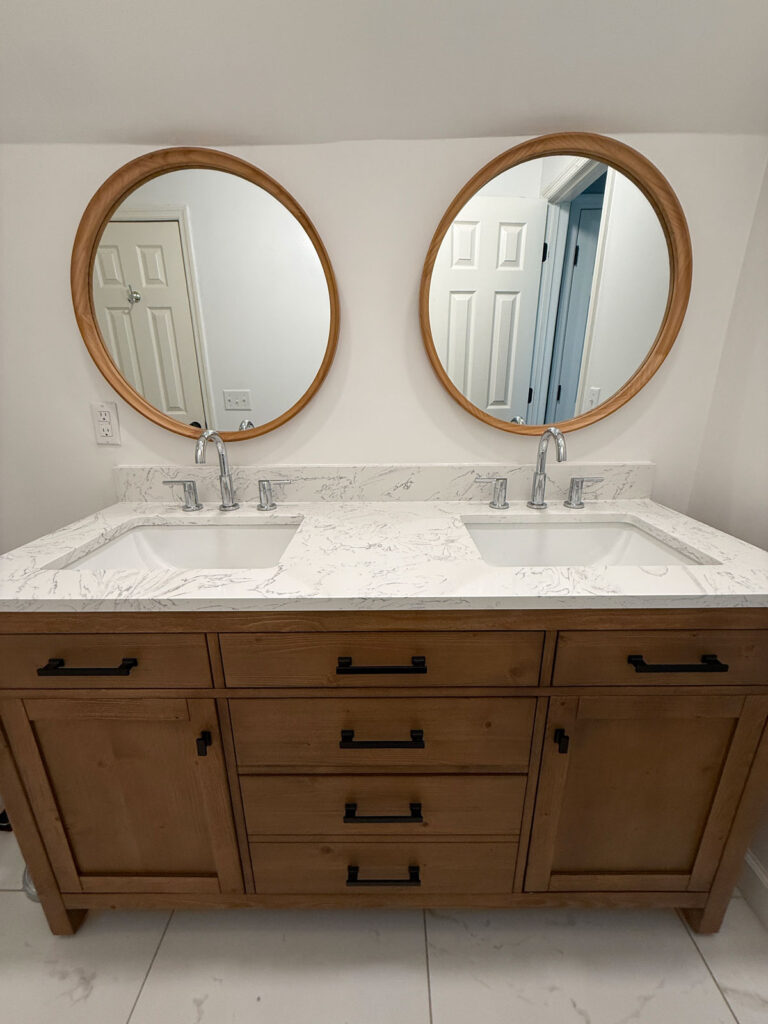
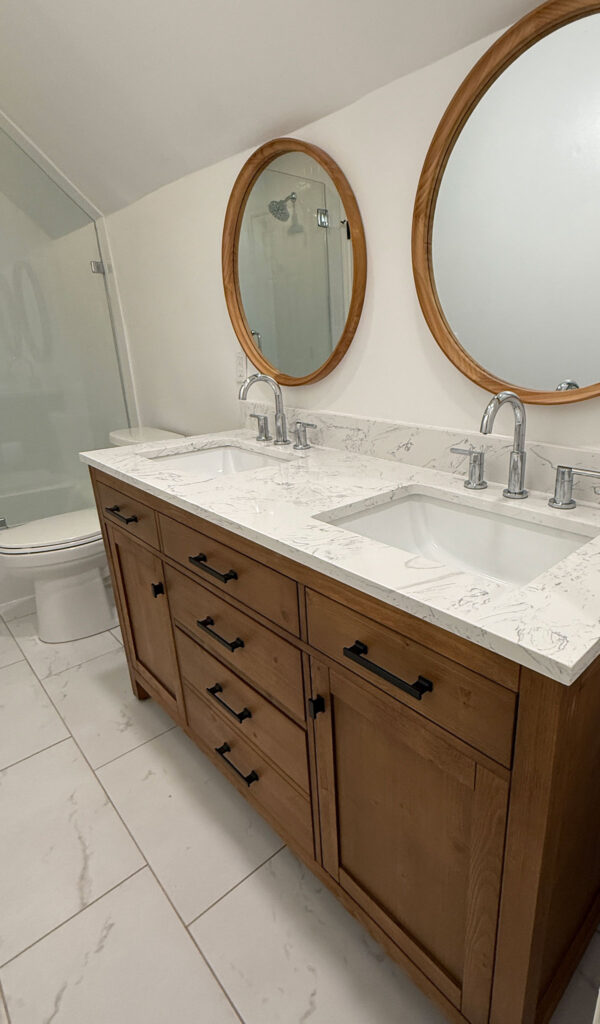
We actually kept the mirrors from the previous owner, they looked good with the new vanity. I am very impressed with the quality of this vanity, it is the same store we purchased from for the master bath renovation and both are solid wood and very sturdy with a ton of functional storage.
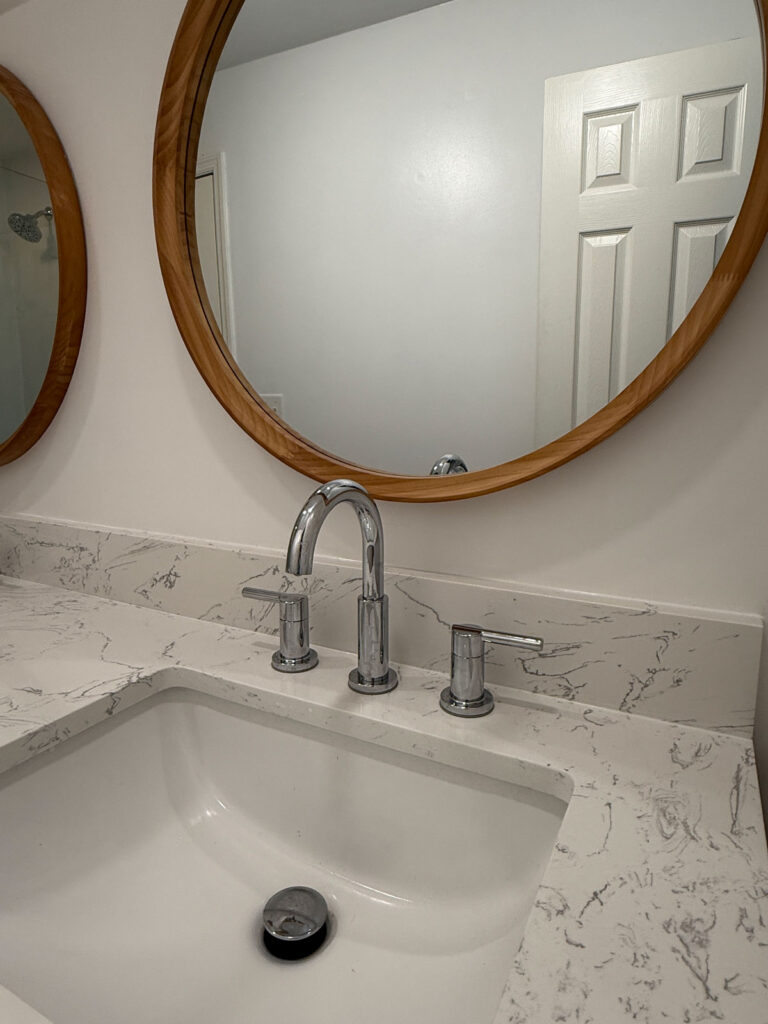
We chose to use chrome in this bathroom for all the fixtures. After replacing such a dated room, we wanted something timeless and classic, not trendy.
The faucets are the same as the master bath but in chrome instead of gold.
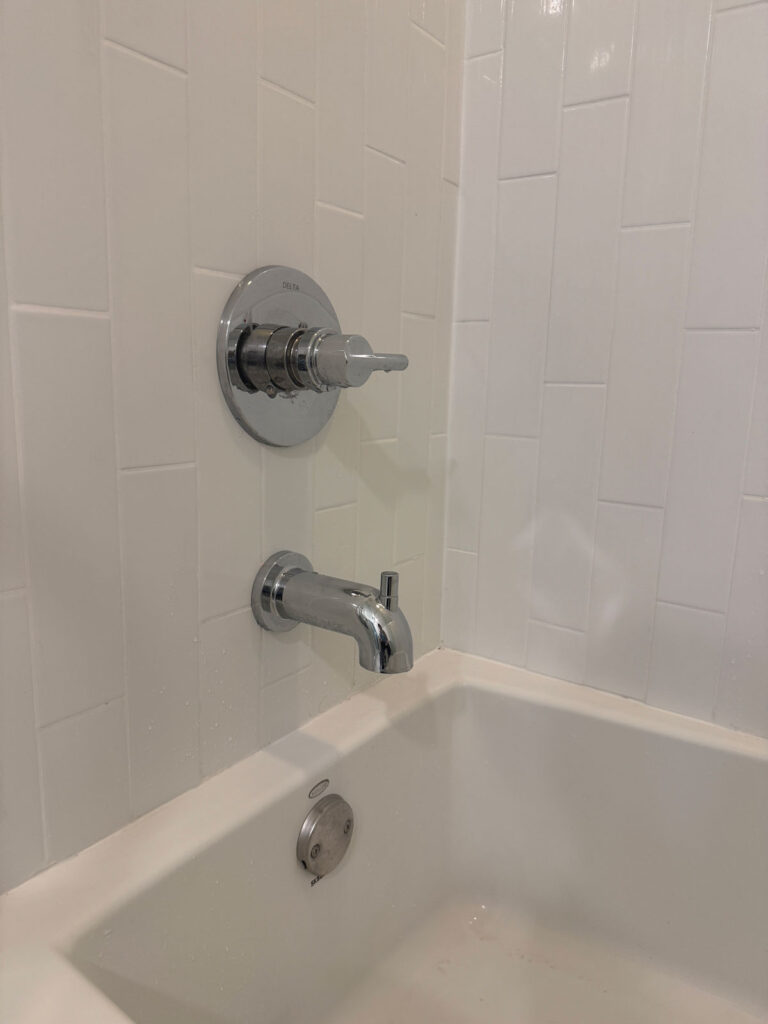
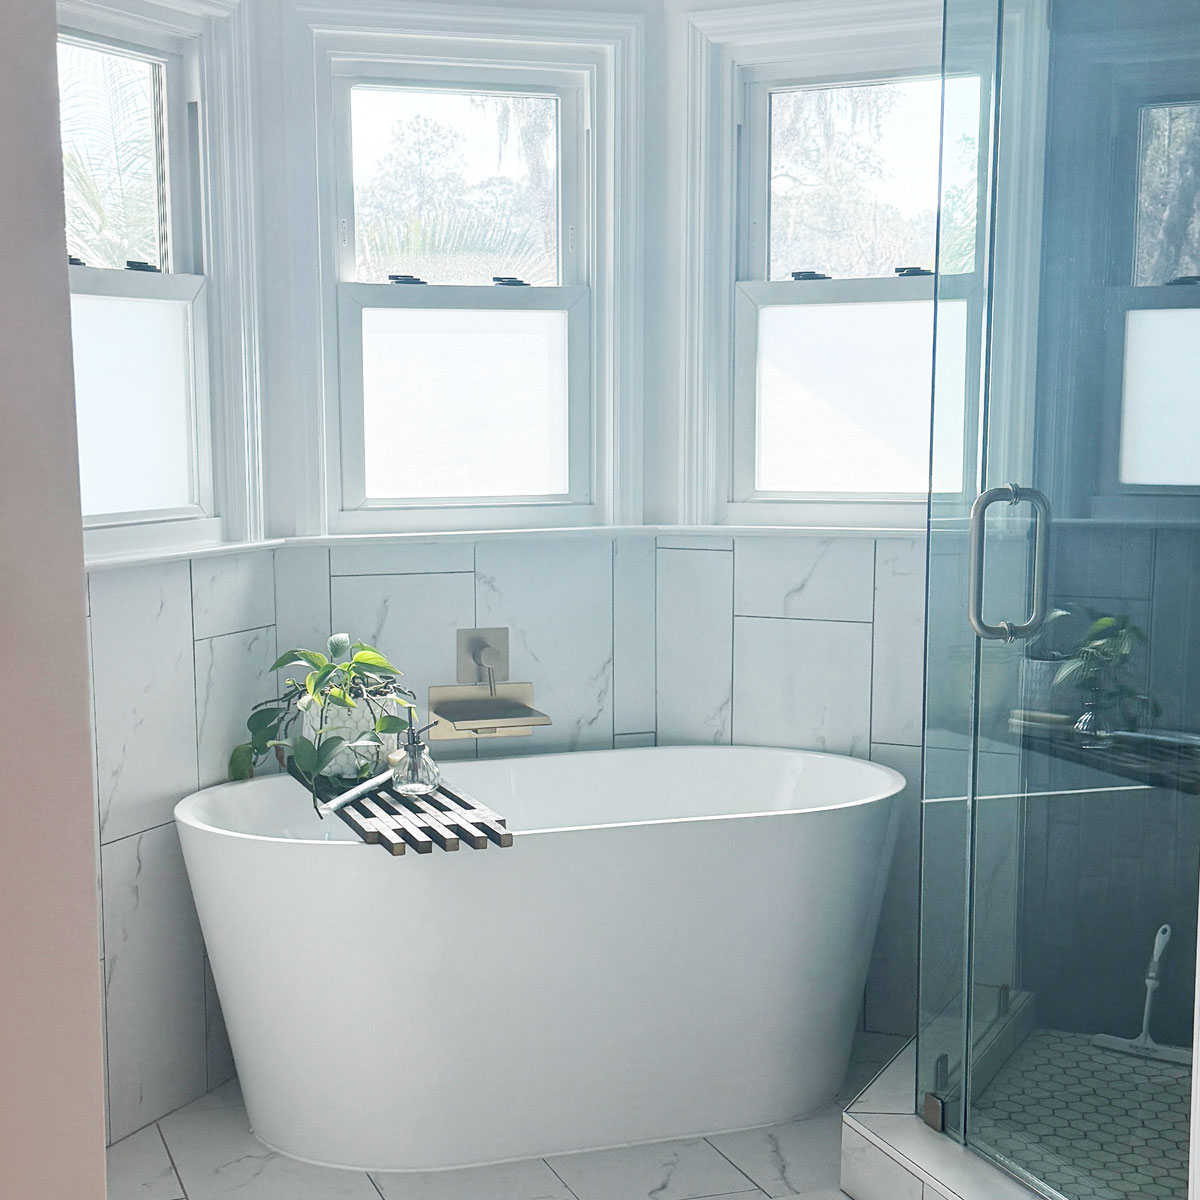
I love the squared-off shape of this bathtub, it is roomy enough for my 6-foot tall high school senior and will still be functional for bathing little ones for future owners (or grandkids down the line!?!?)
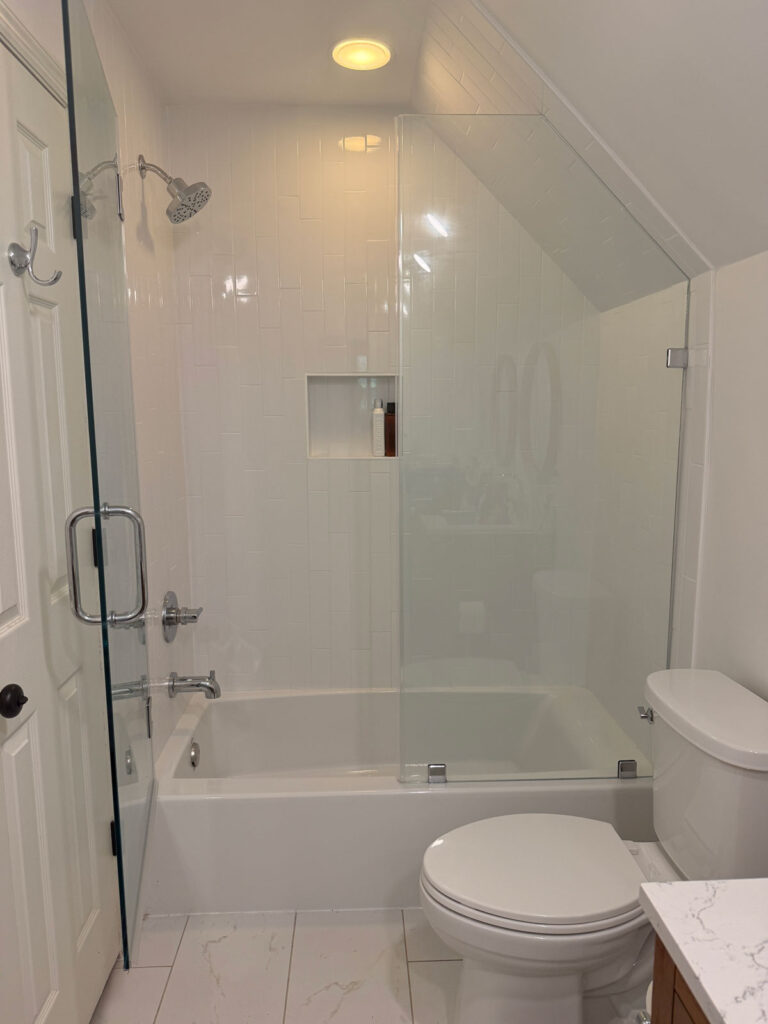
The custom shower glass was a game changer as well. The old shower curtain made the space even smaller and we were able to make the glass go much taller than a pre-made door would have gone to go along with the raised showerhead. The frameless glass also kept the space visually open.
Shop the bathroom

Compare before and afters
I’d love to hear your feedback on this renovation project! What would you have done differently?