Wet Bar Renovation
It’s renovation reveal week!
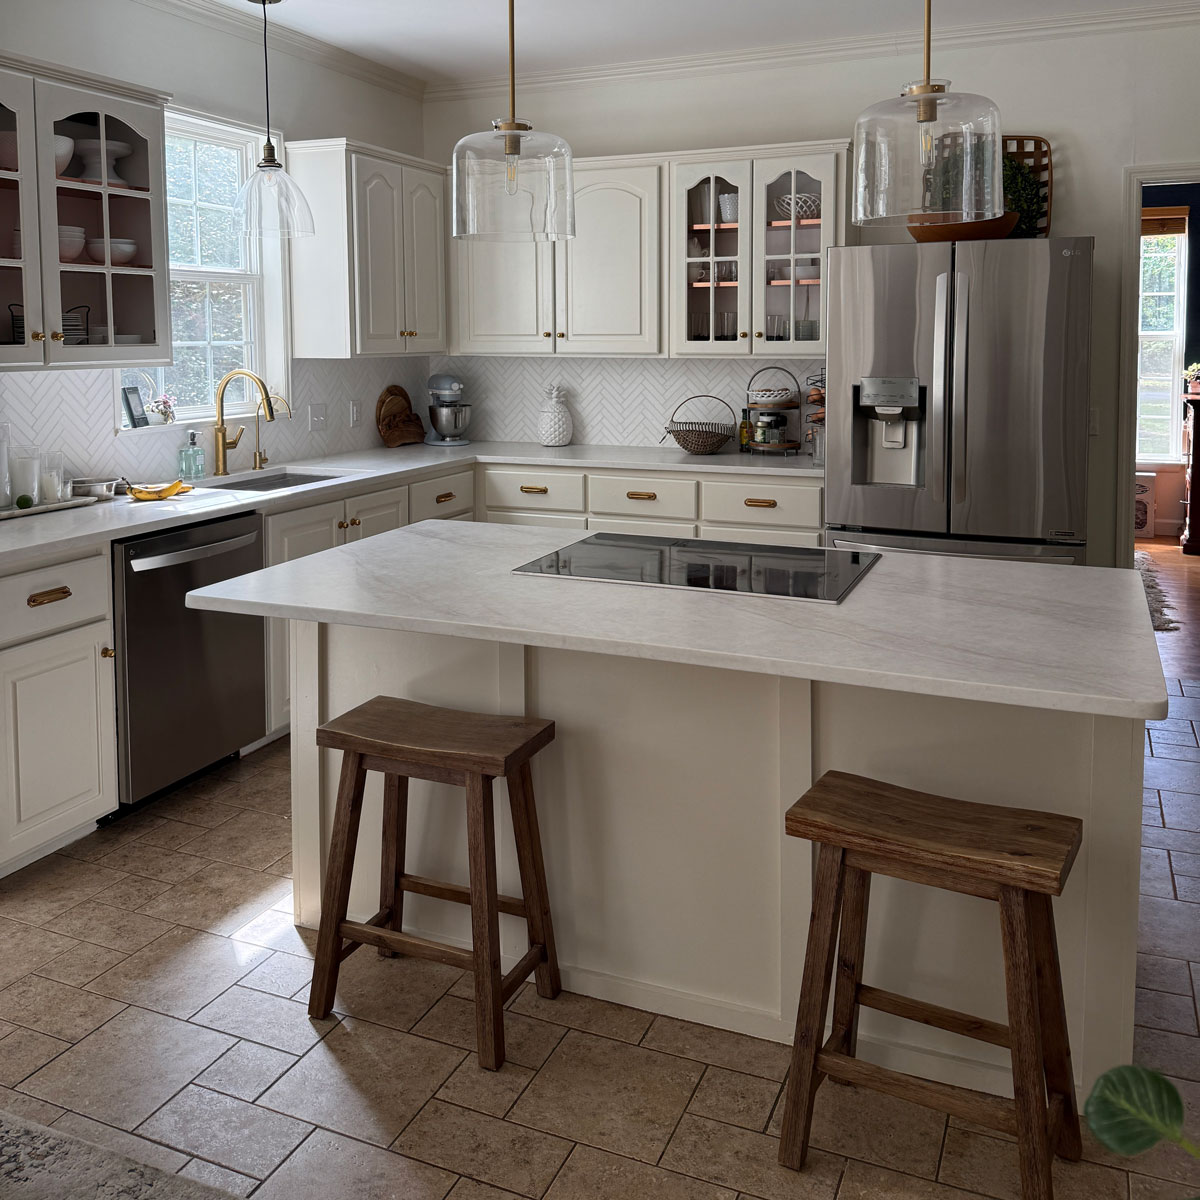
After two long months of home renovations I’m so excited to keep sharing the long-awaited “afters.” I’ve already shared the master bathroom renovation and upstairs bathroom update, as well as the kitchen renovation, but today we are tackling the wet bar!
Before
When we bought our home last autumn I was excited about the idea of having a wet bar but after we moved in I realized just how, um, “odd” the wet bar was. Let’s take a look.
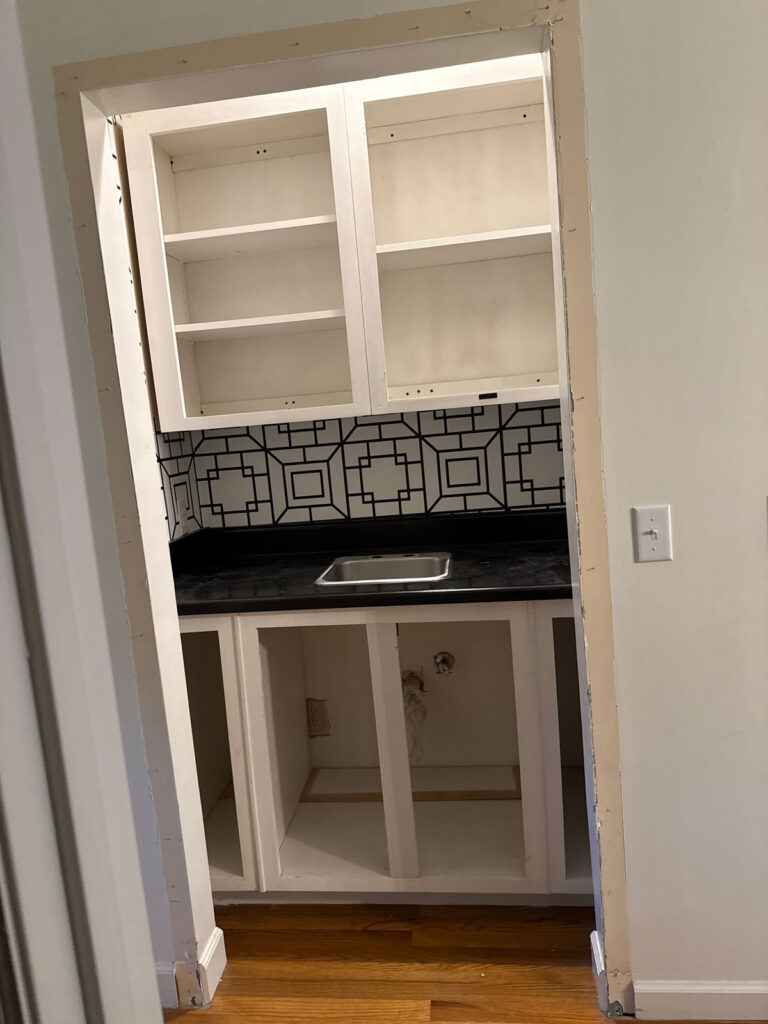
Excuse the photo, somehow I neglected to take a photo before the cabinet doors and faucet were removed. But you can see the issues regardless.
I am not entirely sure what this space was in the original 1997 build of the home, but it could not possibly have been like this. It looks like it may have been a coat closet or additional pantry, perhaps some sort of space with bi-fold doors.
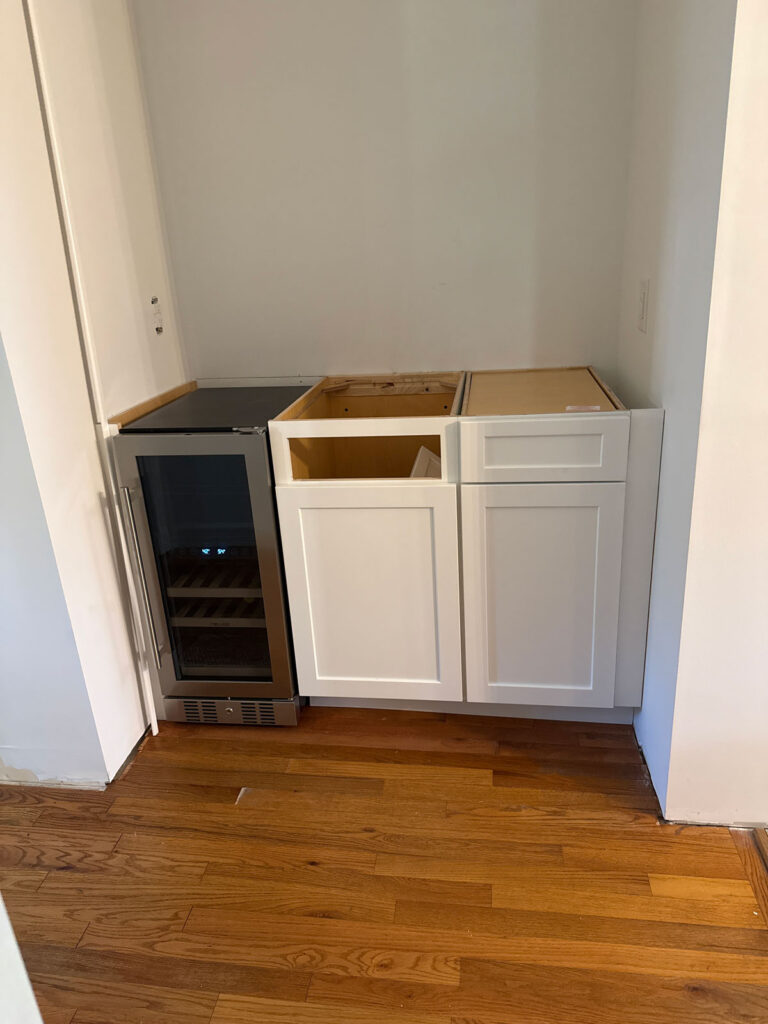
The cabinets were inset to the framing so the bottom side cabinets did not even open up enough to be truly functional. Very weird.
The space also had a very graphic black and white wallpaper that was not my style (more on that in the kitchen renovation) and it clashed completely with the powder room wallpaper navy/white literally right across the hallway.
When we got the quotes for the bathroom renovations we decided to go ahead and add on the wet bar. Little did we know it would become a much bigger project than we anticipated!
The Process
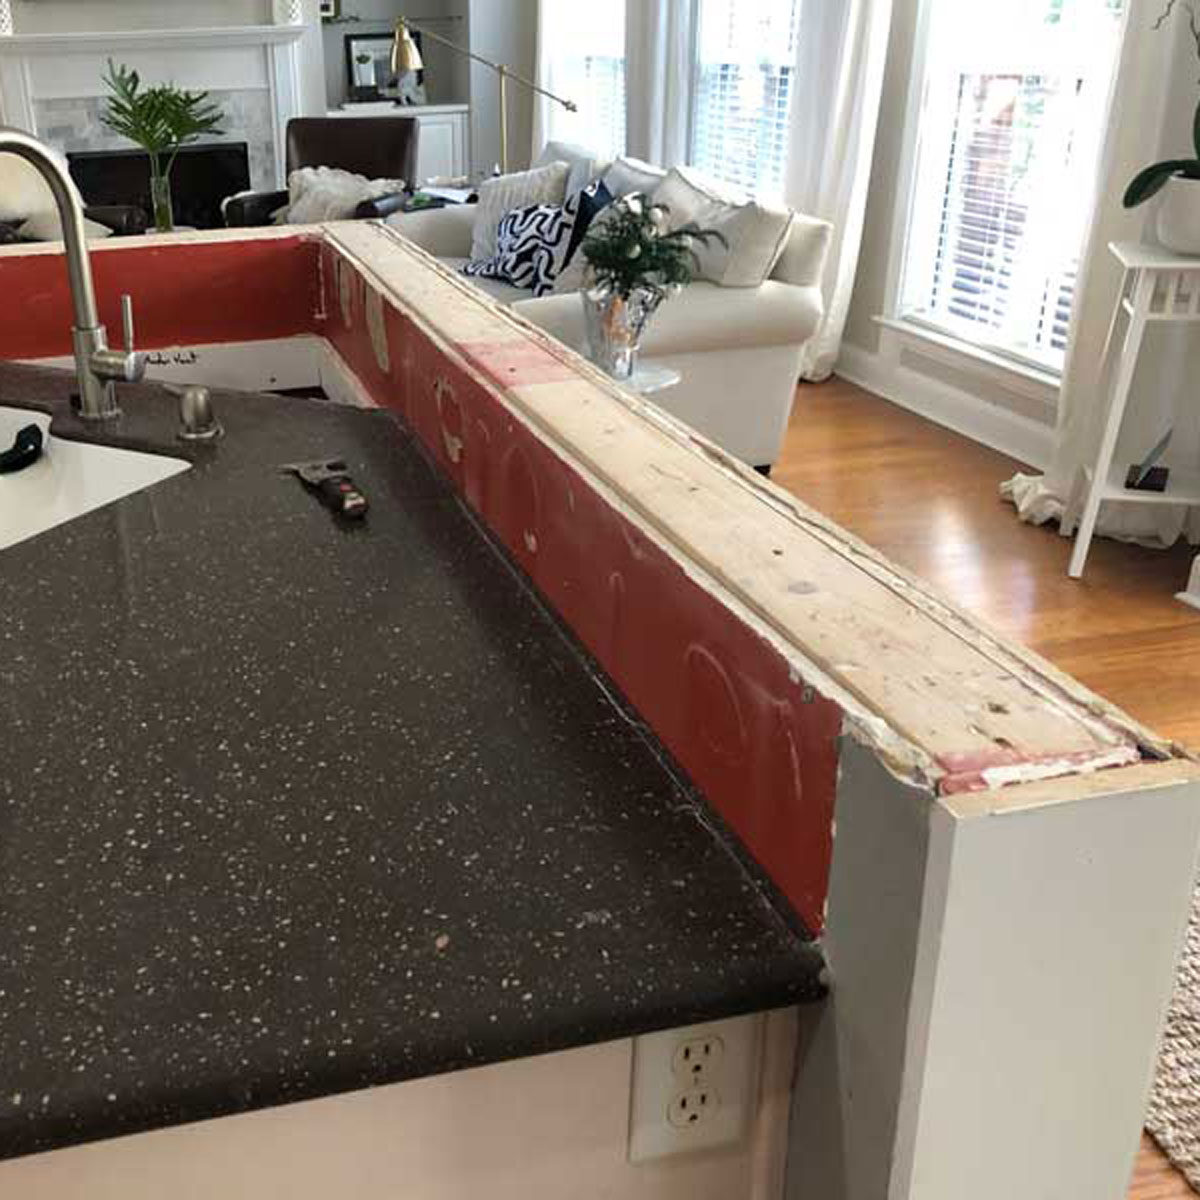
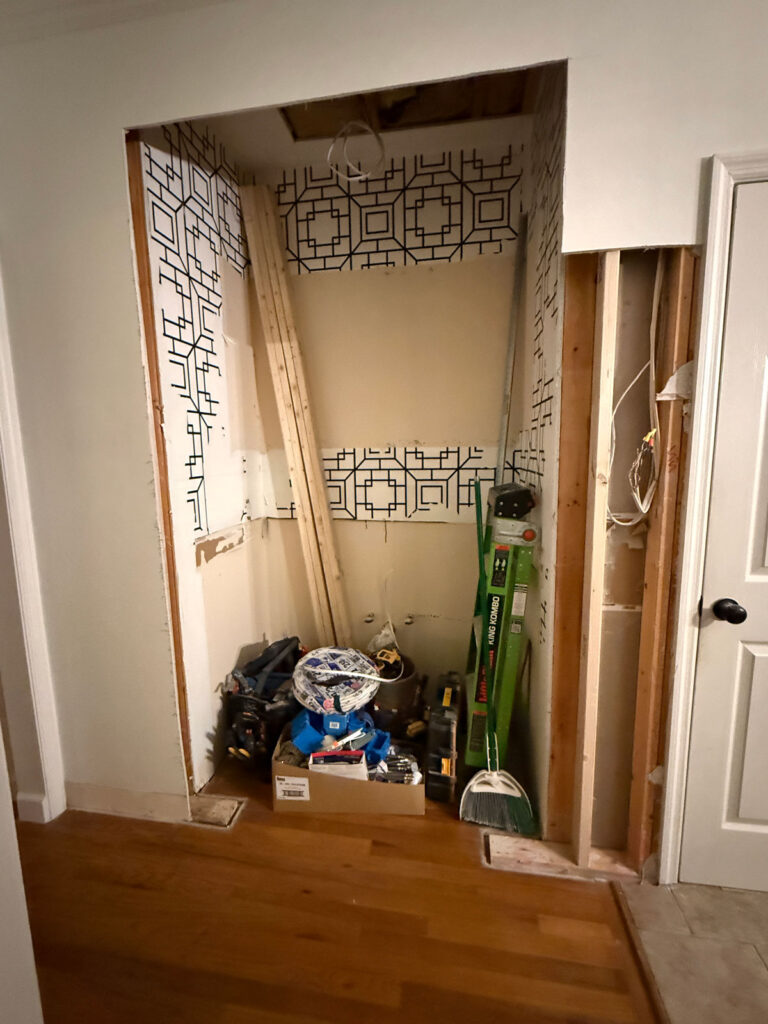
As usual, first came demo. We got rid of the upper and lower cabinets and fixtures and started from scratch.
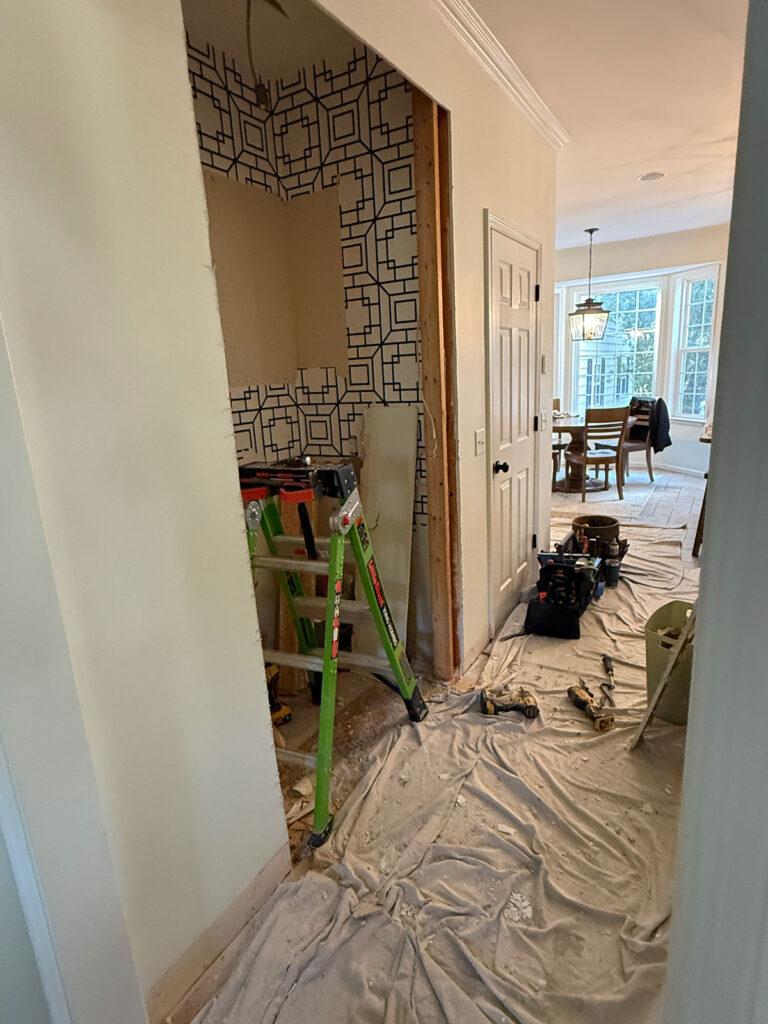
Next we had decided with our contractor to change the framing of the space so the opening was flush with the interior walls. This ended up being more involved than we expected. Luckily there were hardwood floors underneath the cabinetry that we were able to salvage to help patch in the areas were the walls were moved.
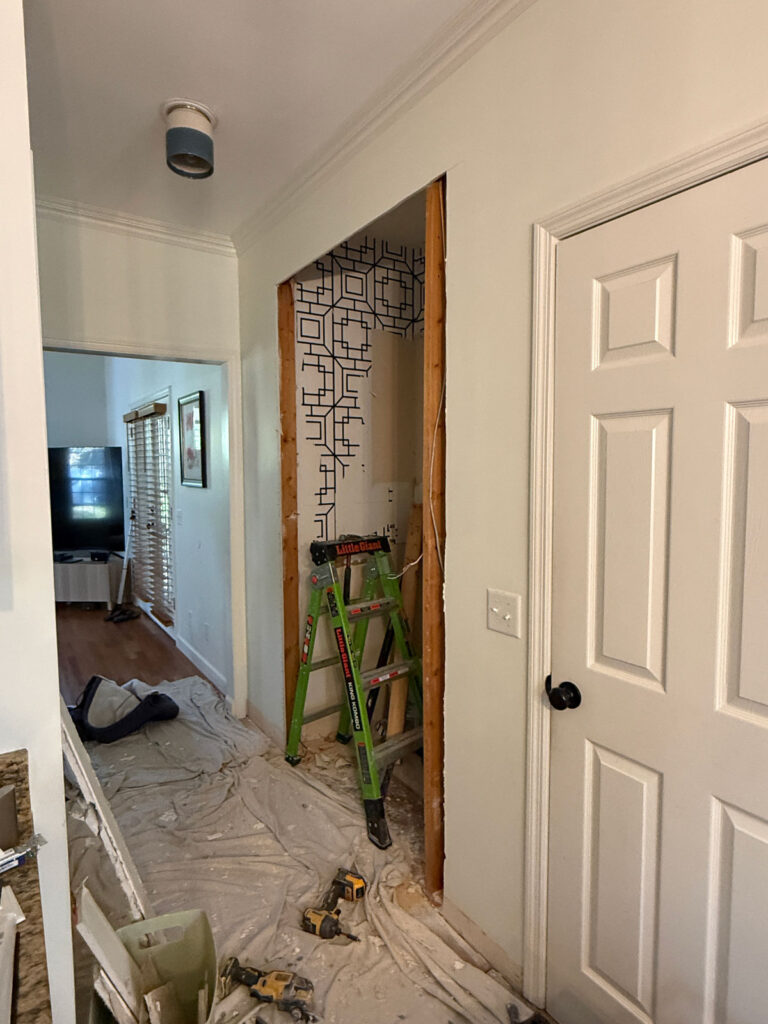
Our contractor had to add additional studs to be able to remove the framing that was weight-bearing. He also joined the wet bar electrical switch to that double switch next to the pantry, creating a triple.
You can see in the photo above where we were going to need to feather in new hardwood floors on either side of the opening.
They did a great job blending the old wood into the new. We stained it to match with this stain and you can’t even tell any work was done!
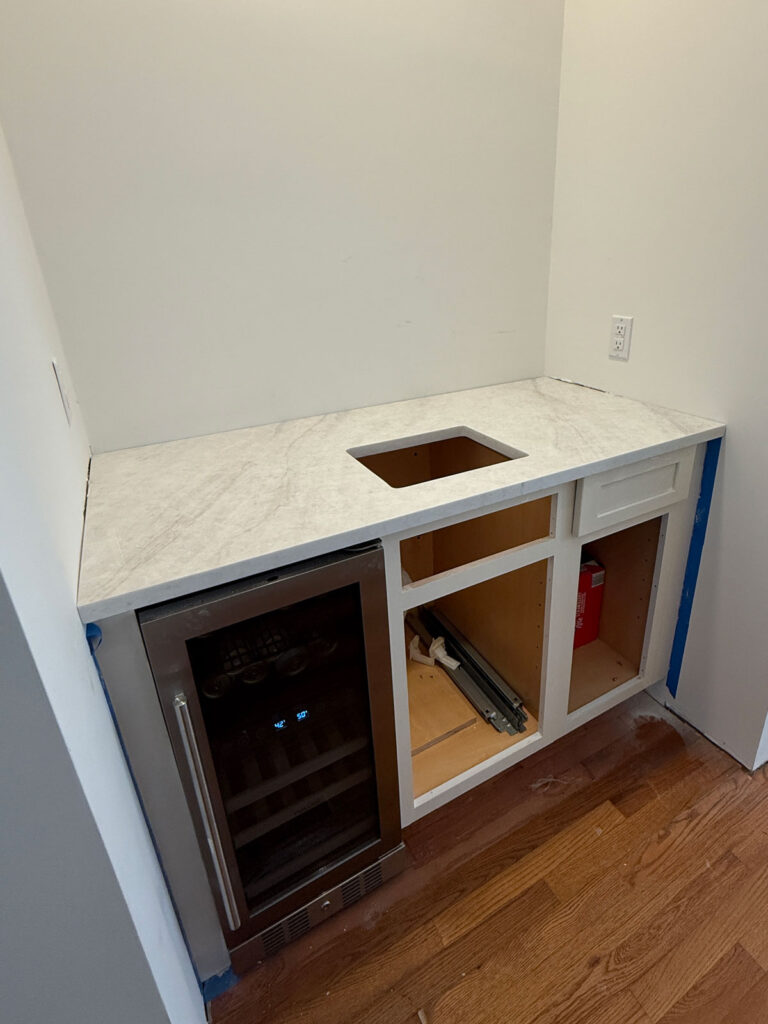
Next up was the countertops. This is the same brushed quartz as the kitchen renovation and I love it so much.
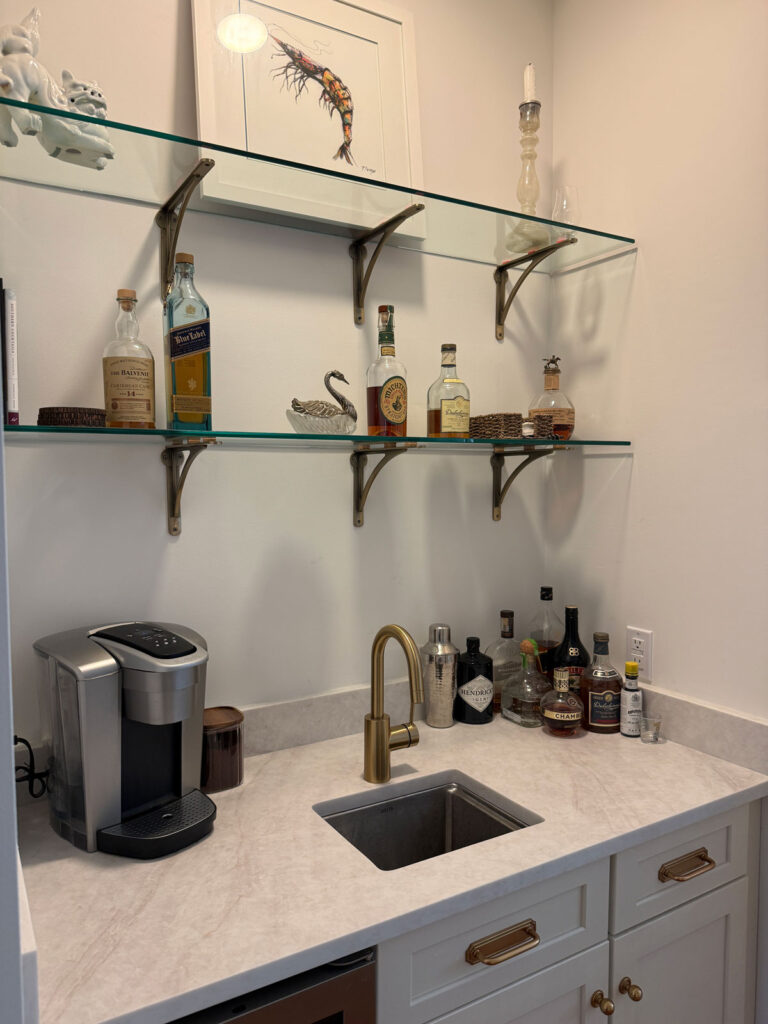
After
And finally, the finished results!
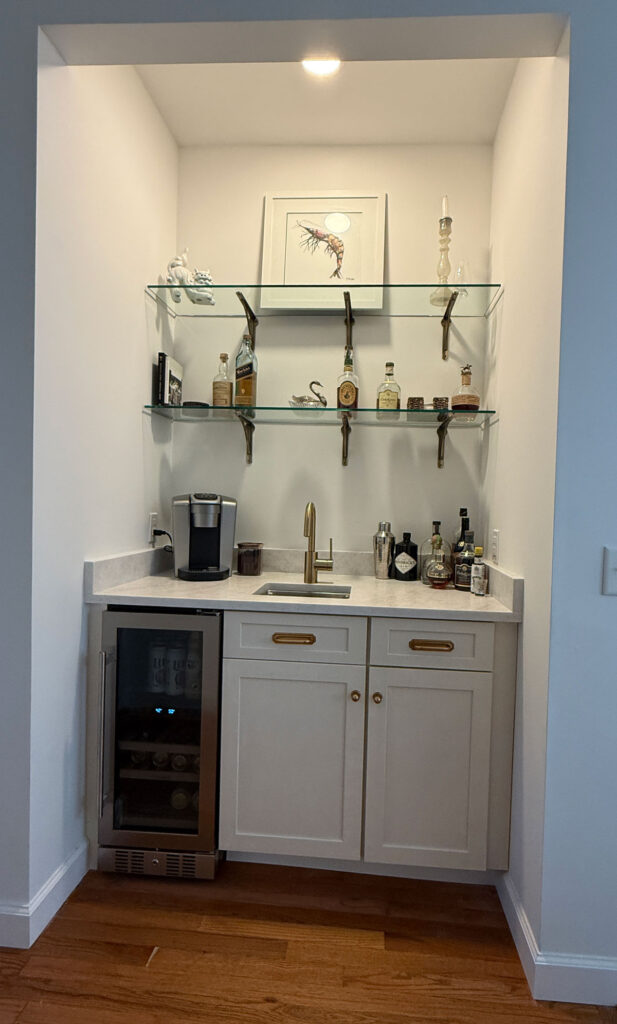
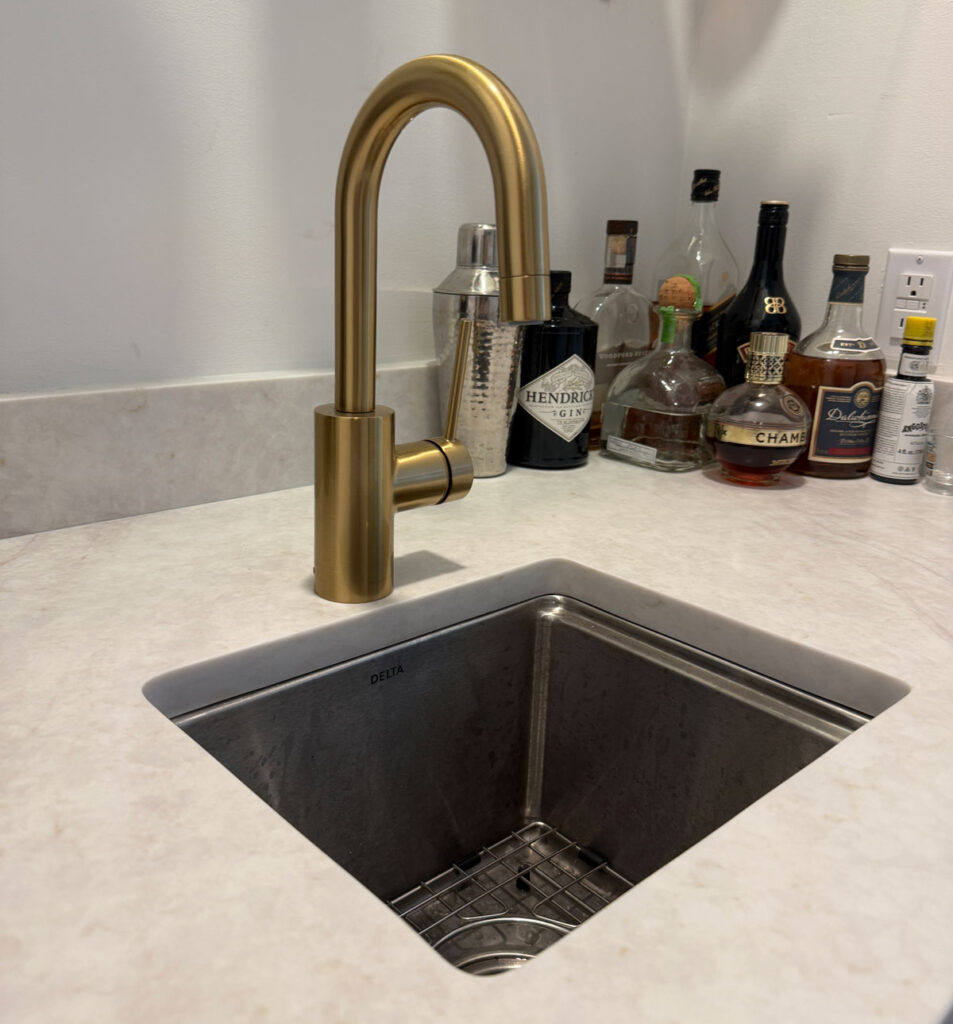
The hardware is the same knobs and pulls as the kitchen, they are nice and heavy. We echoed the hardware finish with the brushed brass faucet and a stainless steel sink.
To keep the space open we decided on glass shelving. We had the shelves custom made by the same vendor who did the custom shower glass in the upstairs bathroom and master bathroom renovations. The shelves sit on antique brass brackets that tie in with all the other finishes.
Overall I am in love with the finished result! It looks high end and intentional rather than the weirdness of the original bar. Reminder:
SHOP THE LOOK

Don’t forget to check out the rest of our renovations: