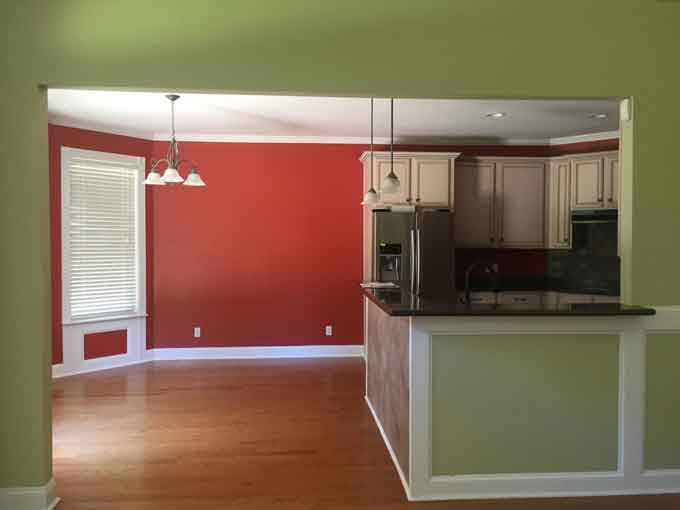
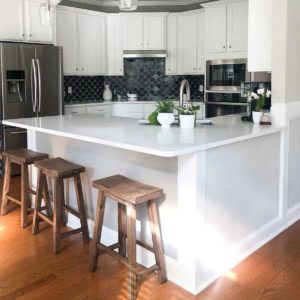
Alright friends, last week I shared our kitchen renovation plans and this week I'm excited to say we finally got the ball rolling! First order of action: lowering the breakfast bar! Here'a reminder of where we started when we bought the house.

I know it's first world problems but I HATED the kitchen. The paint was the first thing to change even before we moved in the house (see all the before and after pics here.)

I really disliked the black Corian counters and the raised breakfast bar. The fridge and dishwasher had been switched out for stainless but our electric cooktop, built in microwave, and wall oven were all original to the house (built in 2001.)

After painting the walls I used the leftover paint to paint the stone backsplash behind the cooktop and the tile under the breakfast bar just to help it blend in a bit.
After 2.5 years, we were ready to finally tackle the kitchen and phase 1 was taking the breakfast bar down to counter height so that the counters could be measured and ordered.
I called multiple carpenters to get prices for hiring it out and they all backed out last minute at giving a quote or stopped answering my calls so we decided to take matters into our own hands and do it ourselves!
You can see the entire process in the video above, but essentially we removed the counter and backsplash, then the tiled drywall under the bar. Then it was a matter of cutting the bar down to counter height and replacing the drywall.
How to Remove Corian Counters
The great thing about Corian is that it is super easy to remove. I couldn't find much online about how to do it but after watching a few install videos I figured it would be pretty easy as it's attached with only silicone, no nails, etc.

I sliced the silicone along the edges with a utility knife then used a sledge hammer to pound upward underneath to loose it. It came right off and there actually wasn't even damage to the drywall it was attached to on the backsplash. (This was great because it means we don't have to add a backsplash to the new counters if we opt not to!)
How to Cut Down a Breakfast Bar
Our breakfast bar had tile underneath so that entire surface had to come out before we could lower the bar. I used a multipurpose paint tool and a hammer to remove the tile along the edges, then I was able to cut the drywall with a reticulating saw to pull it out in pieces.

I also removed the trim around the edges carefully to reuse after lowering the bar.
We removed the top 2 by 4s that formed the top of the wall and set them aside to reuse. We then measured and used a combination of a circular saw and the reticulating saw to carefully cut the 2 by 4s down to the proper height.

After the 2 by 4s were cut down we were able to put the 2 by 4s back to re-frame the wall.

Lastly, we replaced the drywall.

Now we wait for counters! We have chosen a white quartz and I can't wait to see it installed next week!
What do you think of the lowered breakfast bar? I think it already opens up the space so much!
You might also like these blog posts:


Bran Dull says
Looks great! I Took down a wall to make our bar (ours is a high bar :0) But we drink alot lol