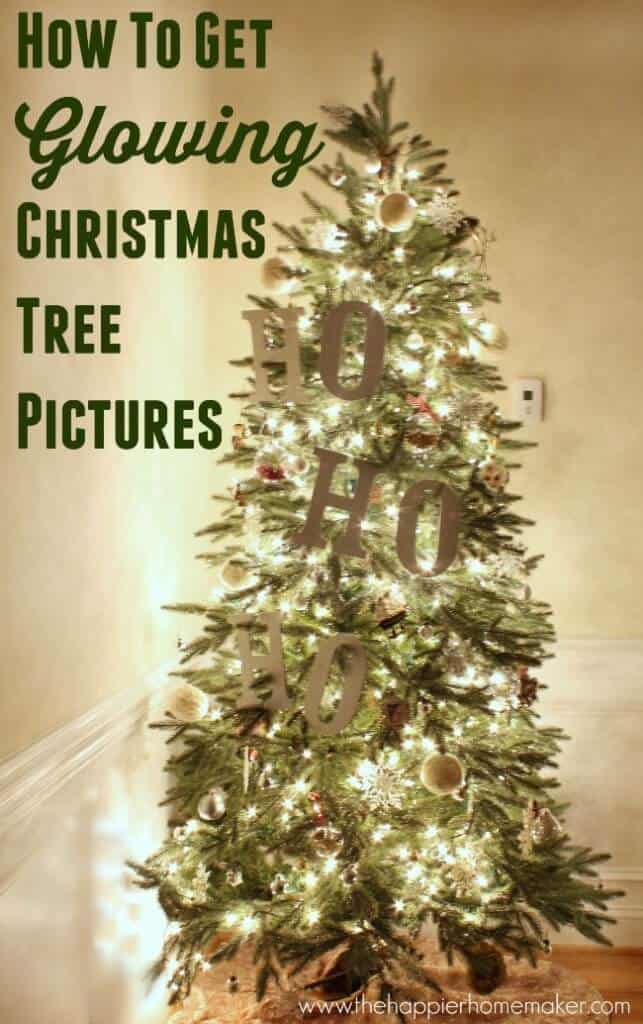
Happy Thanksgiving!! While I already have had my tree up for a few weeks I know many of you will be hauling out the boxes today or tomorrow. And since we all love a good Christmas tree photo I thought this little tutorial showing how to get those glowing Christmas tree photos that are all over Pinterest could be helpful. I promise it doesn't take crazy photography skills-all you need is a DSLR or other manual camera and a few minutes to adjust your settings!
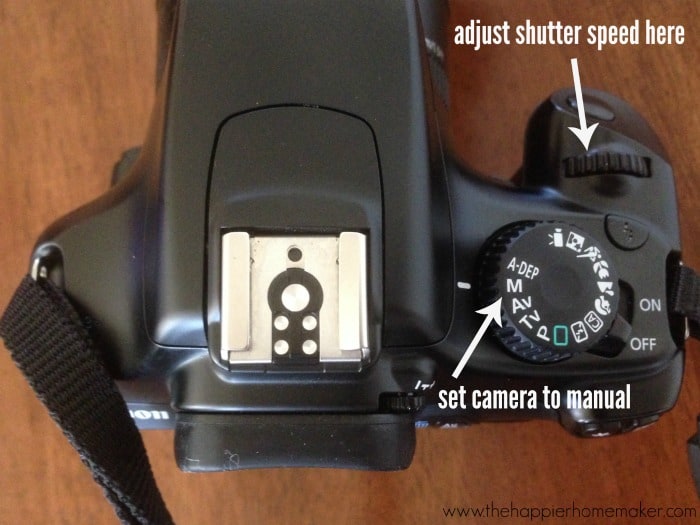
I take these pictures in the evenings in dim light with no other lights on other than the tree. The first step is to put your camera in manual mode-this can be scary for those that always shoot on auto I know!

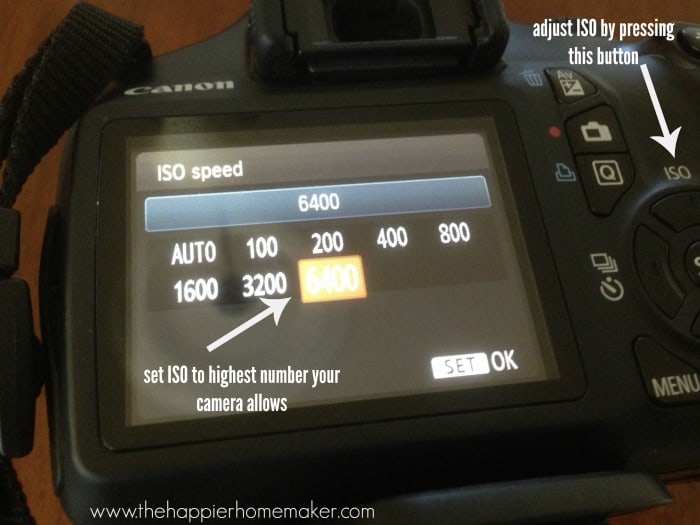
Then set the ISO on your camera as high as it will allow.

Set your camera up on a tripod, or if you don't have a tripod use another steady surface like a chair or table. Focus on your tree and adjust the shutter speed to sloooooooow. I used 1/30 both the picture above and in this photo from last year.

Then just take the picture and adjust your settings or experiment to see different effects you can produce! As a little hint, sometimes I find that when shooting on very slow shutter speeds that just my fingers leaving the button can cause enough shake of the camera to blur the image a bit. if this happens I adjust the camera to a 2 second delay so that I have time to remove my hand from the camera before the shutter opens.
Have you taken these glowing type pictures before? If you're looking to improve your photography skills I highly recommend the Shoot, Fly, Shoot online photography classes-they made a huge difference for me and my photography!
Do you like the little sneak peek of our tree this year? I'll have my full Christmas home tour (we've made lots of changes to the house!) on Tuesday!


Connie Meiselwitz says
Sounds simple. Will give it a try.
Carrol says
The tip about the 2-sec delay to prevent shaking…SO SMART!
Melissa says
Thanks Carrol, it helped my pictures a lot when I figured that one out! Have a great day!
midwestslp says
Just wondering what aperture you recommend.