Kitchen Renovation: Part 1

Wow! We are now ready to see my absolute FAVORITE renovation in the house: the kitchen of course!
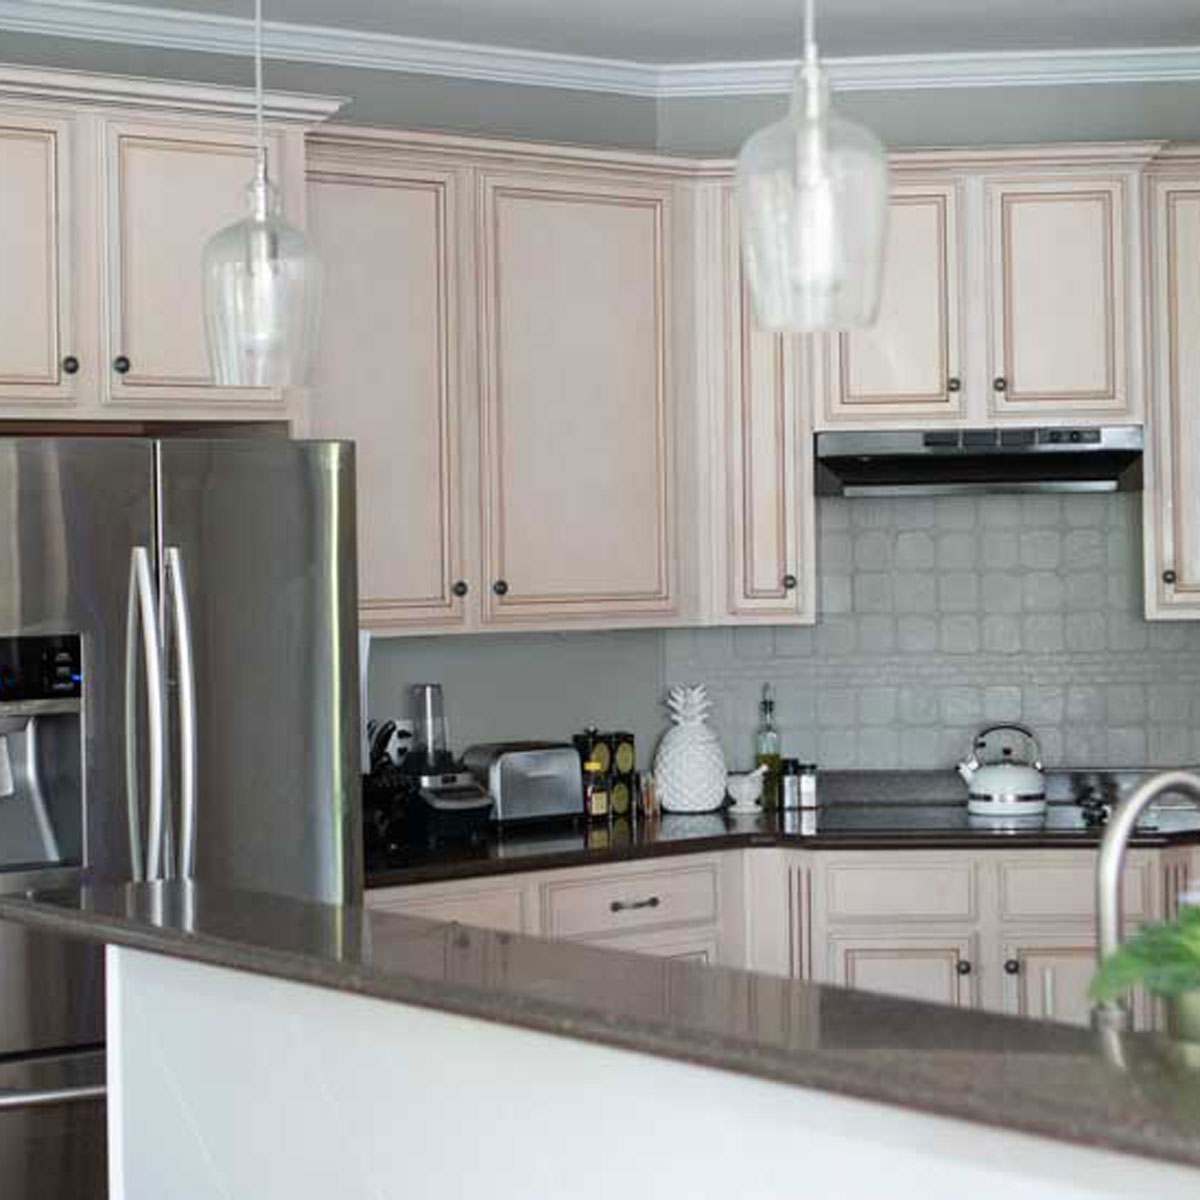
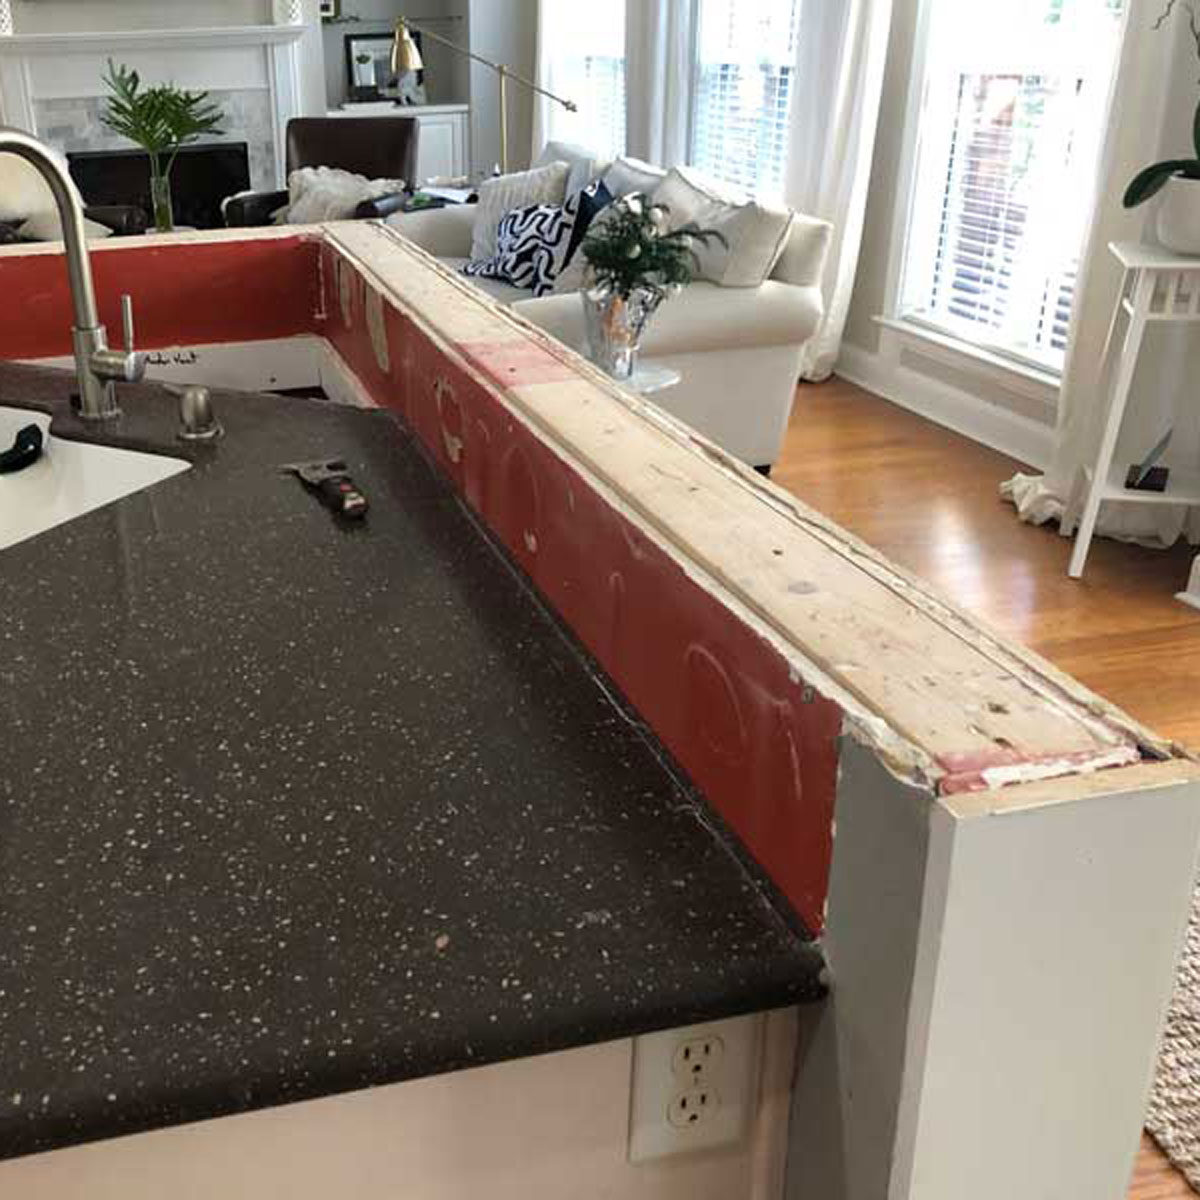
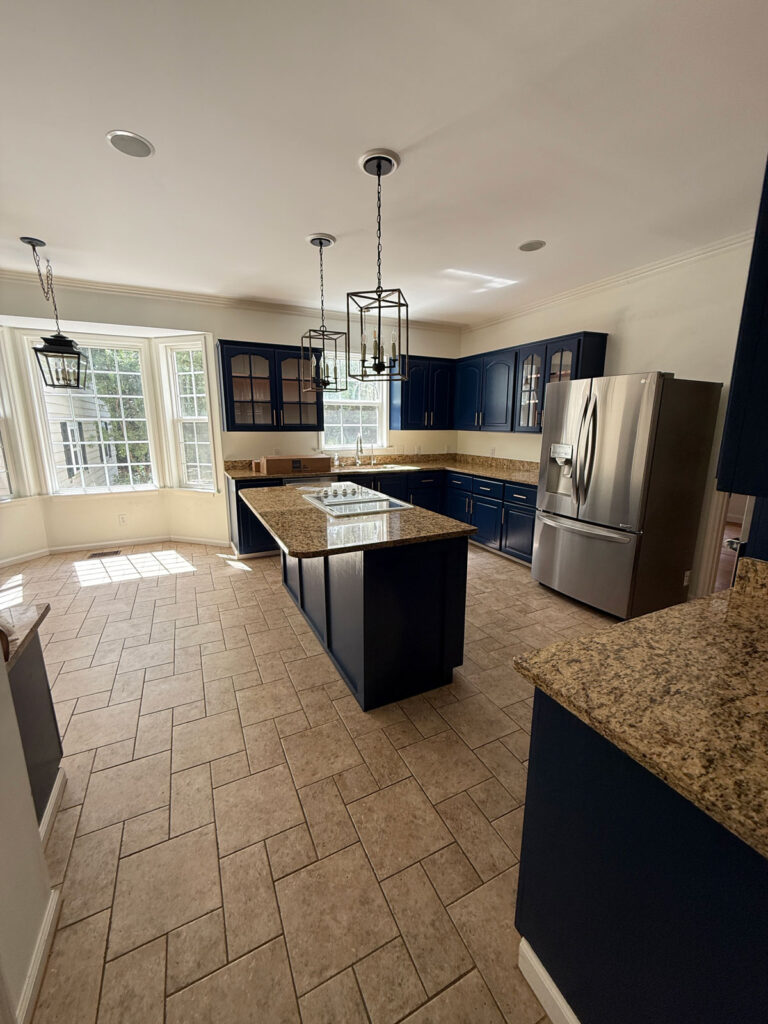
Before
When we first came to see the house when it was on the market I knew the kitchen would be weird to me. The cabinets were navy blue, which seemed a really odd choice with the brown granite countertops and beige floors. There was also a white electric cooktop original to the 1997 build of the house. Not great.
The whole room seemed so dark and drab.
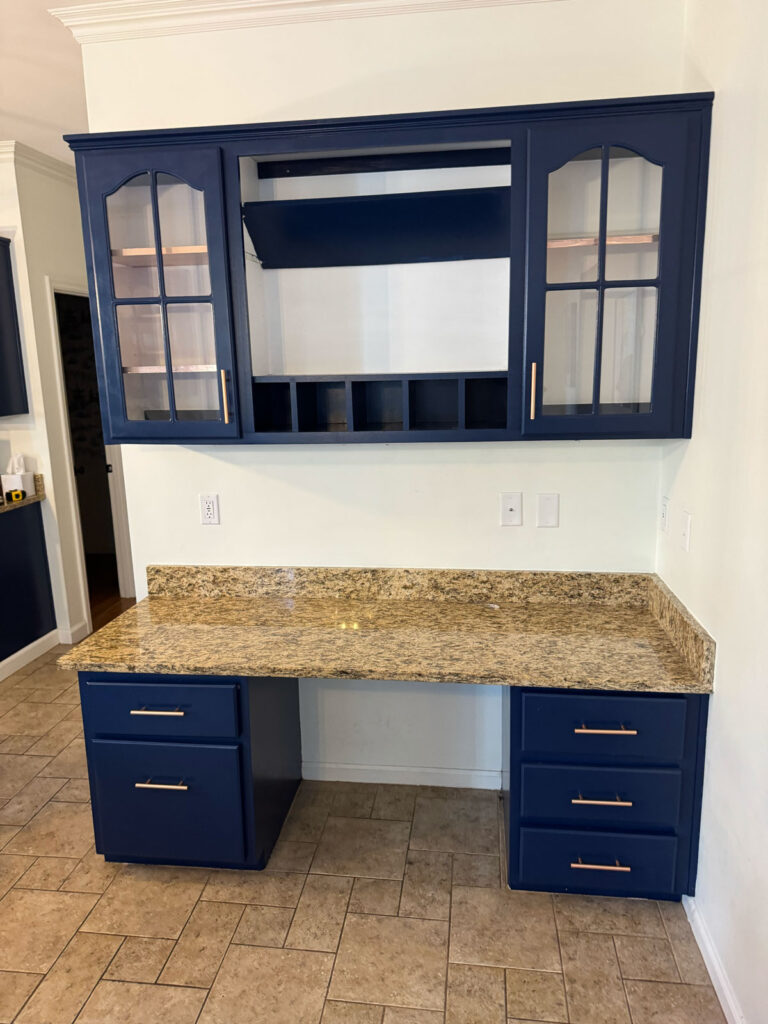
Another feature that dated the kitchen was the built-in desk. I know they were all the rage in the 90s when everyone had large desktop computers (our marsh house had one too), but they are pretty obsolete nowadays and it was just taking up space in an already tighter space than we were used to.
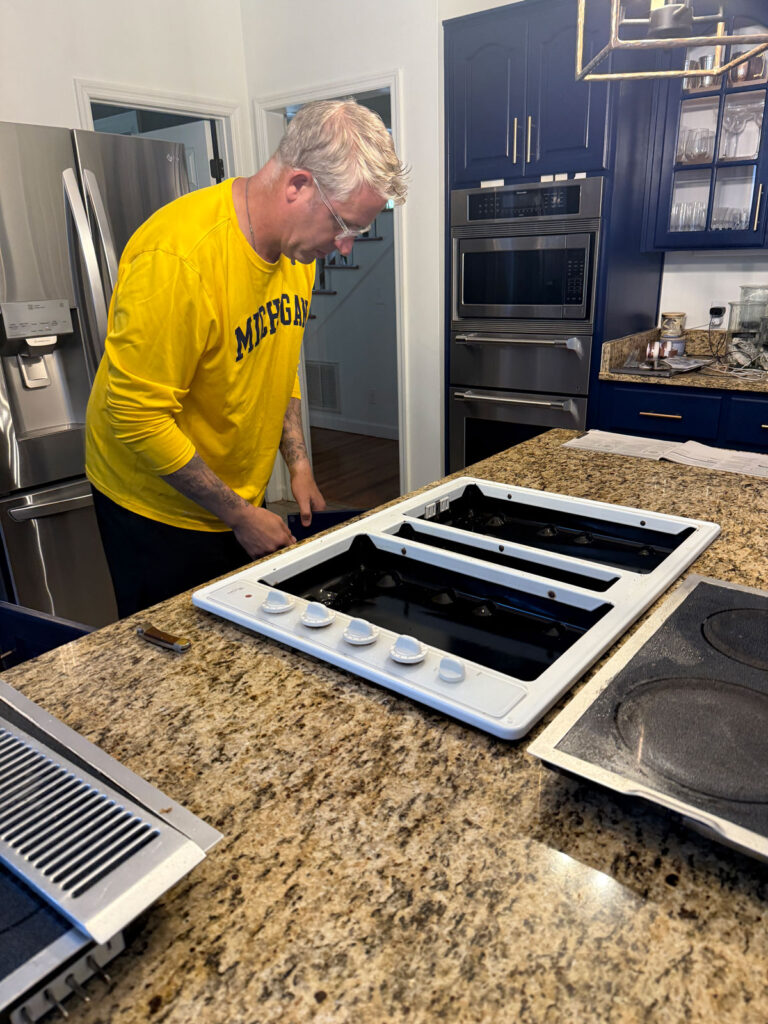
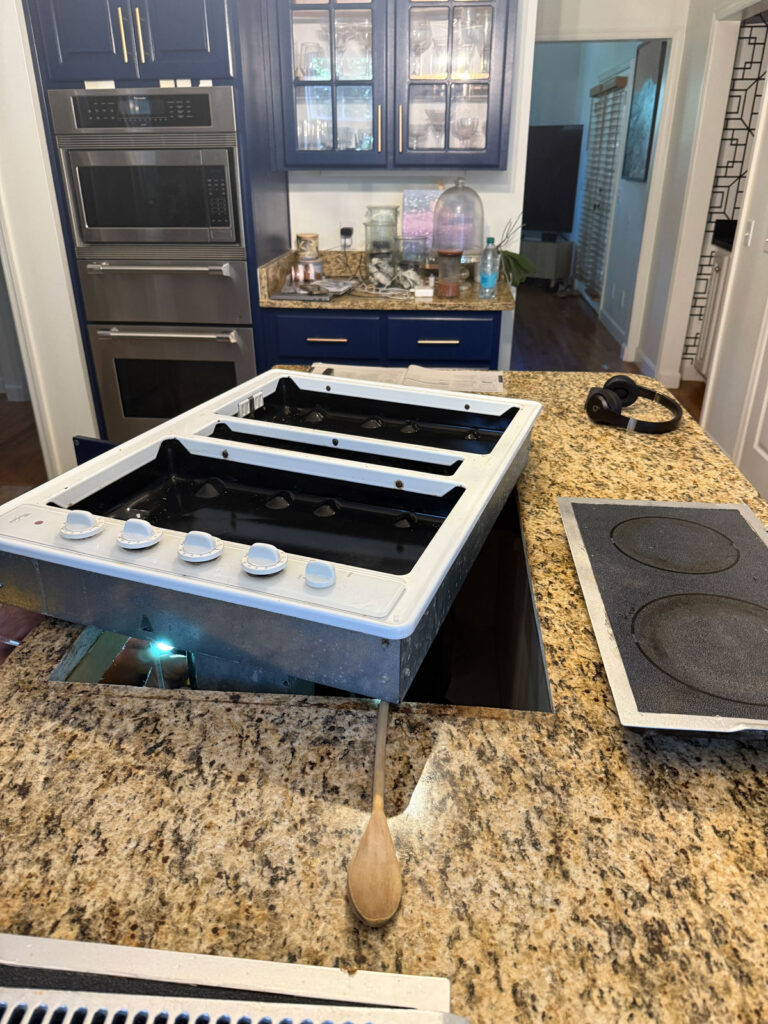
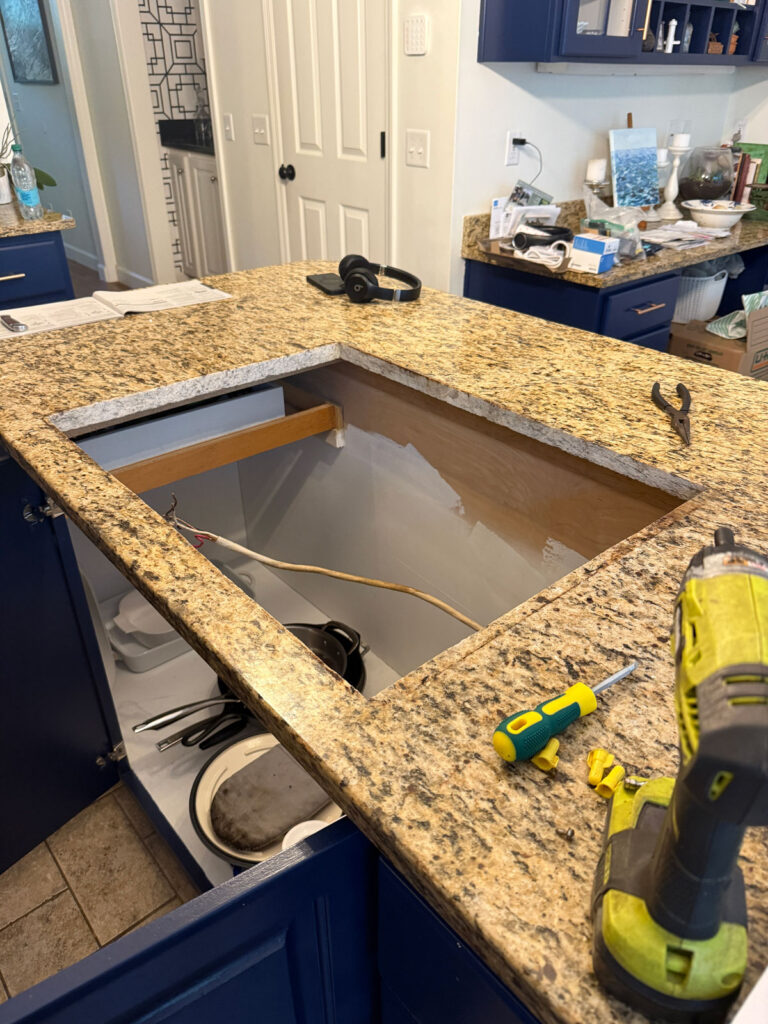
Replacing cooktop
The kitchen process was probably the longest of all the renovations we have done over the past few months. One of the very first things we did when we moved in last October was replace the ancient electric cooktop. Ever since I switched to induction during the brick house kitchen renovation, I can’t go back, I just can’t.
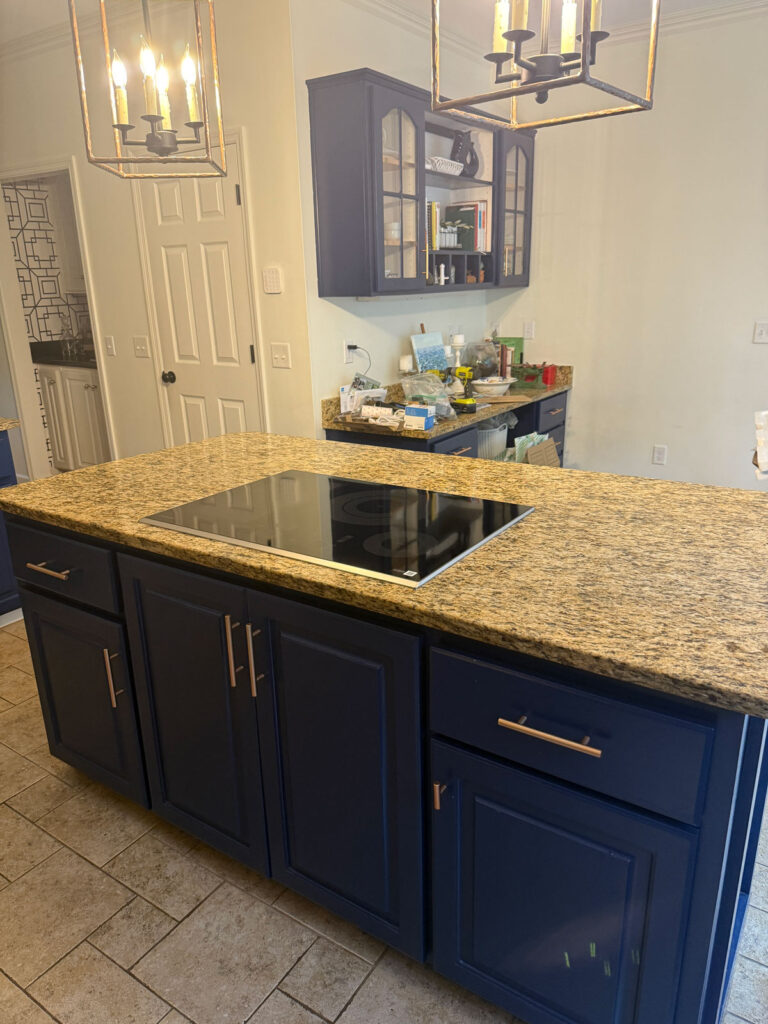
This was at least an easier DIY project. My husband Randy ordered me this induction cooktop and luckily the electrical was already compliant and it was just a matter of switching the units out. (You can see how early in the move this happened with all the counters covered in stuff we were unpacking!)
Removing kitchen desk
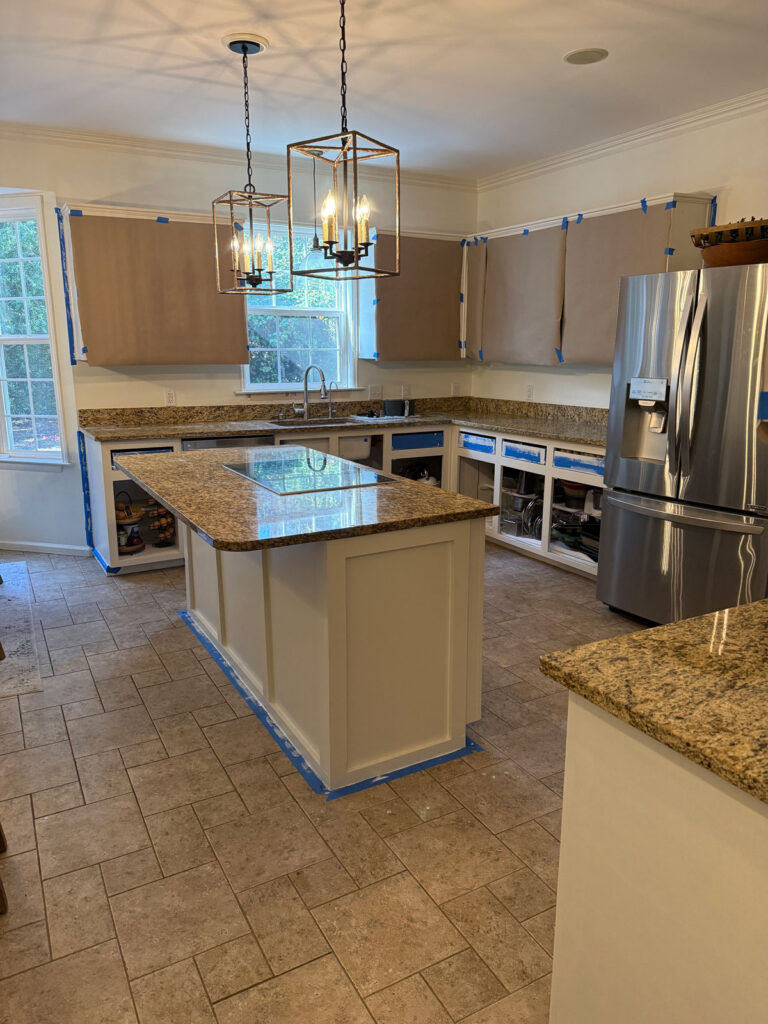
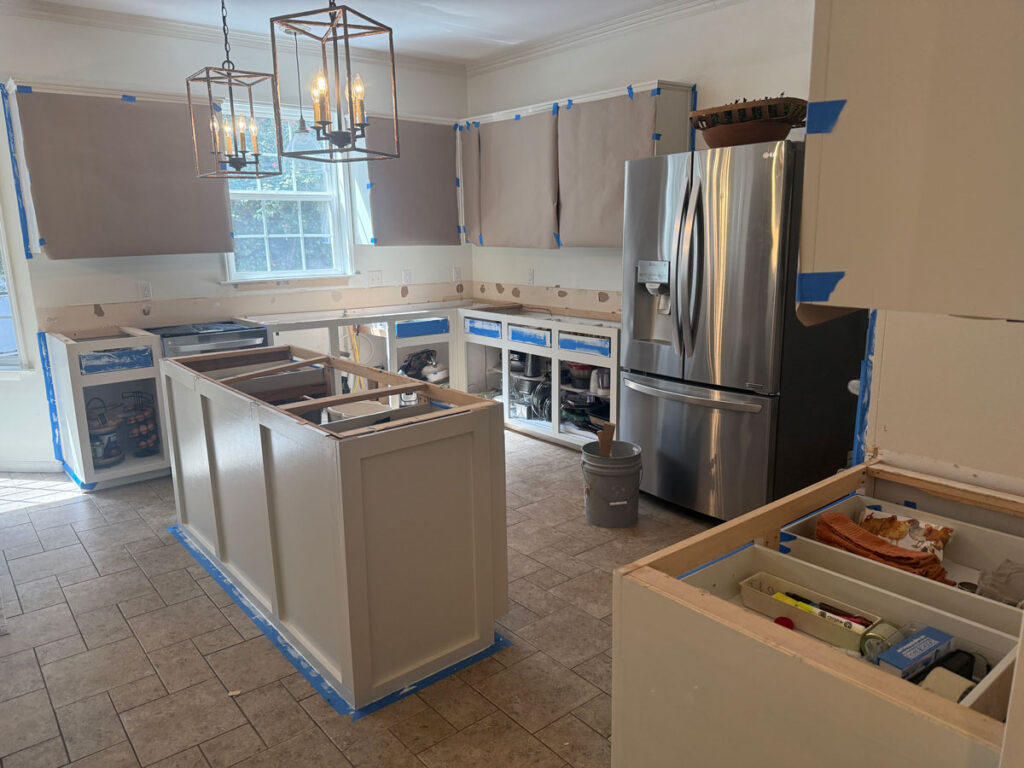
The removal of the desk was the very first project our contractors tackled when we started the major renovations in January, and the painting of the cabinets was the last project finished in March so we were in a state of disarray for quite some time.
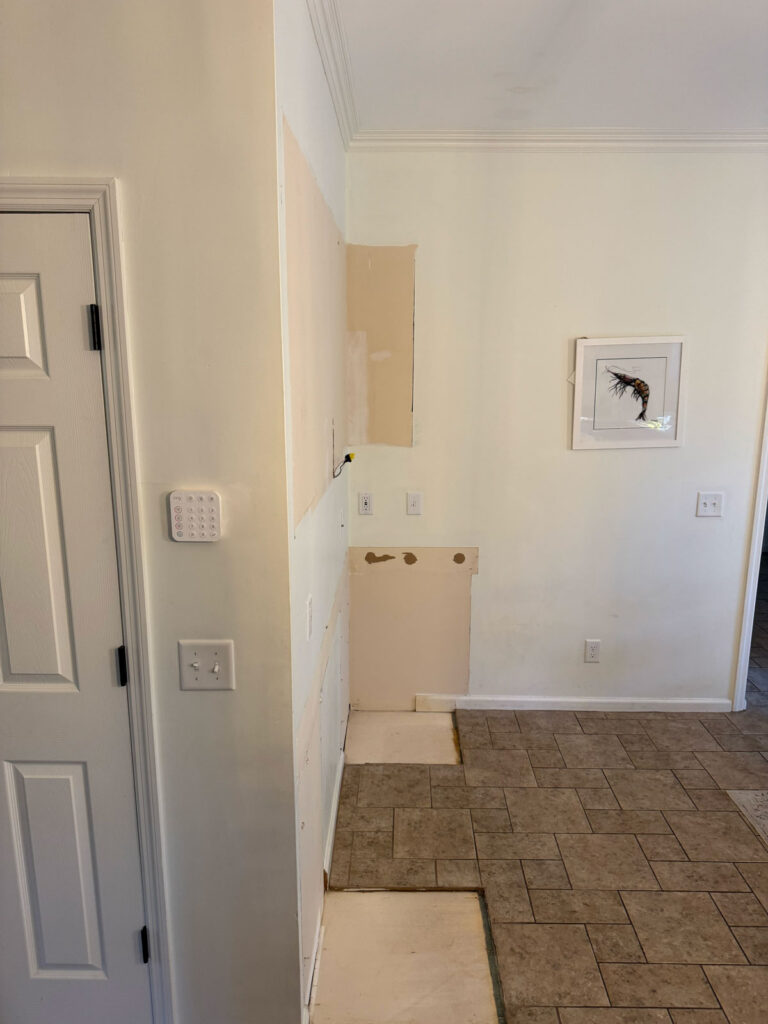
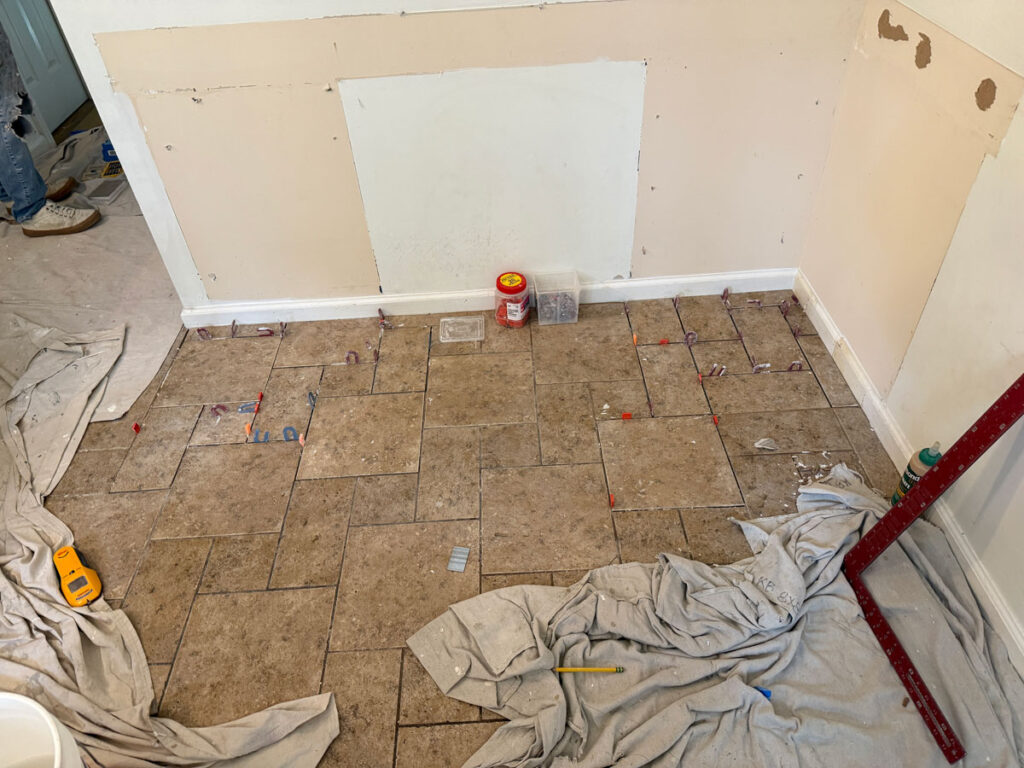
We had known there was no tile under the desk but luckily had found a little stash of the original tile in the house left by the previous owners. And by little I mean little!
It was going to be VERY close to be able to cover the empty spaces but our contractor pulled it off beautifully, even though he had to get a little creative with the pattern in the corner when we ran out of the larger tiles. (No one will notice!)
Painting cabinets
The next step was to paint the cabinets. I waited until the bulk of the bathroom and wet bar renovations were finished to I wouldn’t be in the way of the contractors and then it was time to get to work!
I did this also at the brick house kitchen renovation and knew it was tedious but honestly, this time was even worse because of all the other projects we had going on around the house AND unlike the last time we were covering a very dark color with a very light color which I knew would be a challenge.
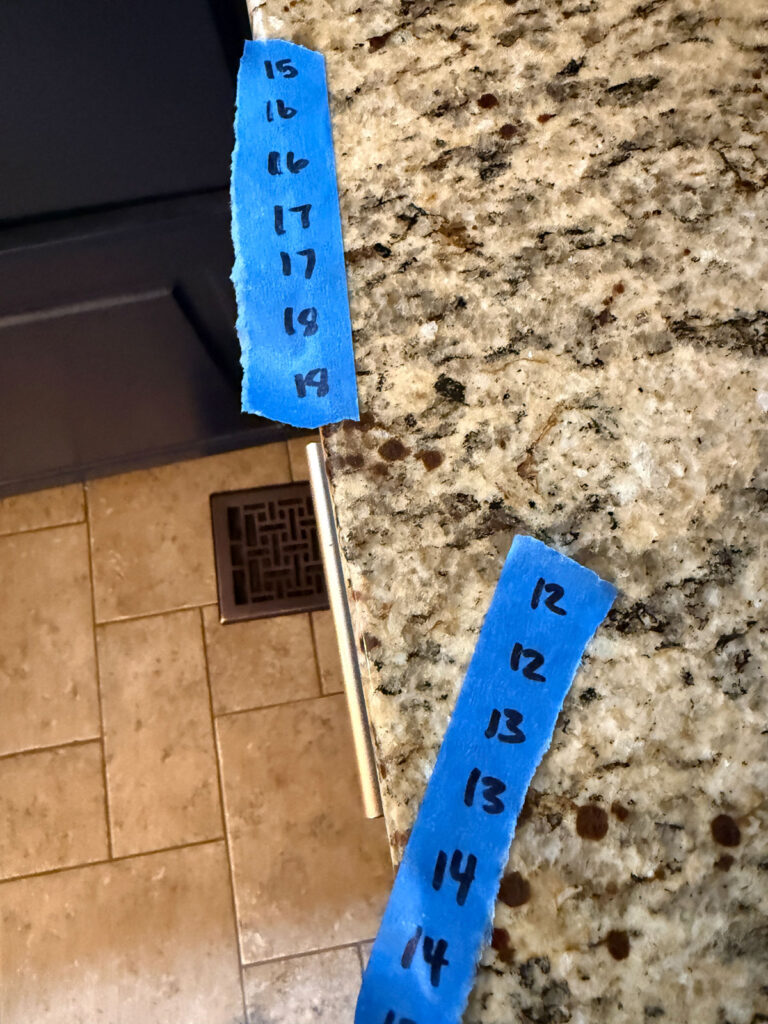
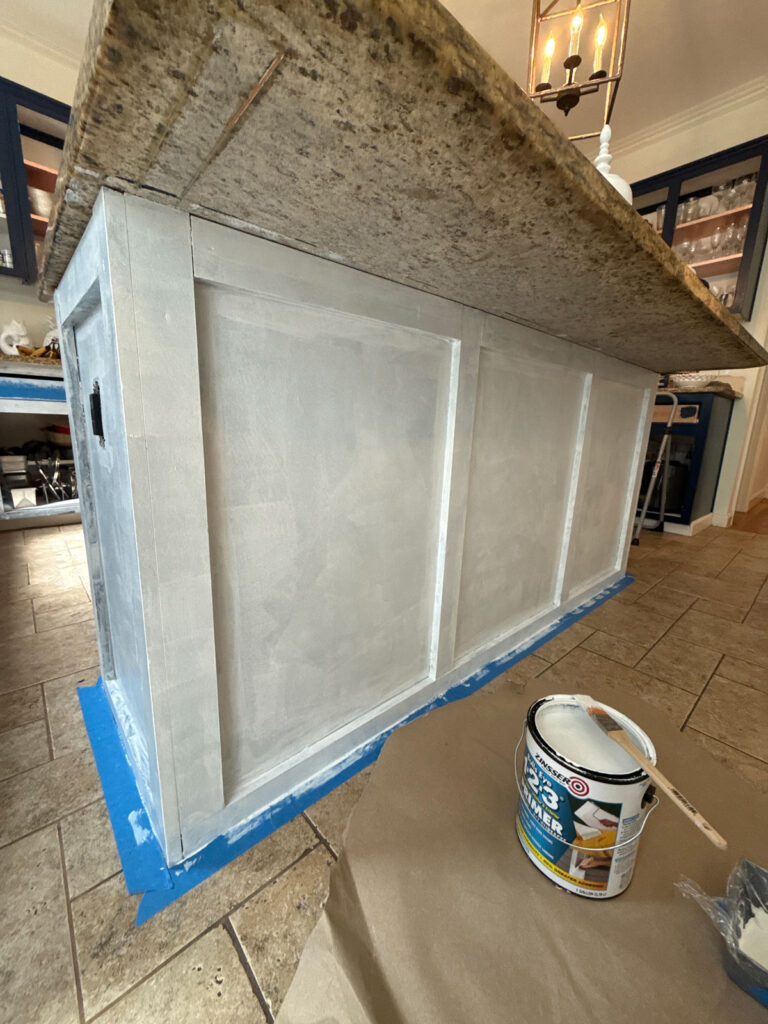
I started by removing the cabinet doors and drawer fronts, being careful to label each door/drawer front with a number and labeling the location with the same number. This is SO important to make sure each front goes back on the proper spot for the correct fit.
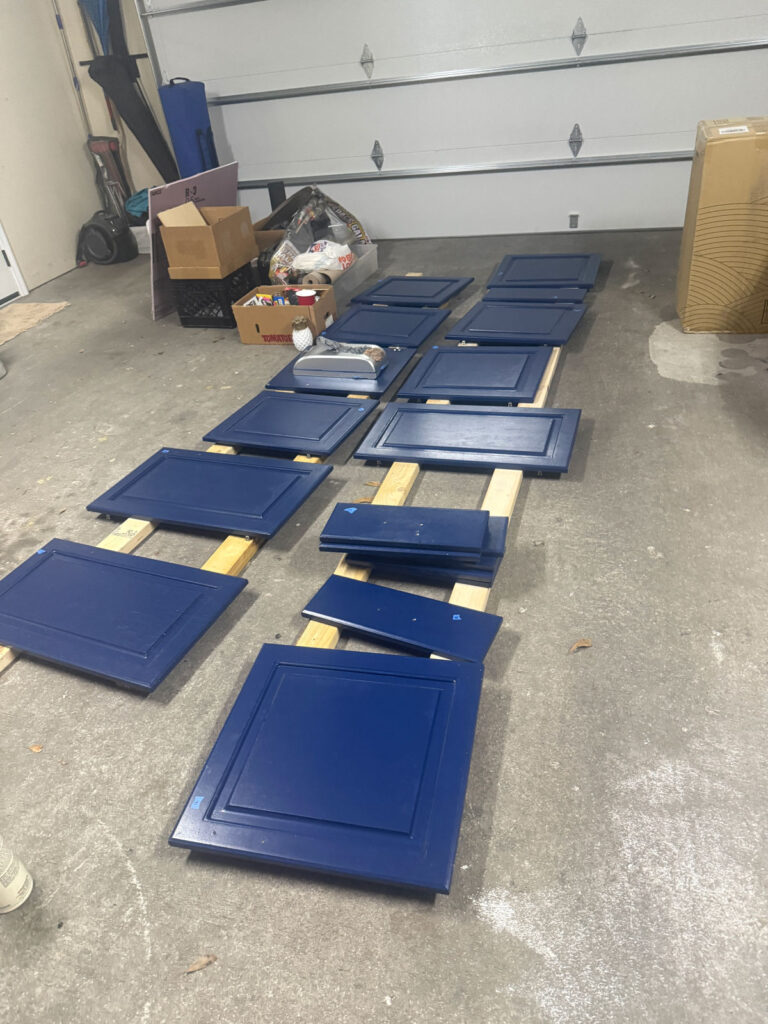
Then we were off to the garage where I set up wood platforms to elevate the fronts for easier painting. I did this elevated propped up on chairs last time and that was a much better situation for my back!
Next came the deglossing and sanding. Because of the dark color I ended up doing two coats of primer and then two coats of paint (I used Benjamin Moore Ballet White). It was tedious, I’m not going to lie.
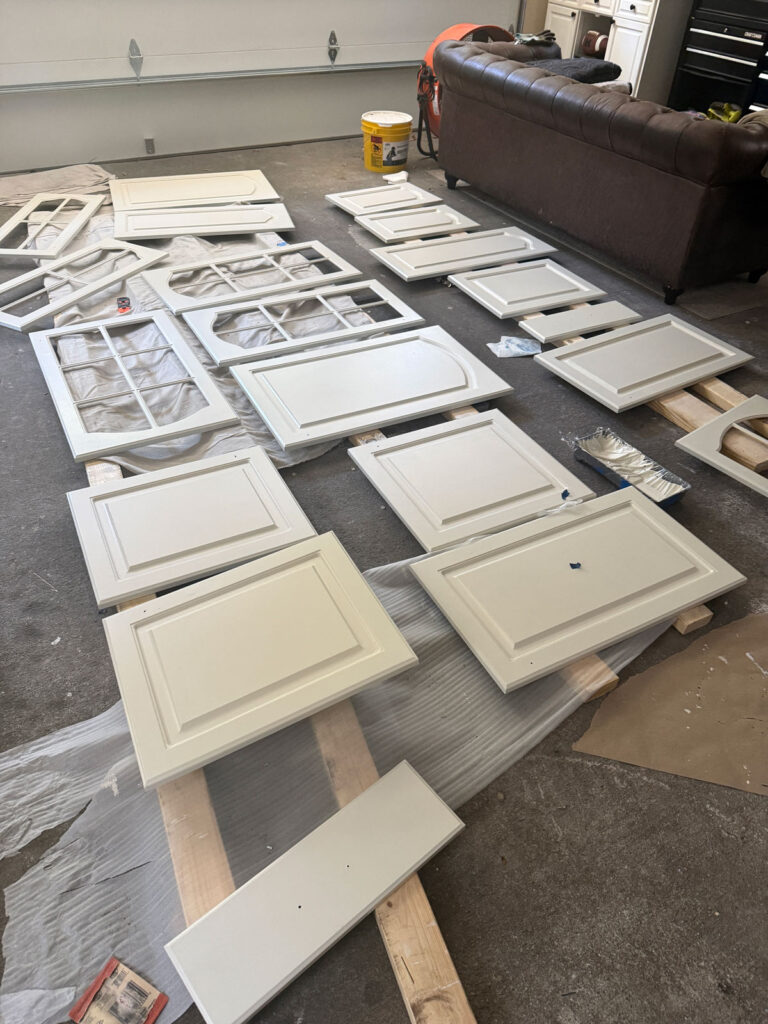
Meanwhile, the same was going on in the kitchen inside, deglossing, sanding, wiping down with tack cloth, priming, painting. I felt like it went on for weeks (it did.)
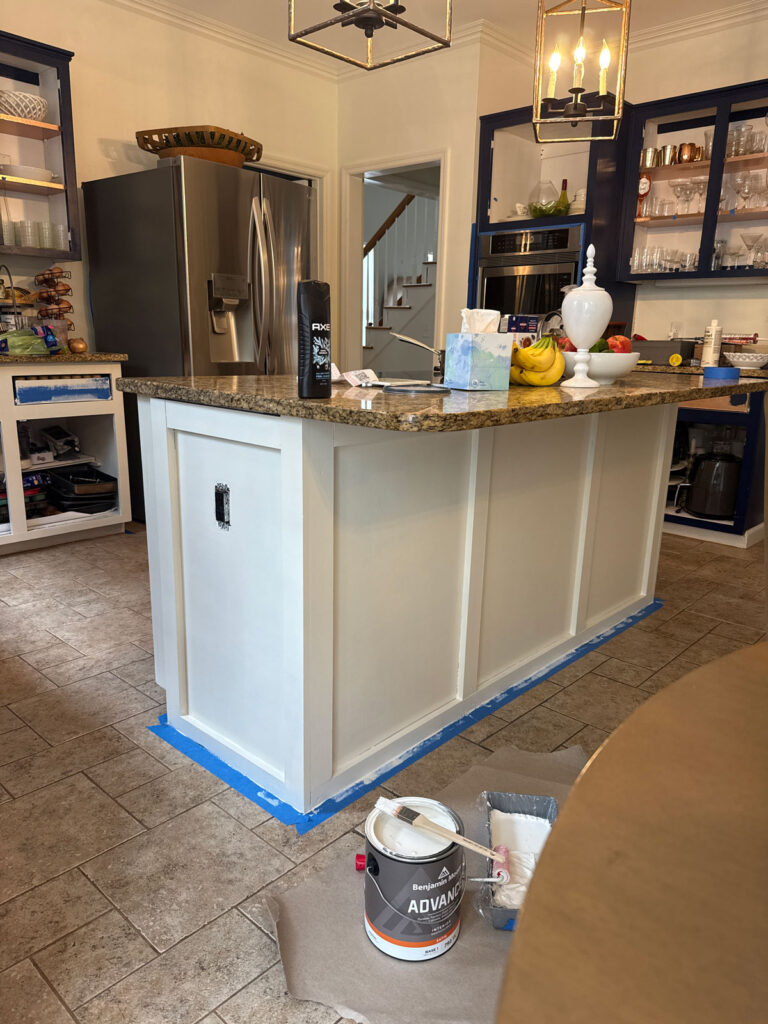
Once we had the cabinet bases painted the granite countertops actually didn’t look so dark and dated. At this point we had already ordered the new countertops and I wondered if it was a mistake and should have saved the money and stuck with the granite. (Spoiler alert: it wasn’t!)
Oh! If you read about the wet bar renovation when I wondered why in the world it had graphic black and white wallpaper, When sanding the cabinets I realized the island used to be black and the rest of the kitchen white, so I guess that was a look!
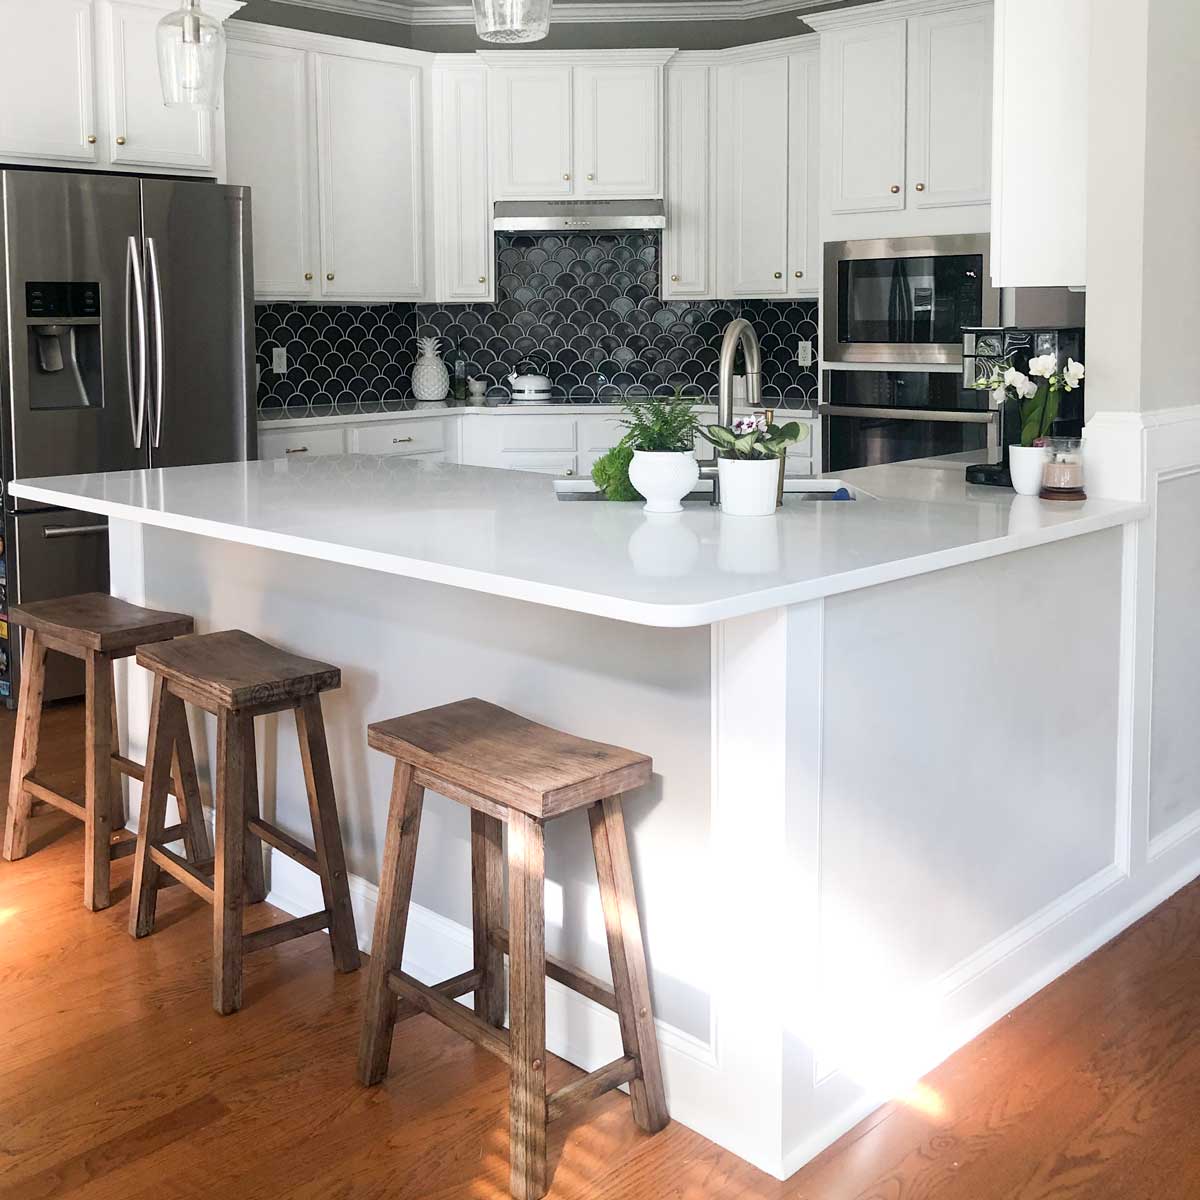
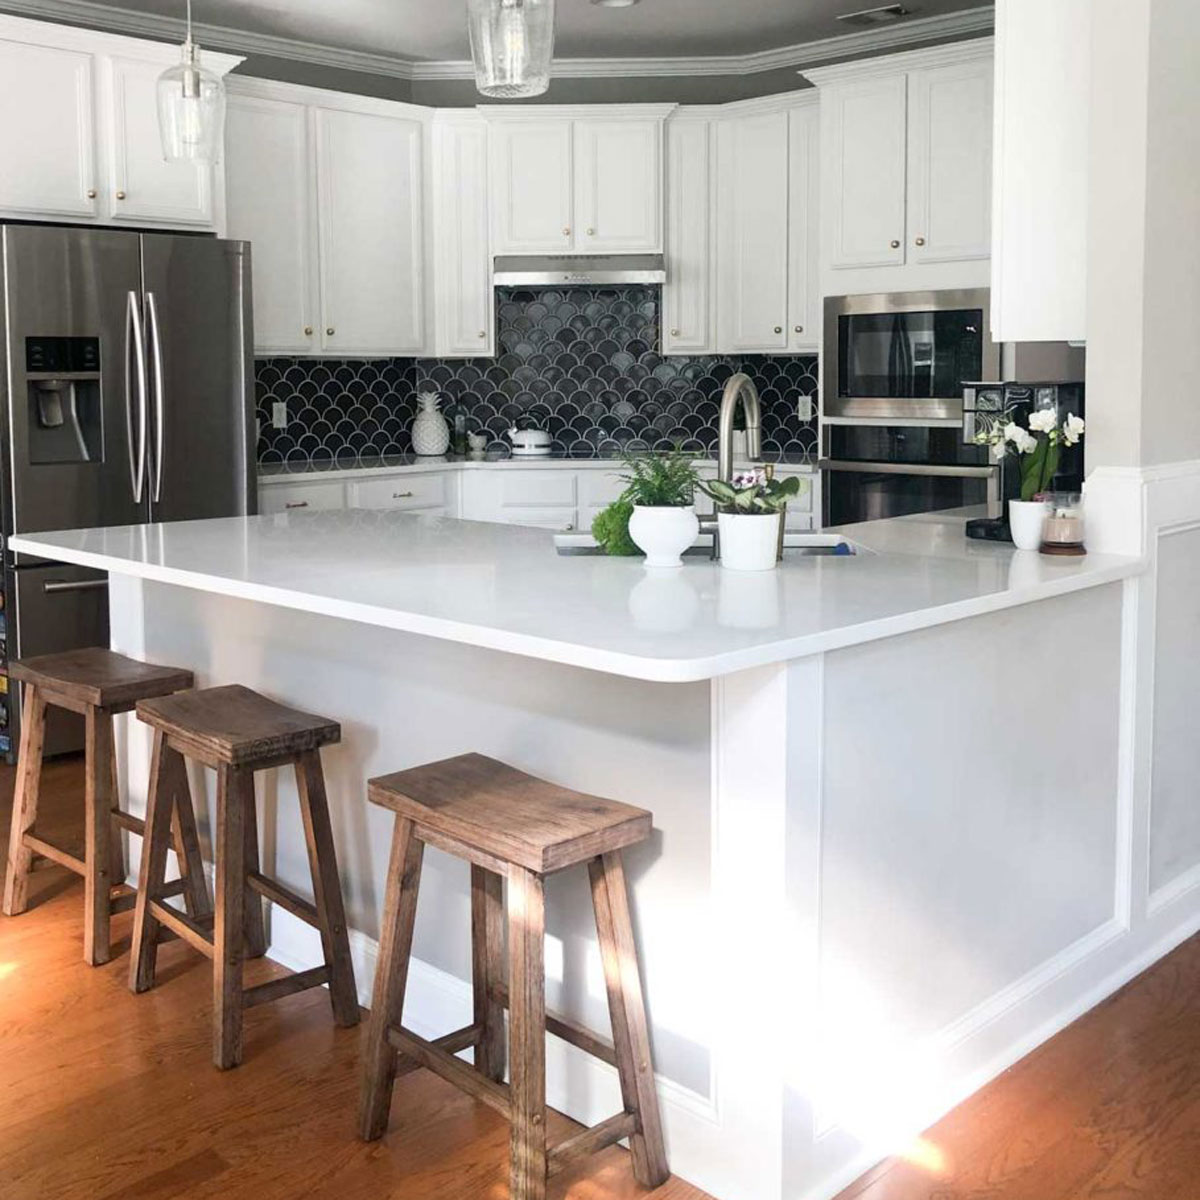
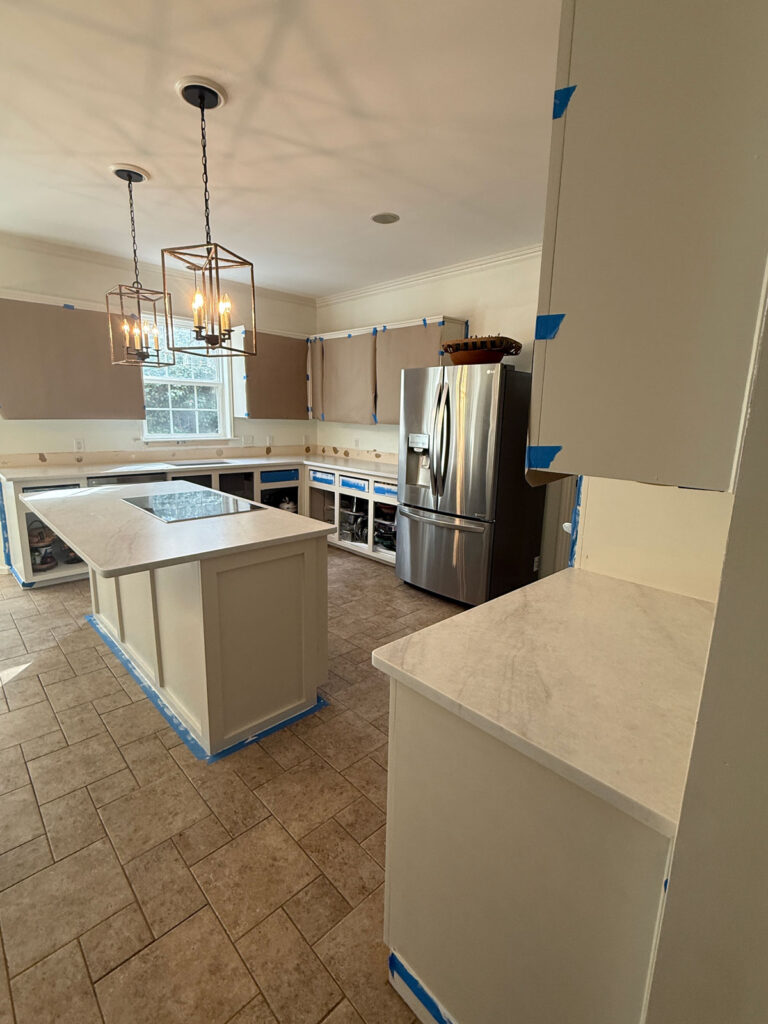
New Counters!
Finally (while I was still painting cabinet fronts) it was countertop time!
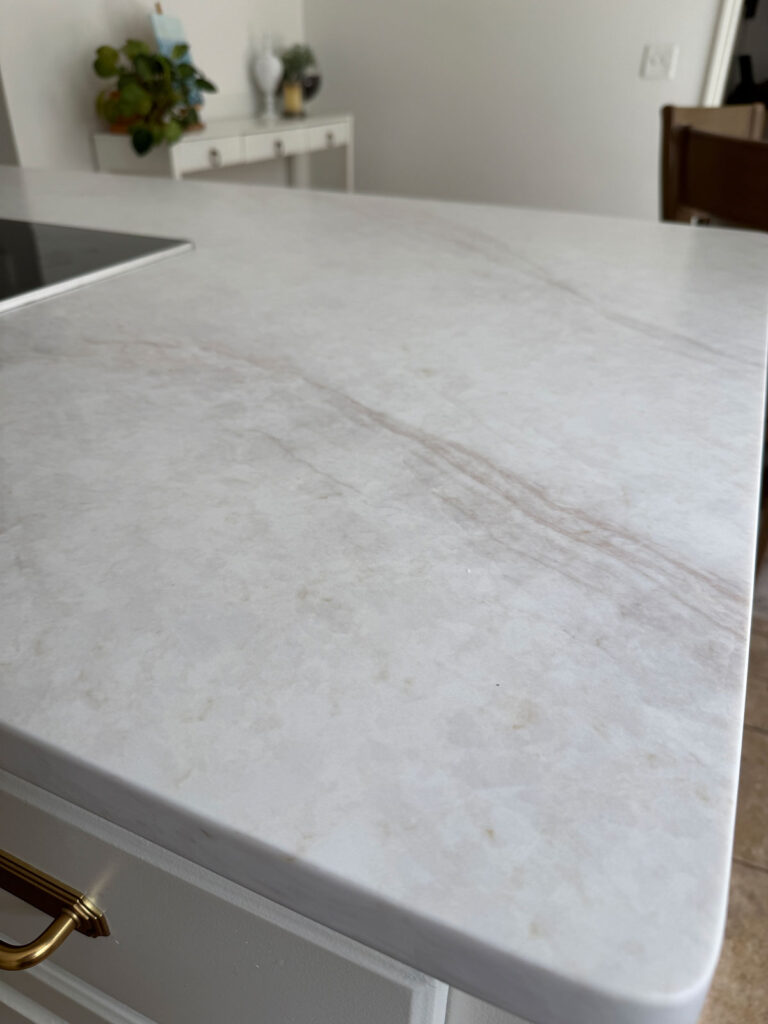
I was SO excited about these counters. We chose a plain white quartz for our last kitchen remodel and I wanted something warmer with veining this time which honestly made choosing SO much harder. We ended up doing 3 warehouse visits trying to decide what we wanted.
We ended up choosing a MSI Ivoritaj brushed quartz that is perfection! I love the brushed matte texture, it looks really different to me.
Backsplash
Once the counters were in it was backsplash time!
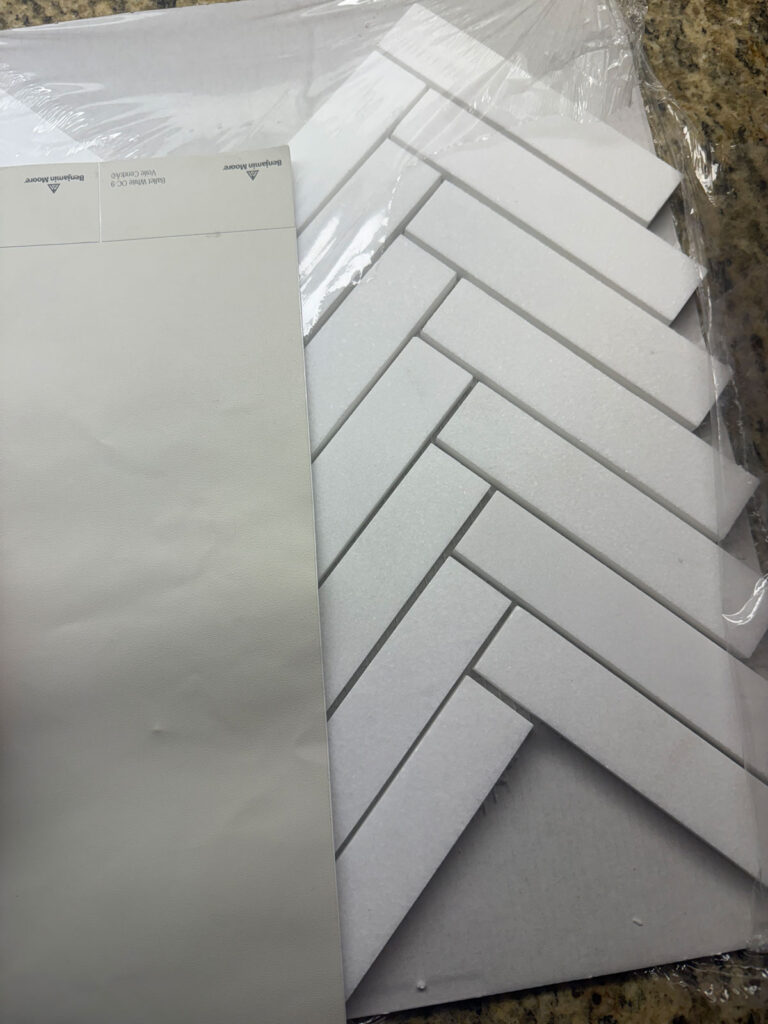
The cabinet color we chose was Benjamin Moore Ballet White and we picked a white brushed marble herringbone pattern for the backsplash.
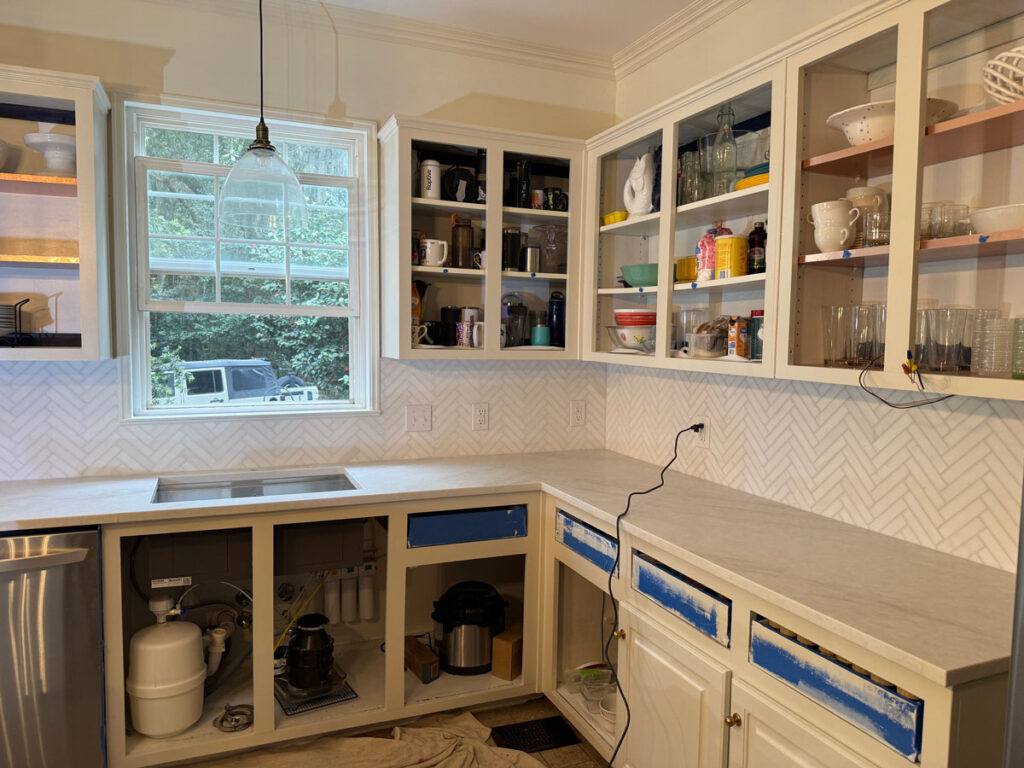
This tile install was not for the weak so we hired our contractor to install it. It took him two full days. He said the sheets of tile weren’t always evenly spaced so he was hand placing a lot of them. We were so grateful to have someone with such attention to detail because it is something we both would have noticed!
When he was finished we were sure to seal the marble backsplash with this sealer to protect it.
To be continued… Click here for part 2 of the kitchen remodel where it all comes together!