
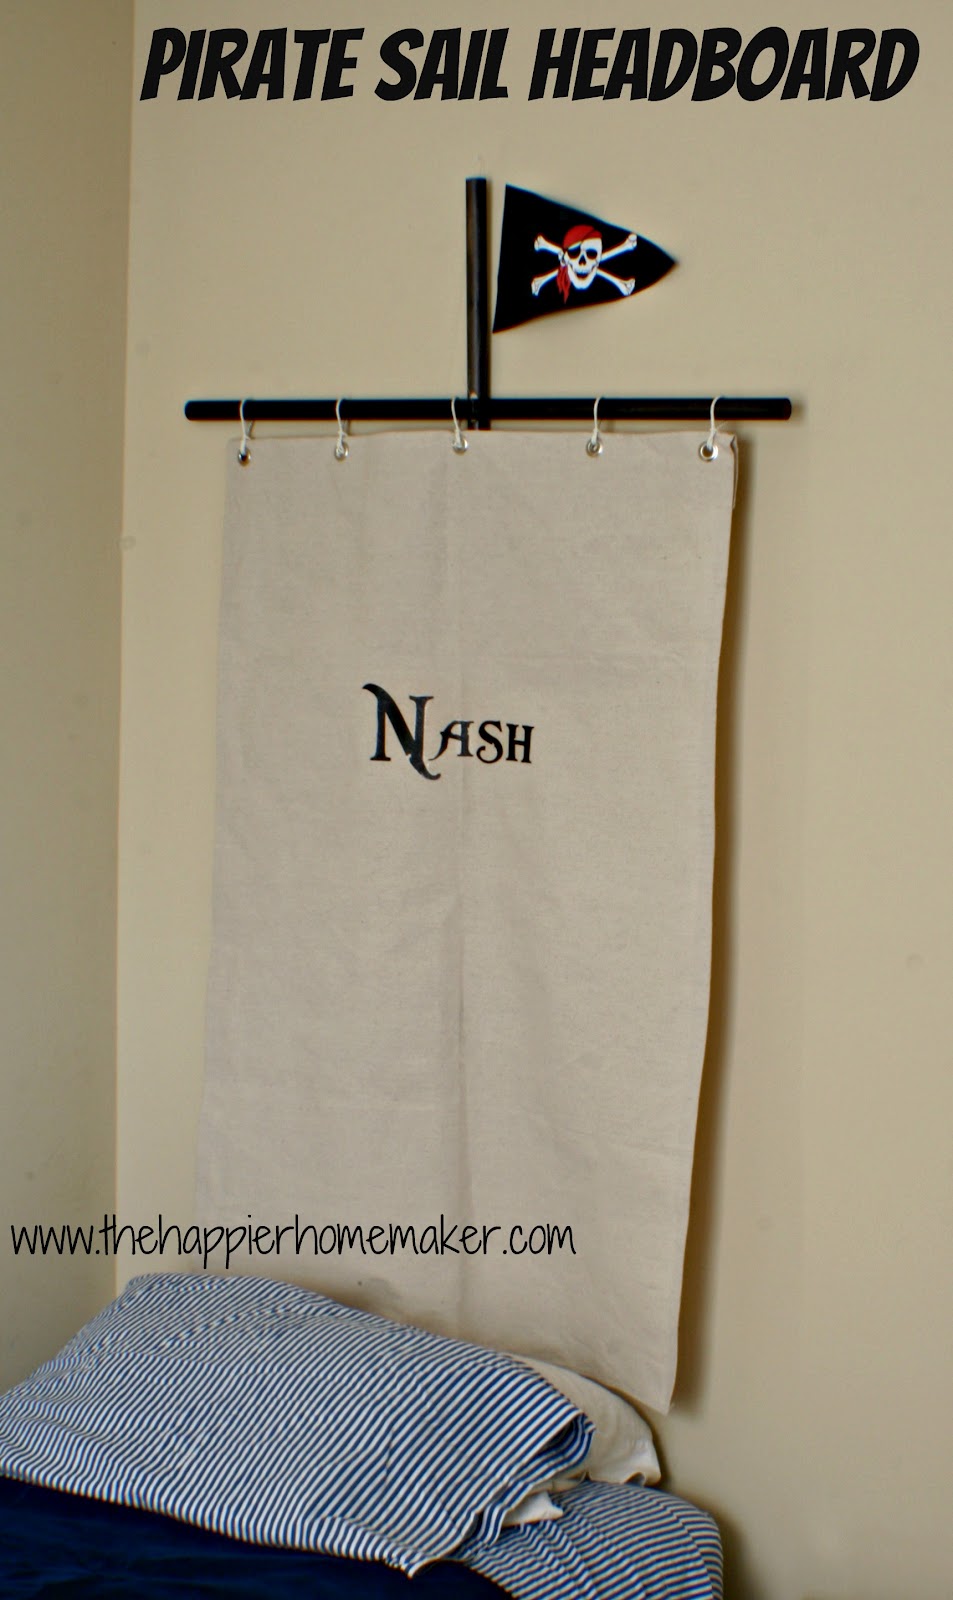
Pirate Sail Headboard
I had previously mentioned that my four year old son is big-time into pirates. Its been over a year now since his obsession started and it is still going strong so I thought I’d give his room a bit of a pirate makeover with a Pirate Sail Headboard.
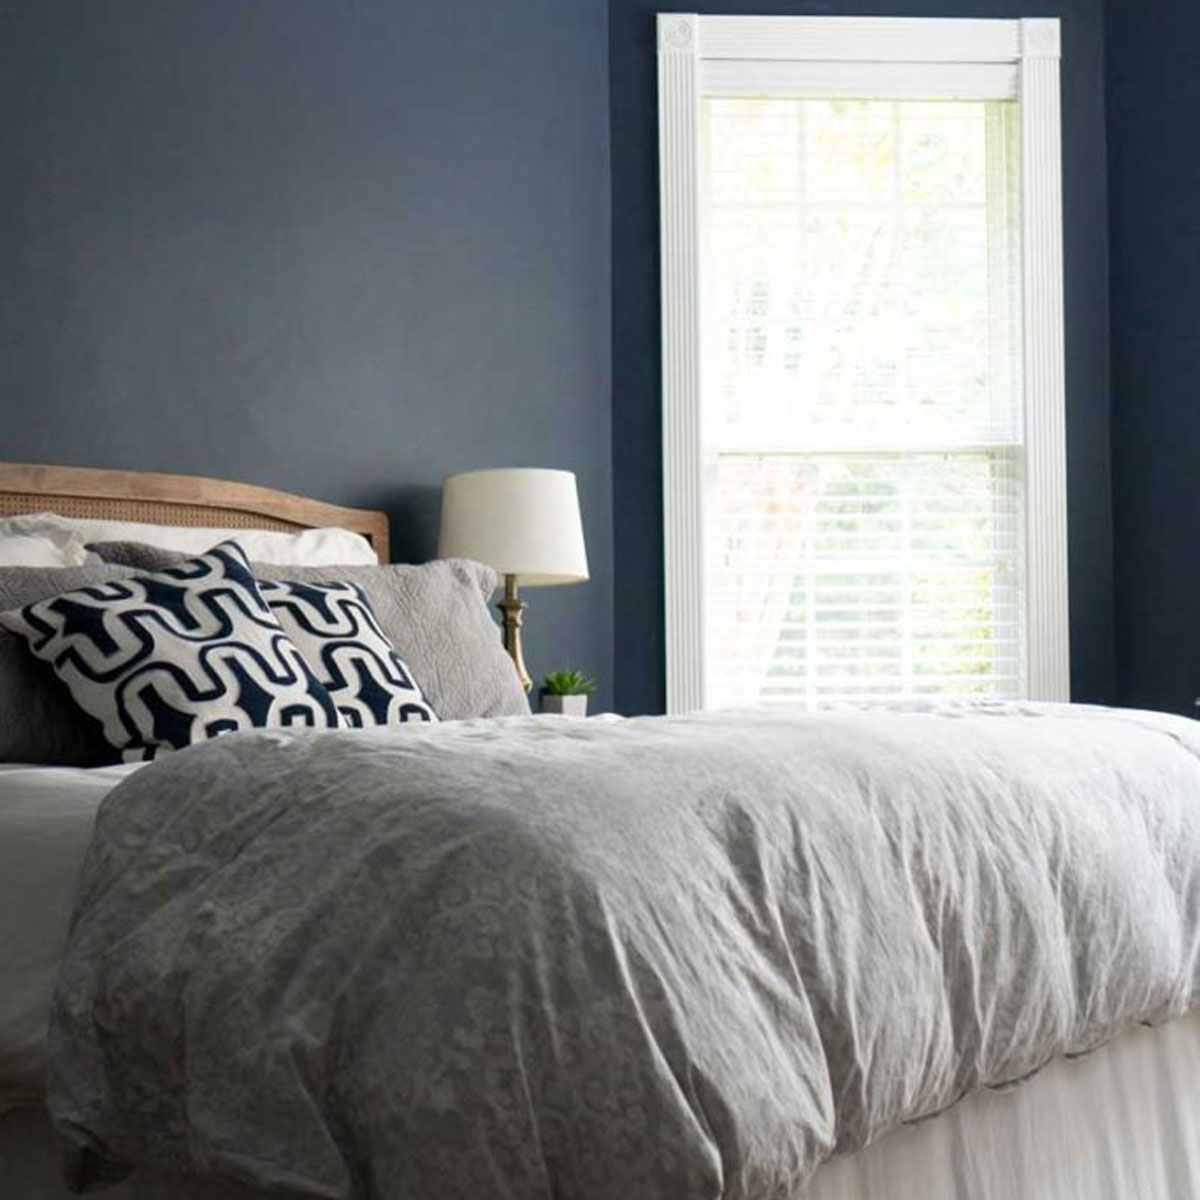
How amazing is that?? I love this room and it is my inspiration for Nash’s bedroom. They don’t make this bed anymore and while I found some pretty affordable alternatives I thought to myself, why not make a sail like the one on the wall and use that as his headboard? So here you have it: Nash’s Pirate Sail Headboard!
I had most of the materials already on hand for this project, it was just a matter of getting them together.
Pirate Sail Headboard Materials
Most of these supplies I had on hand as leftover from other projects but I have linked them below for clarity. (affiliate links)
- drop cloth
- iron-on hem tape
- pirate font
- iron-on paper
- eyelets
- rope trim
- 7/8″ dowel
- oil rubbed bronze paint
- hot glue gun & glue
- fishing wire
- pirate flag clip art
How to Make a Pirate Sail Headboard
The sail is leftover dropcloth from my Laundry Room Makeover-I hemmed the edges with iron on hem tape. I printed his name off (reversed) onto iron-on paper to personalize his sail, then ironed it on per the paper directions.
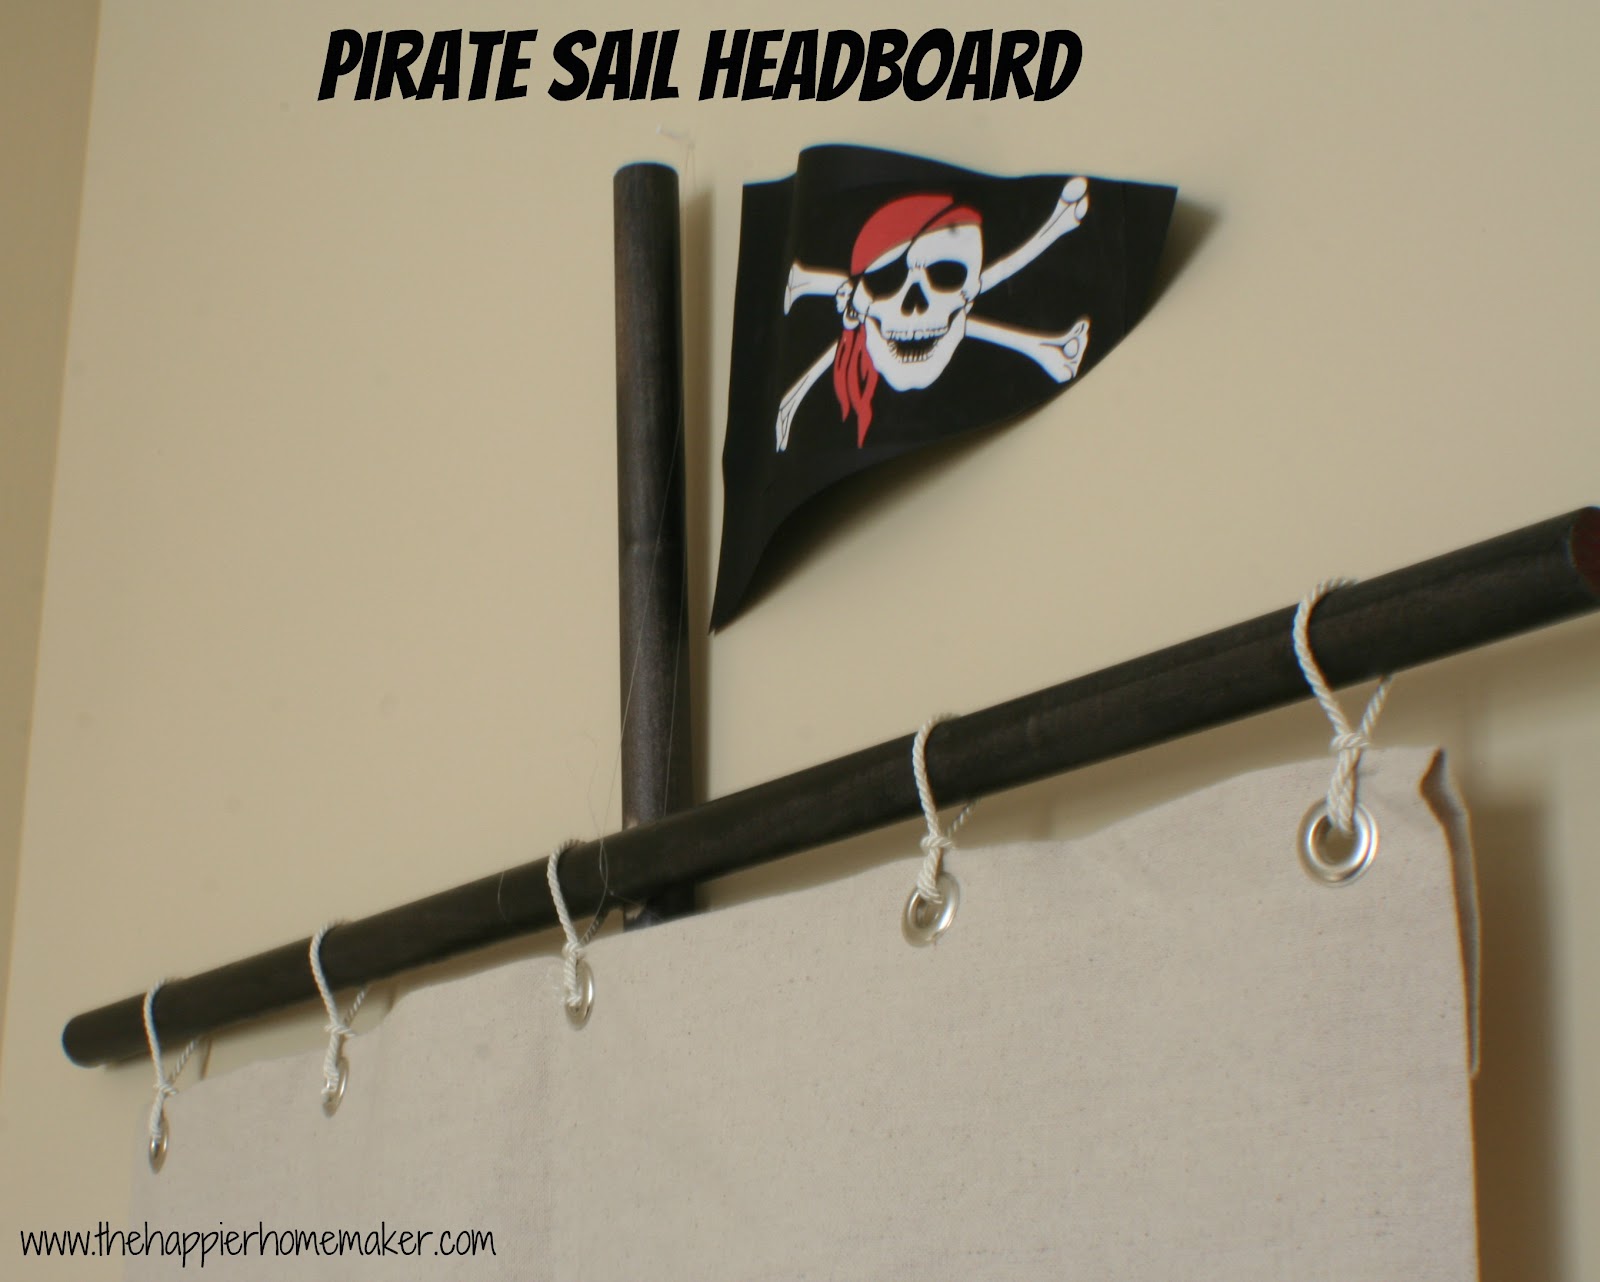
I found large eyelets and rope trim from Hobby Lobby for less than $10 with a coupon and used those to attach my “sail” to the mast.
The mast is a 7/8″ dowel I spray-painted with oil rubbed bronze spray paint from my Builder Grade Light Makeover. I trimmed it to the size I wanted then used my electric sander to create a flat area on each piece so I could hot-glue it together.
I hung the mast on a nail with fishing line to the wall. The flag is simply a free clip art image from online pasted to black cardstock and taped to the wall, I tried to give it some curve to mimic the look of a flag flying in the wind. All in all the total project cost was less than $10 because it was mostly made of salvaged materials!
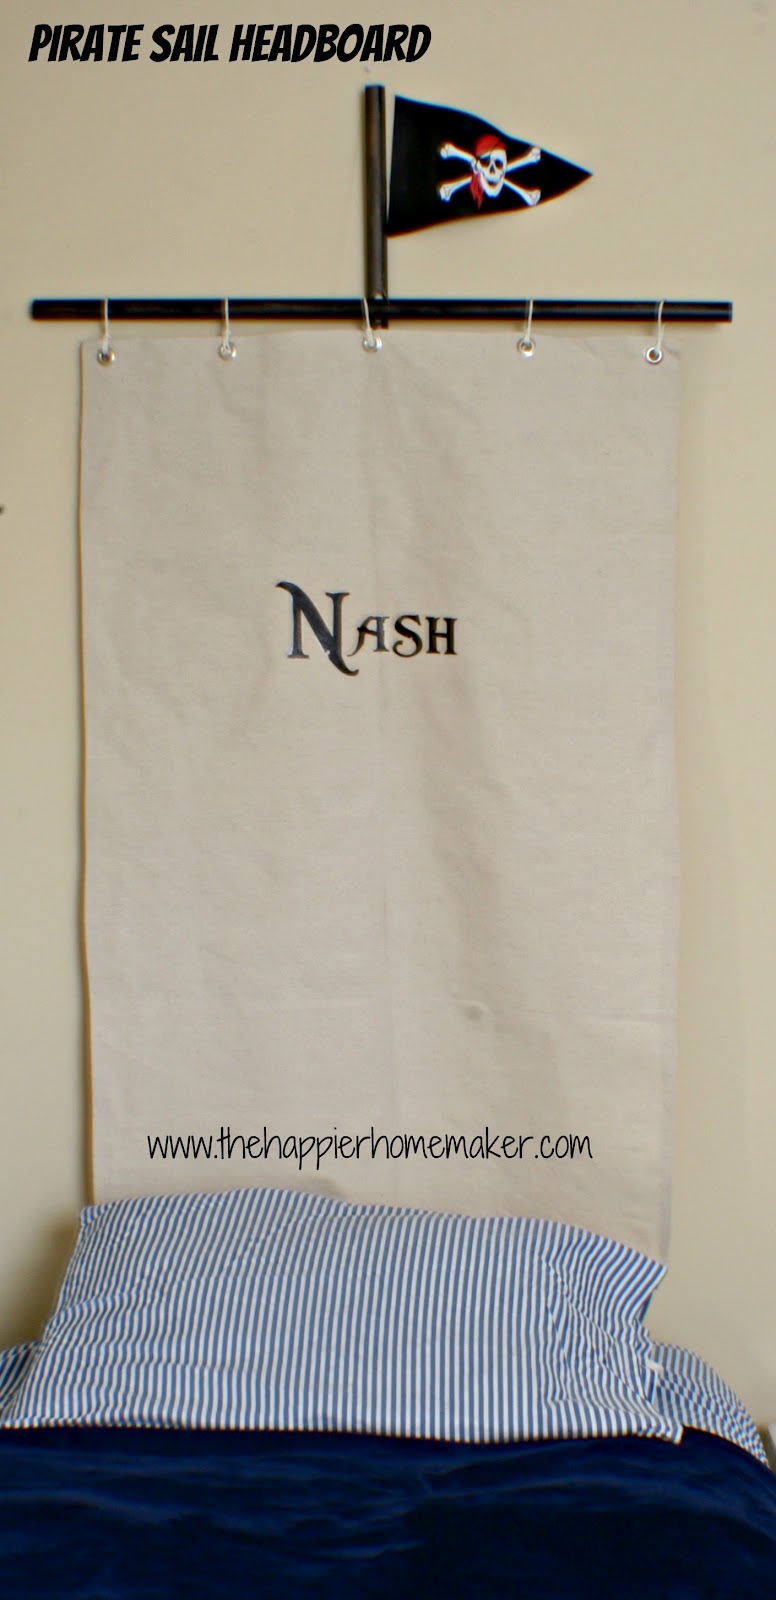
I love the way it turned out and more importantly so does Nash! I have so many more cool projects planned for his room coming up-one of the things I really need to get on is changing out his bedding-that crazy stripe gives me a headache every time I look at it!!


What a great boys room! You did a fantastic job. Thank you for sharing and inspiring!
That is a great idea! Megan