Wondering how to build a DIY fire pit? Follow this easy step by step DIY Stone Fire Pit tutorial for under $225 and two hours to assemble. Enjoy bonfires outside anytime you want with this easy project!
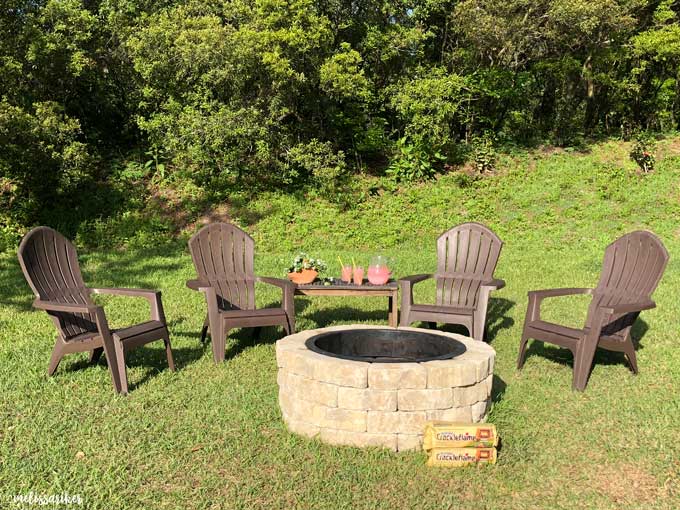
I'm so excited to share one of our recent yard projects with you all today! This DIY Stone Fire Pit we built last month just before the spring weather finally arrived and it's been getting so much use already.
Over the years as the military has moved us house to house we've used an inexpensive metal free-standing fire pit for all of our outdoor get-togethers (which we love to do!) Now that we are settled down into what we hope will be our "forever" home we really wanted to build a more permanent fire pit in the yard.
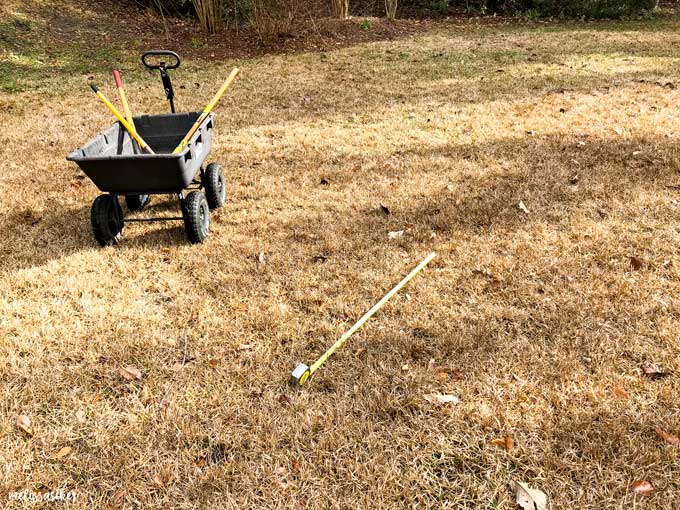
DIY Fire Pit Kit
We were pleasantly surprised when we found a fire pit kit at our local big-box home improvement store that included the stones and metal ring for $200.
We read up about the install online and found that it was recommended to add an extra row of stones for more height so we opted to buy 12 extra matching stones along with the kit. (They were about $1.50 a piece so this added $18.00 to the project.) We also already had lava rock on hand to use for the bottom of the pit area.
Step by step
The first step was to choose where in the yard to place the fire pit. We chose an area off to the side of the yard that did not get much use but was still close to the patio and our hot tub area. We measured out the width of the fire pit, decided on exact placement, and got to work!
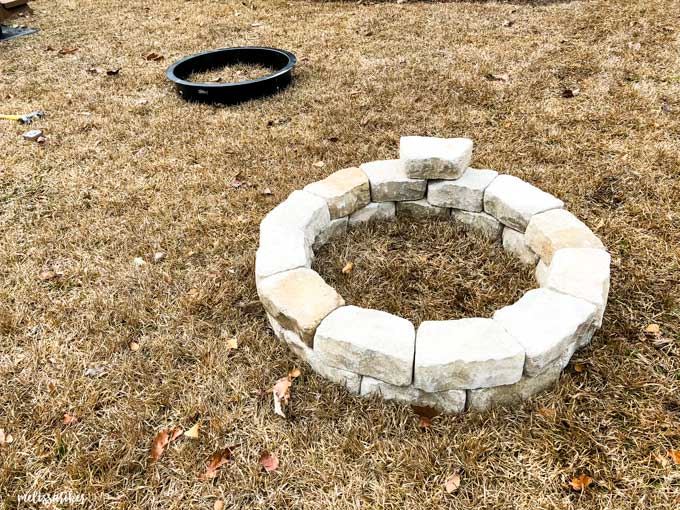
The stones fit together very easily making it almost unnecessary to measure as we stacked them. We were careful to stagger the stones as well and try to distribute the darker stones evenly among the lighter colored ones.
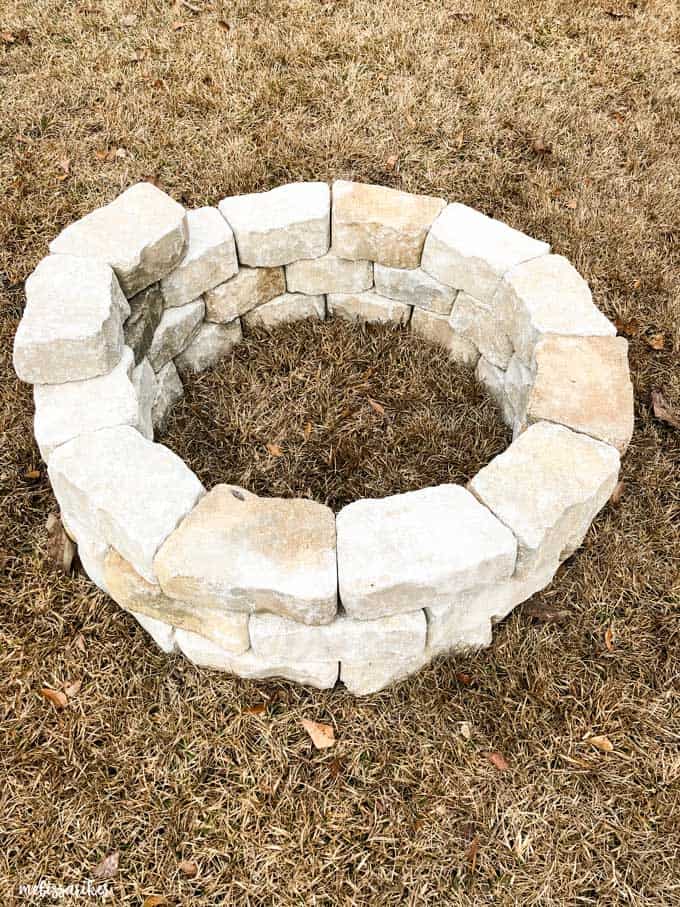
I was very happy we opted for the extra row of stones, the kit allowed for three layers but the fourth added some nice height to it and gave a more custom finished look.
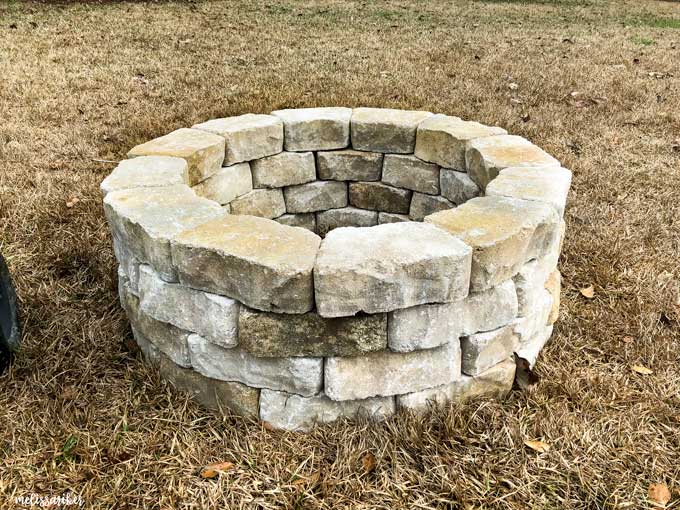
It was at this point I realized I should have removed the sod first! It would have been easier but we were able to get it removed and layer about 4" of lava rock along the bottom of the fire pit to form a buffer between the fire and ground.
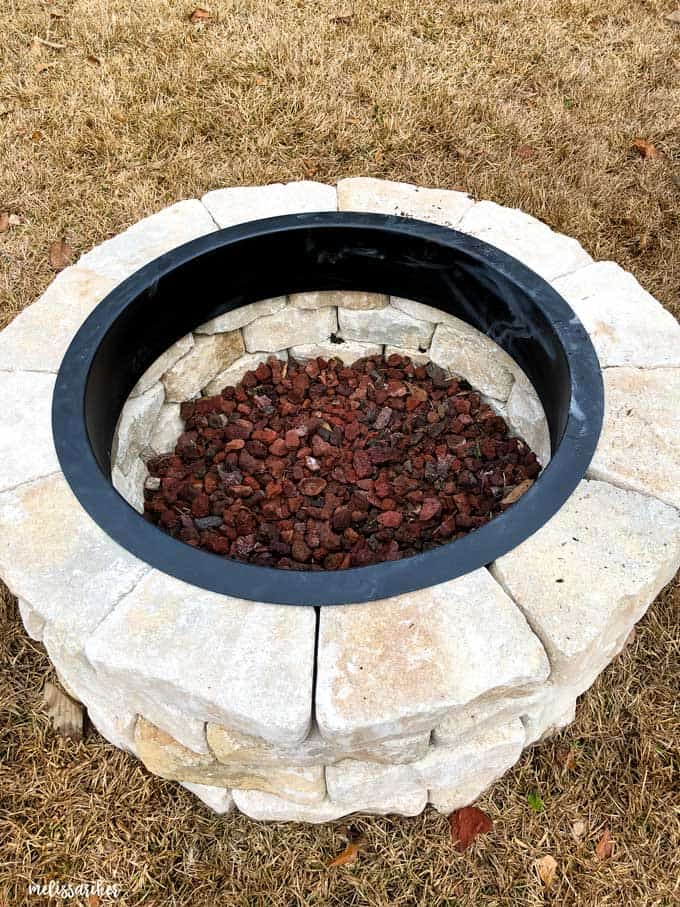
The finishing touch was to add the metal casing and we were all finished in less than two hours! Talk about a satisfying outdoor project and for under $225!
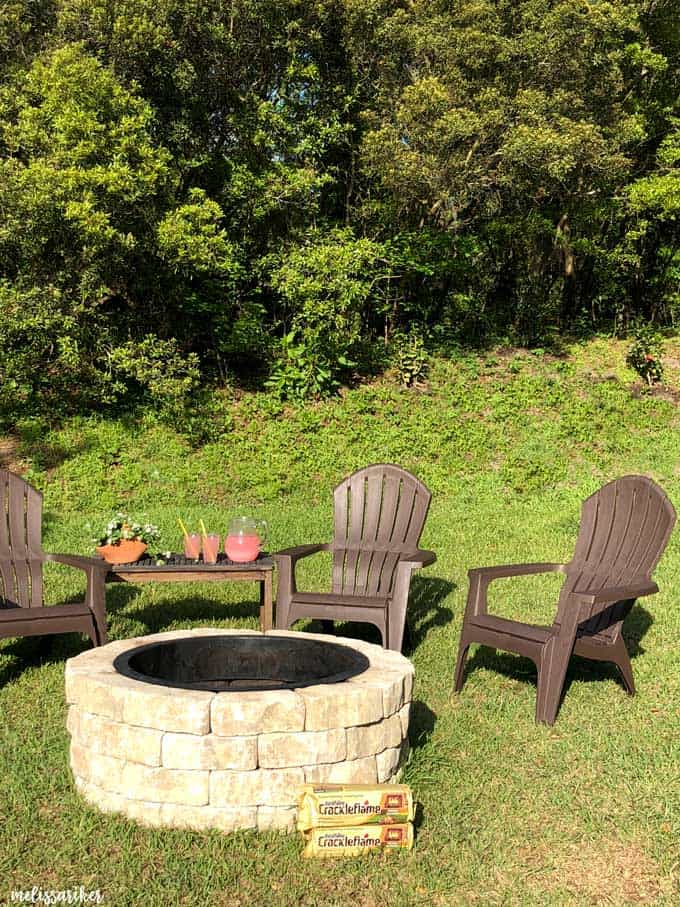
We literally enjoy our new firepit at least once a week since building it, it's so nice to be able to enjoy a fire anytime we are in the mood.
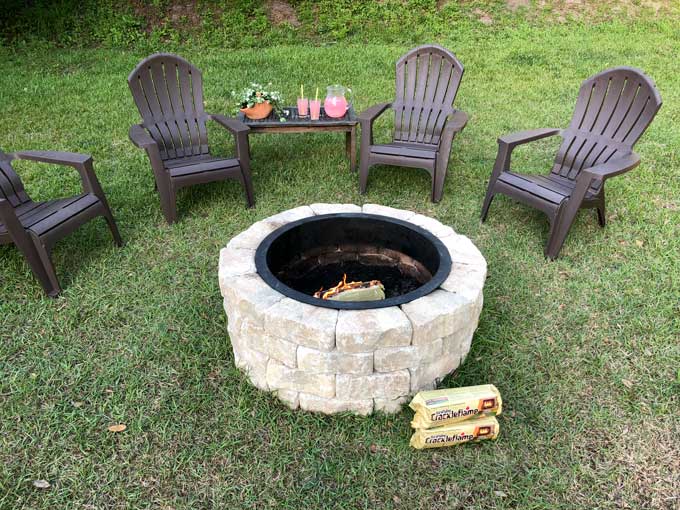
It's also been a great place to gather with friends and family on the weekends for easy, stress-free entertaining.
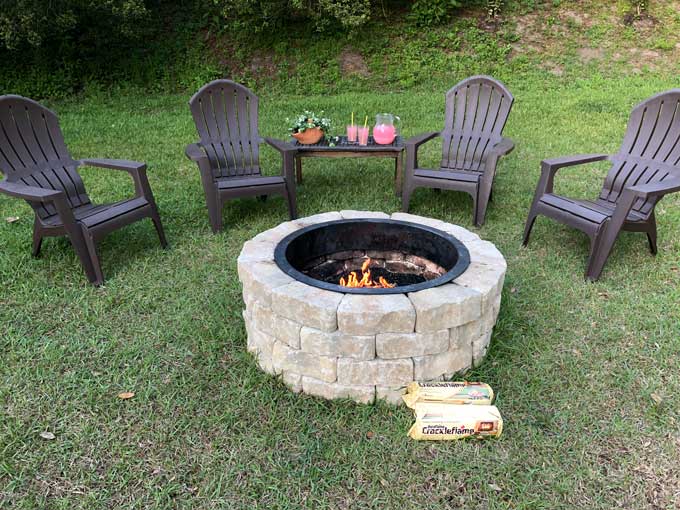
What do you think of the new fire pit? Would you build one in your yard?


Newport Zero says
Wow, I always wanted to have a fire pit in my backyard, but i thought that it was hard to do. The way you did it looks cool and easy. Thanks for sharing 🙂