

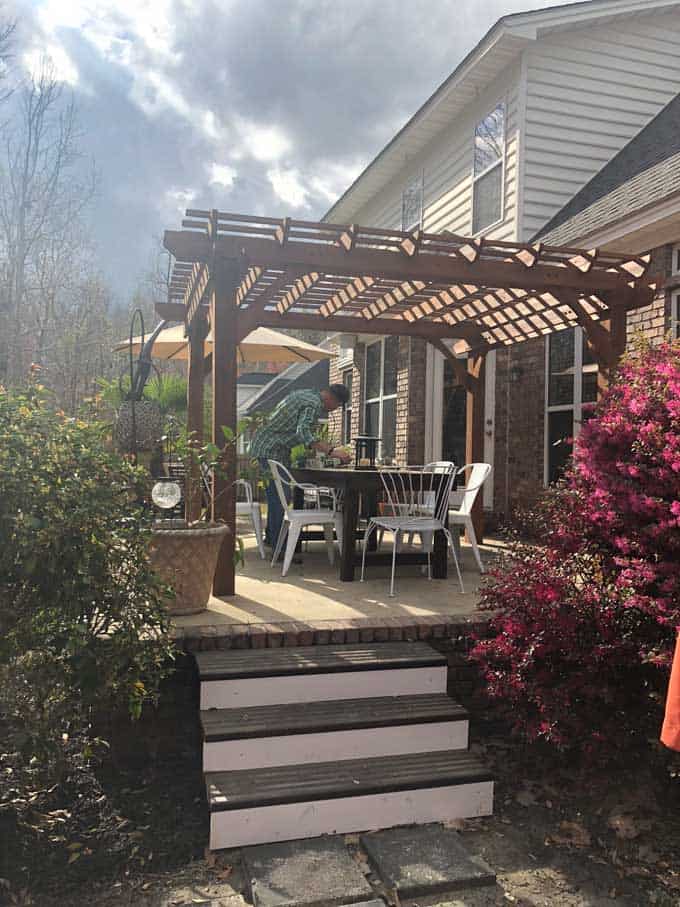
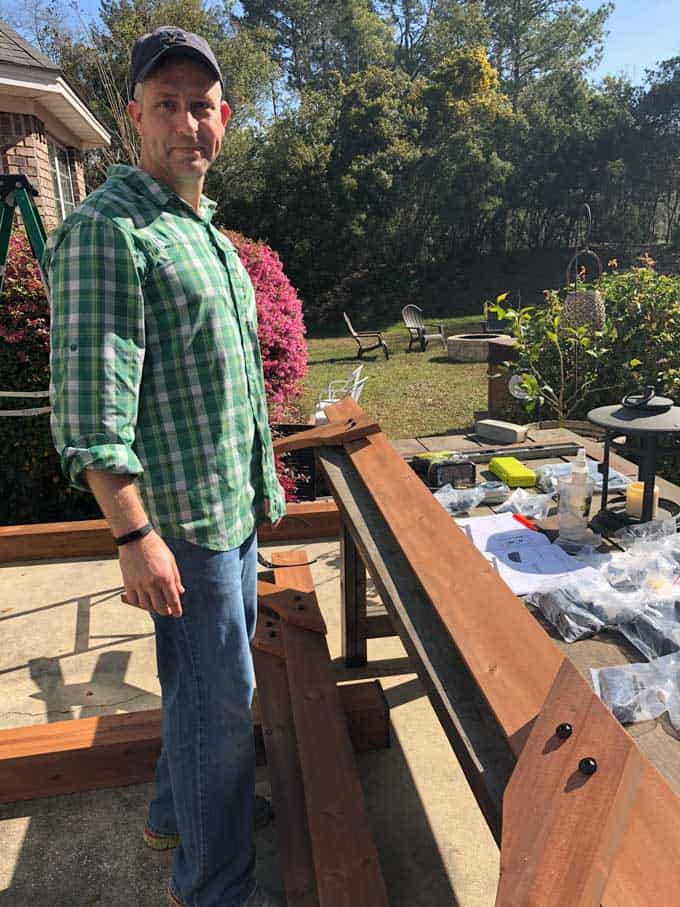
If you follow along with me on Instagram you would have seen our big pergola-building project two weeks ago. I have to be honest, my husband was the motivating factor for our decision to build a pergola. He was convinced it was exactly what our back patio needed and while I was skeptical at first I'm so glad now that it's here.
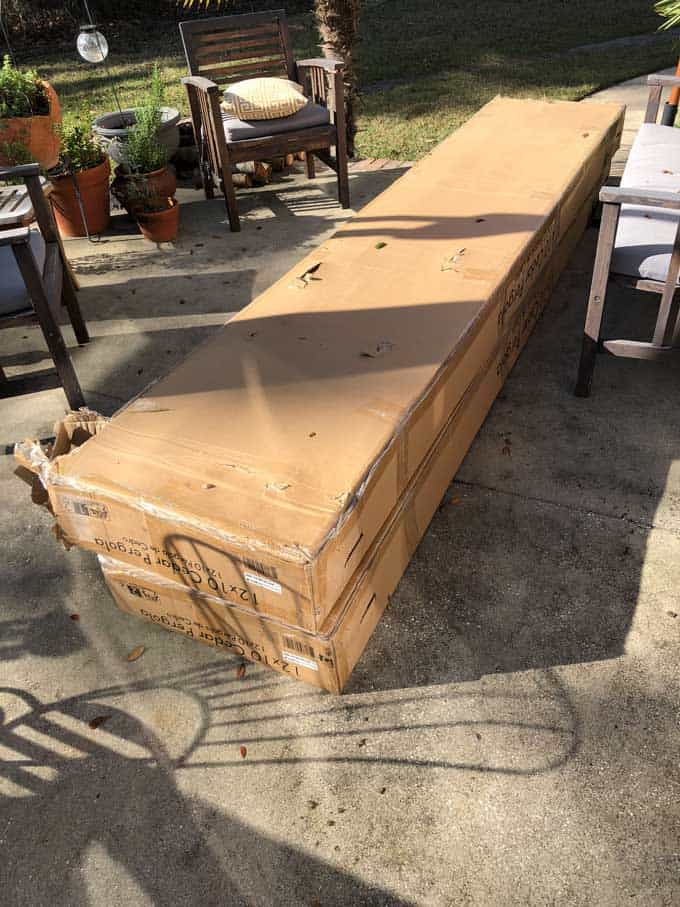
After a lot of research, we decided to buy a kit to build our pergola. We debated building it from scratch but the time investment would have been at least doubled if not tripled. We decided on this cedar pergola kit and highly recommend it-the instructions were very well written and all of the parts were well organized and labeled. The pergola was delivered via a shipping service about a week and a half later, it arrived in two (very heavy) boxes.
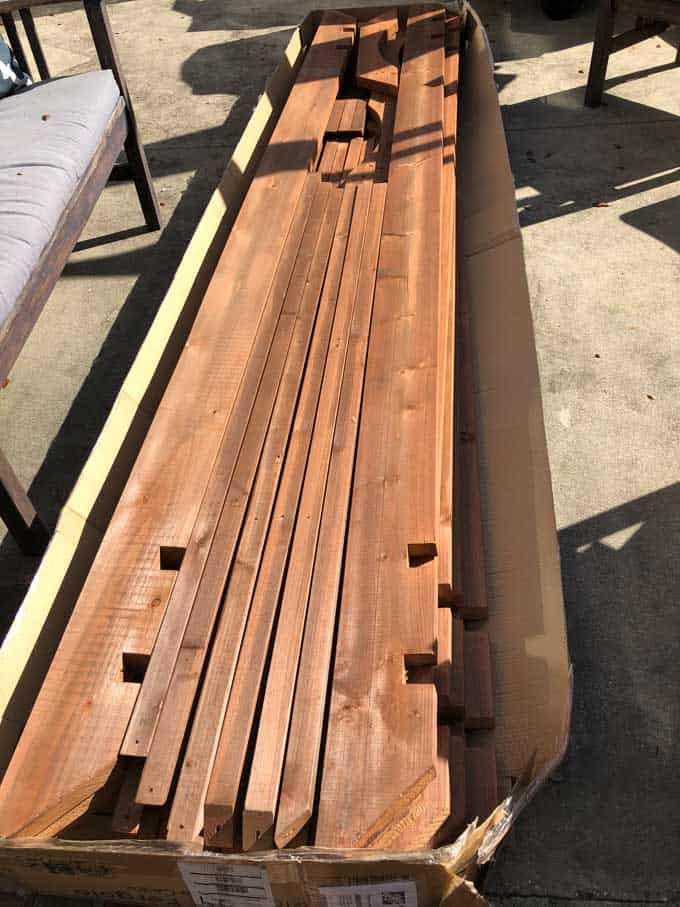
All of the wood was pre-stained and drilled. There were no crazy tools required, just the basics-a level, drill & measuring tape. (Our Ryobi impact driver was very helpful with this build!)
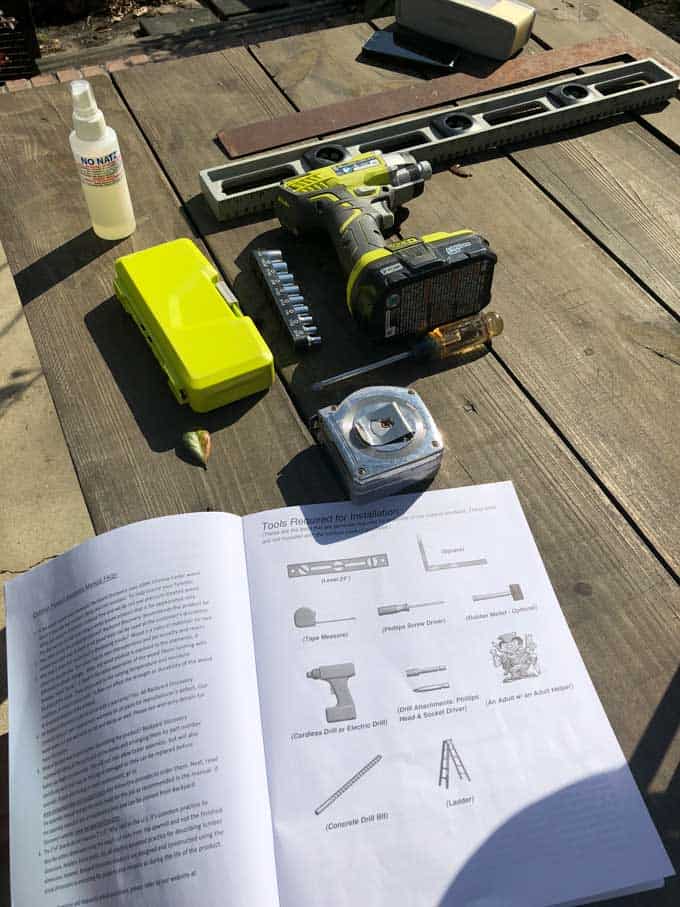
My poor husband, the gnats here in Georgia love him so that No Natz spray above was a must-have for this build as well!
The first step to build the pergola was to assemble the eight pieces that together made up the top edges. Like I mentioned earlier, the parts were really well labelled and the instructions very clear so it did not take long to do.
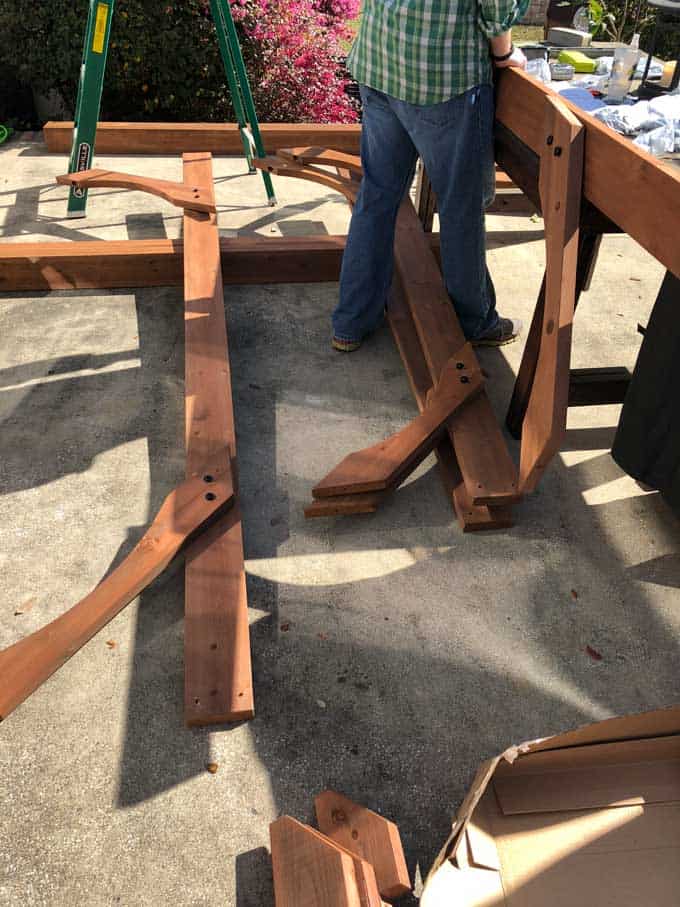
Then we had to sandwich the support poles in between the top edges to create the two short sides of the pergola.
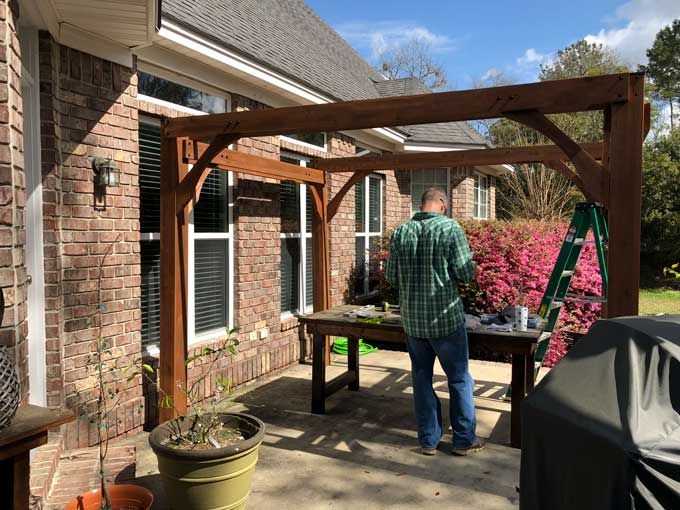
At this point, it was fun to see it starting to take shape. (I promise I was helping, not just taking pictures!)
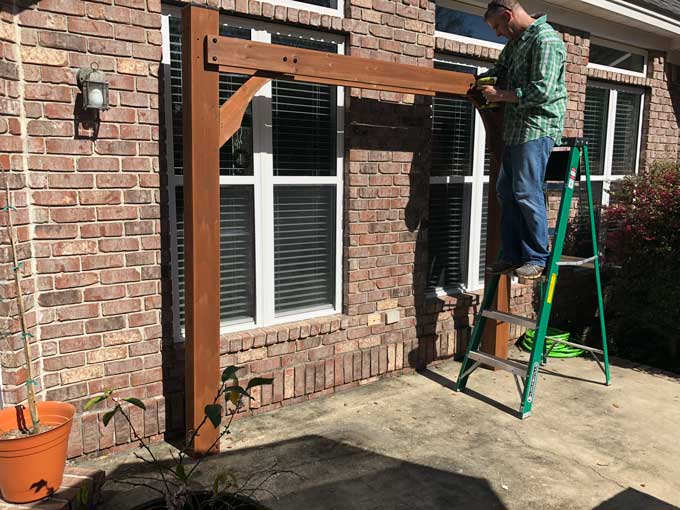
Once the two ends were all put together we had what was the most challenging part, attaching the two together. It wasn't difficult to actually do but it did require me calling the kids to come help steady the support beams while my husband was attaching them. It was a pretty gusty day as well so that didn't help.
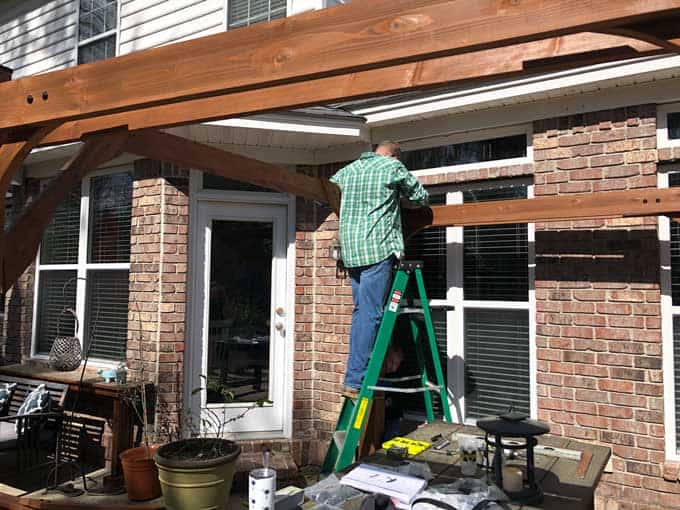
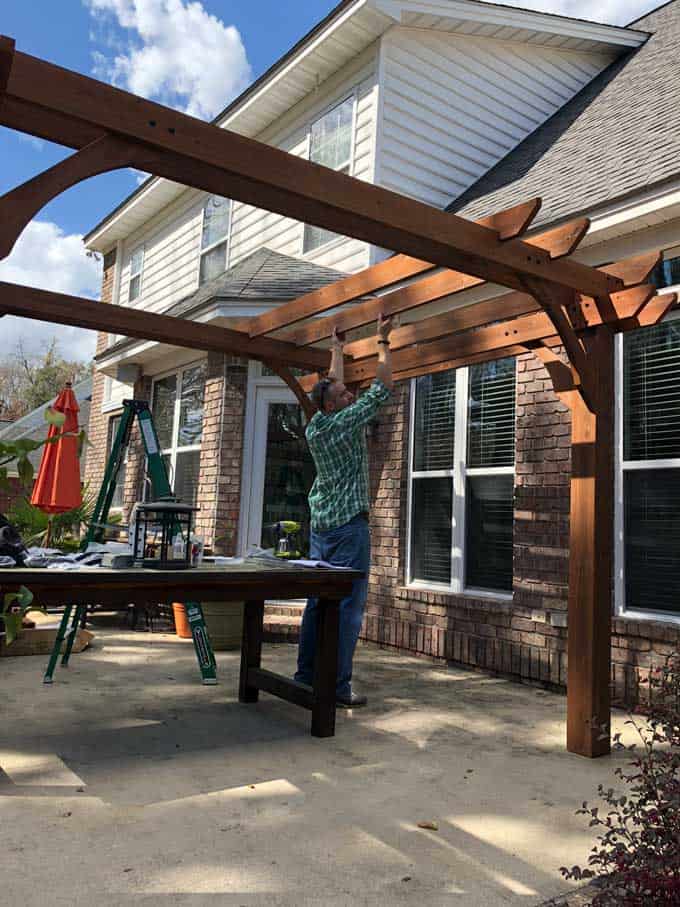
After the first side pieces were attached the pergola was self-supporting and the rest was much easier.
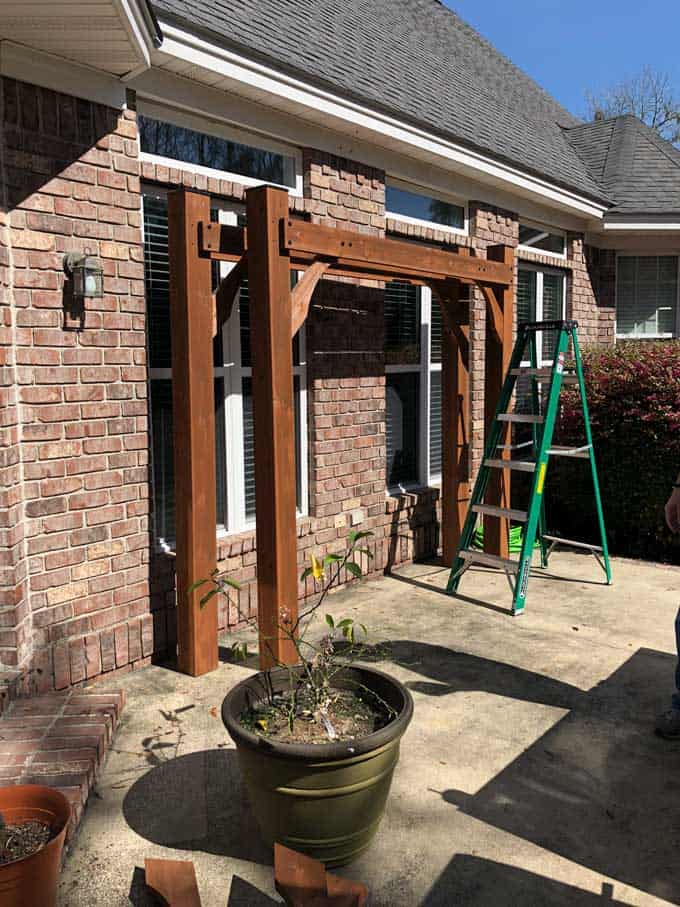
This was the point at which I had to say "adios" to Randy to take our youngest to a birthday party so he got the pleasure of finishing the pergola up on his own!
(He's a good husband, isn't he!?!)
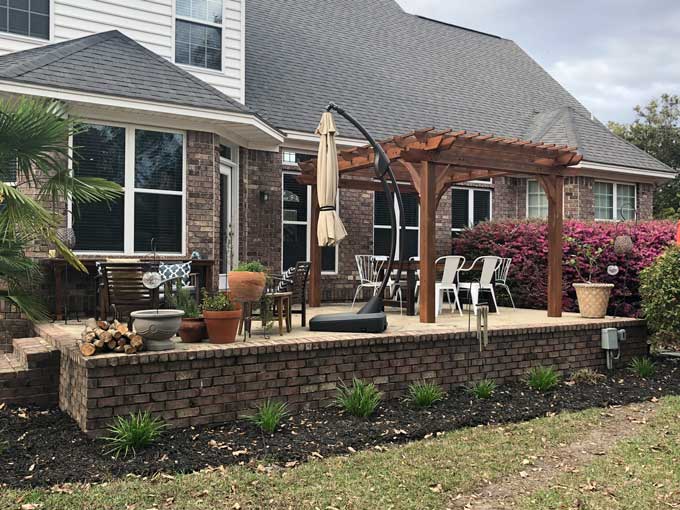
Doesn't it look great?? I was so happy with it when I returned home. All together it took 5 hours to build, with me helping the first two. You would definitely need two to three people to get the sides put together like I mentioned but other than that one step it was quite easy to put together overall. I highly, highly, highly recommend the kit we used. The quality and workmanship are great. I don't think it could have been any easier and I'm positive it would have been a nightmare to build it on our own from scratch.
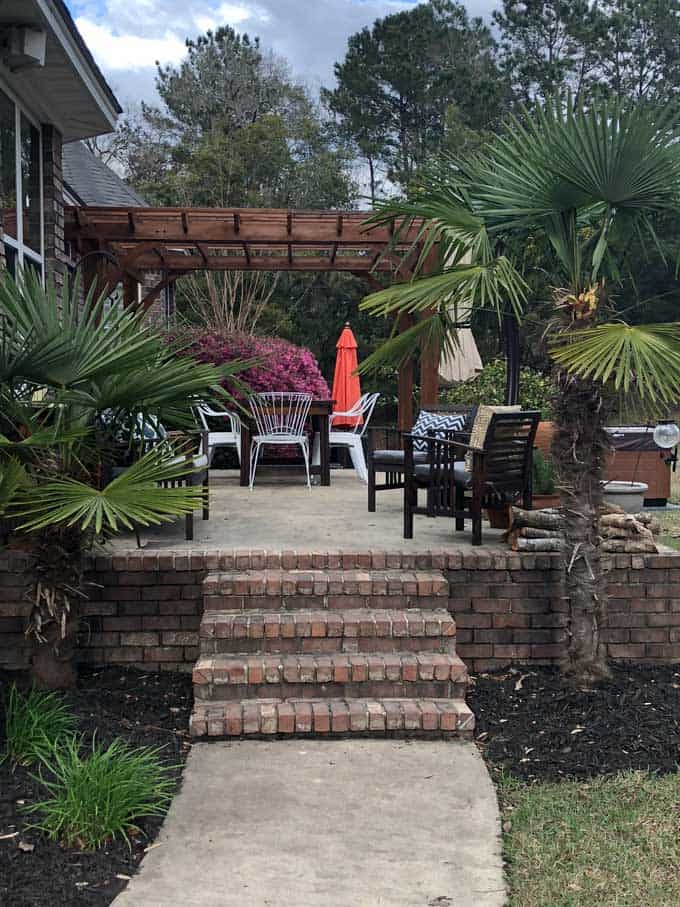
We are planting two climbing roses on the pergola this coming week, and it now has stringing lights on it as well. Be sure to follow along on Instagram for pictures as we continue to work on this space!


Janine says
I love your back yard. The pergola looks awesome. My husband wouldn't have the patience to put one up.
Melissa says
Thanks Janine, I was just glad it didn't take longer. I can't say it wasn't a bit of a pain but the end product was well worth it!
Janine says
it is definitely well worth it. i'm sure y'all are already enjoying it.
Lin says
Nice work! Looks great.
Melissa says
Thank you!!
Kathy says
The pergola looks great! What company did you use?
Melissa says
It's made by Backyard Discovery Kathy, you can see it here: https://amzn.to/2IjjhM3