

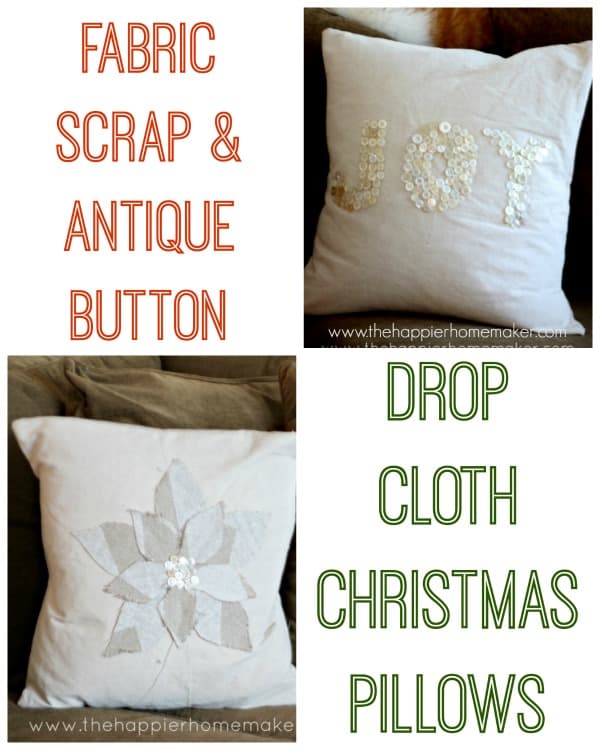
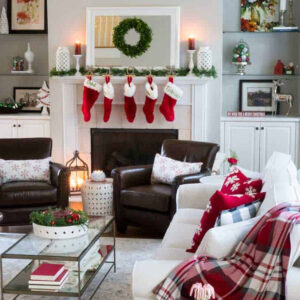
When I posted my Holiday Home Tour earlier this week I received quite a few comments and questions about the drop cloth pillows in my living room so of course today I'm ready to offer up some tutorials (and it's super easy!!)
Supplies:
drop cloth fabric
sewing machine
thread
fabric scraps in desired colors-I buy my fabrics here
buttons
hot glue and glue gun
I began by creating envelope style drop cloth pillow covers. You can see a full tutorial for easily making your own here.
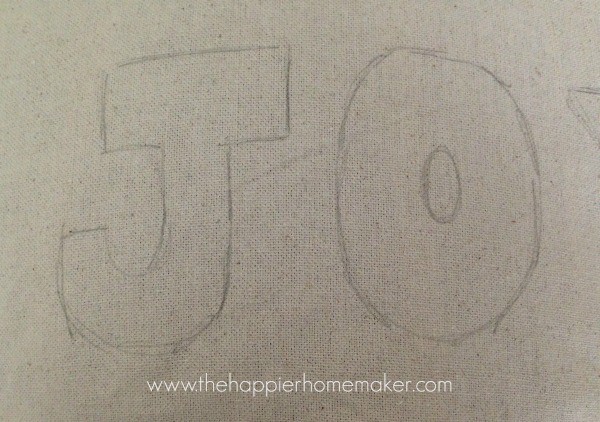
To create my JOY pillow I hand sketched the letters onto my pillow, if you don't feel comfortable doing that you could always print them out on your computer and trace them.
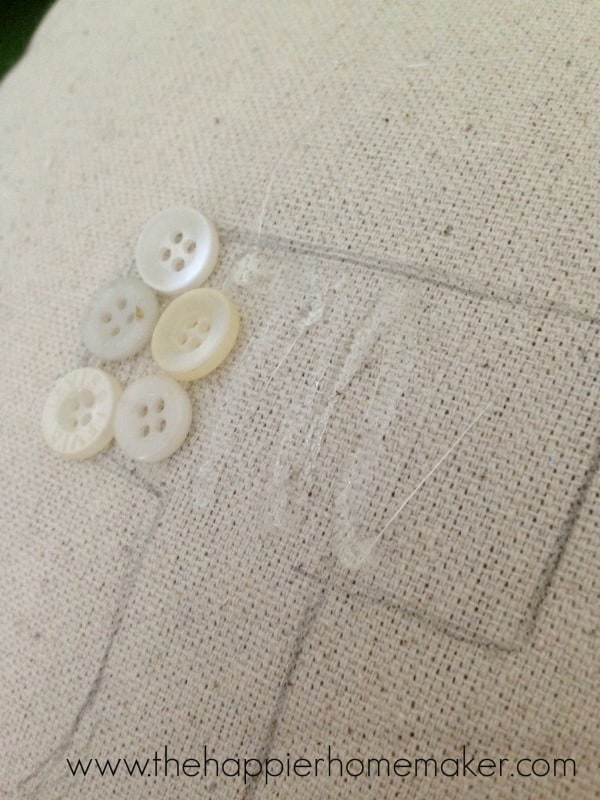
I had a lot of mother of pearl buttons left over from last year's Christmas Tree button garland-I purchased a lot of them on Etsy- so I began by laying all my buttons out so I could easily see the different sizes I had on hand. Then I began applying hot glue in 1-2" sections and quickly placing the buttons over my lettering.

I continued to work my way through the lettering in small sections. I love the effect I got from using buttons that were all slightly different!
It's as easy as that!
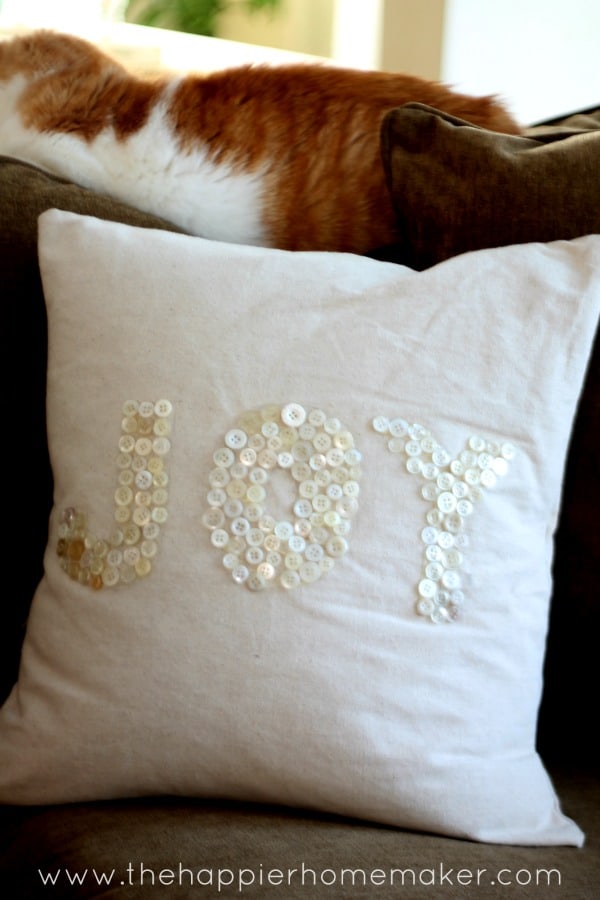
We use these pillows on our living room couch and so far they are holding up fine to light use. However I do suggest that you have, oh let's say a two year old little boy who likes to fidget while he watches his morning cartoons-this pillow might be better off in another area-my youngest spent one morning mindlessly yanking the buttons off before I realized he was even messing with it, needless to say he has lost his privileges of sitting with this beauty!
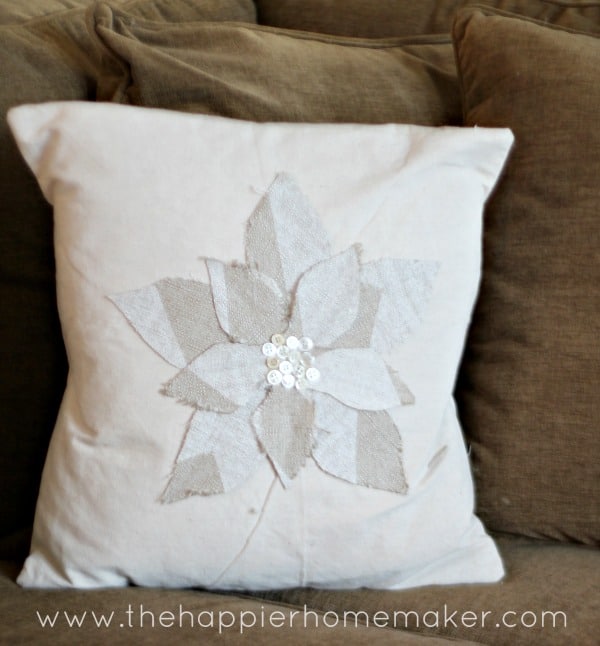
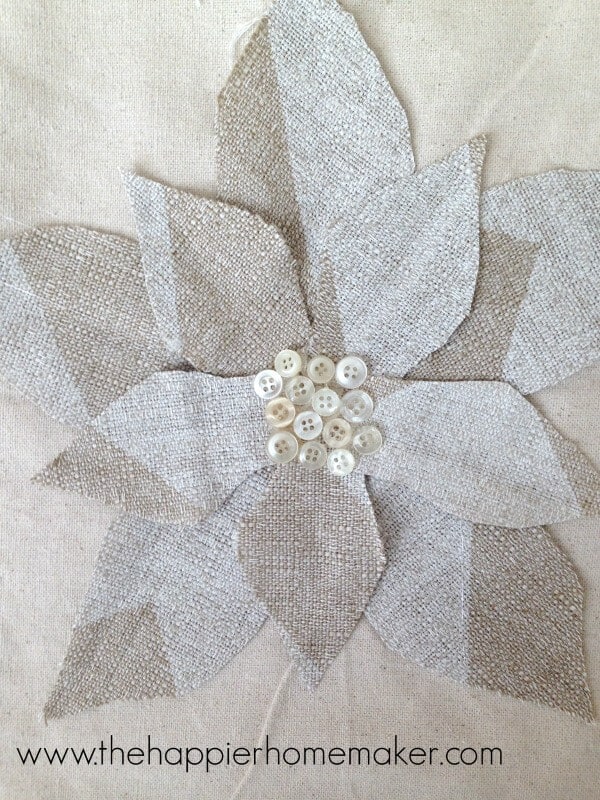
Now on to this pretty little flower pillow. Again, this is super easy to make. I started with some chevron striped burlap fabric that I bought from Modernality on Etsy-they sell packs of fabric scraps and are one of my favorite shops.
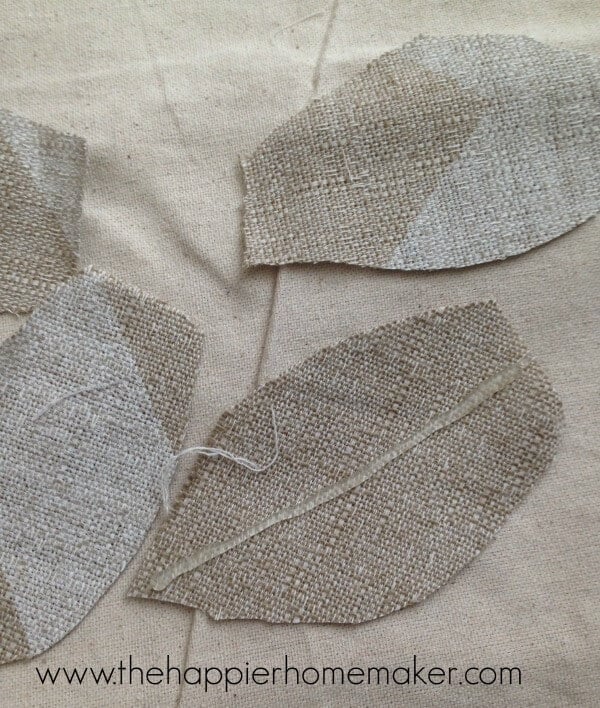
I first cut five 6" long petals and five 4" long petals freehand out of my chevron fabric. The larger petals are about 3" at their widest point and the smaller ones are about 2" wide at their largest part. They aren't all perfect so don't stress about that-this pillow is very forgiving!
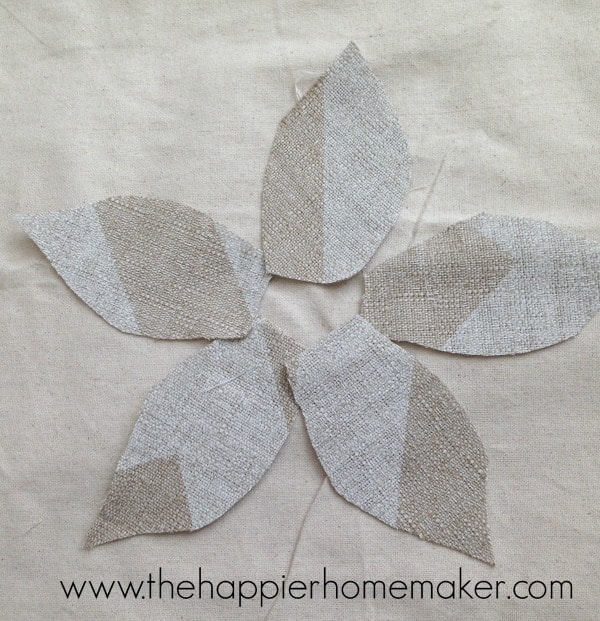
I laid out my 6" petals to get a good idea of where I wanted them on the pillow. Then I used hot glue and glued them one by one-BUT I only placed the hot glue right down the center of each petal, not the edges. This allows the petals to curve and be a little more three dimensional.
Once I had my first layer of petals down I began the process with the smaller petals, staggering them to cover the area where the larger petals met each other.
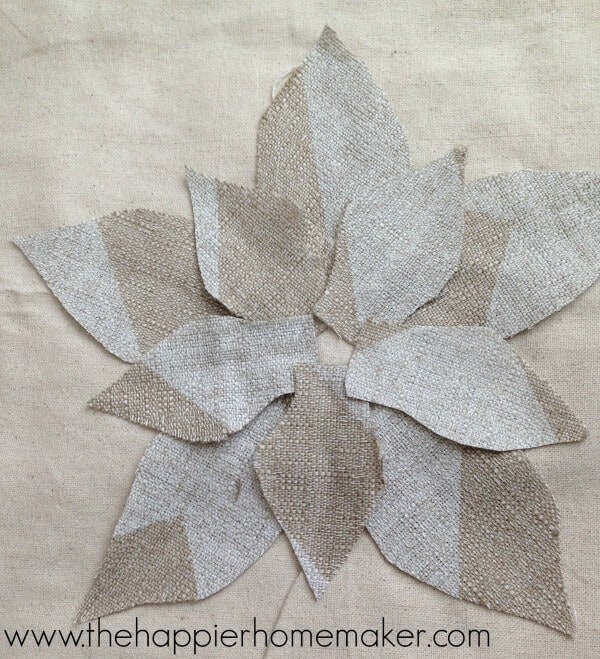
After both layers of petals were in place with the hot glue I used the glue gun to adhere buttons for the center, using the same mother of pearl buttons I used in the JOY pillow above.
Again, this pillow is doing just fine in my living room where we spend most of our days as long as I keep it away from the prying fingers of my youngest!
I hope y'all enjoyed this tutorial!
Confessions of a Plate Addict says
Love these ideas! Not only are they pretty, but they look easy to do! And...your fur baby on the back of the couch looks like my Baby Kitty! Thanks so much for sharing your pretty pillows with us!...hugs...Debbie
Melissa Riker says
Thanks so much Debbie! That kitty is my Skipper and he's 14 years old...he's my little photo bomber!
Gwen says
Those are gorgeous, Melissa! At first, I thought they were sequins b/c the buttons are so shiny!
Melissa Riker says
Thanks Gwen...I love these buttons, they're a bit of an obsession for me!
Anita from Cedar Hill Farmhouse says
It's really a beautiful pillow, thanks for joining us on the tour today.
Melissa Riker says
Thanks so much for the opportunity to join in Anita!!
Atta Girl Amy says
You know how much I like this. So glad to see the tutorial. Pinning and sharing.
Melissa Riker says
Thanks Amy!! I hope you had a great weekend!
Doreen says
Love both pillows - well done!
Melissa Riker says
Thanks so much Doreen!
mary@athomeonthebay says
Sweet pillows. I love how they turned out.
Melissa Riker says
Thanks so much Mary!
laura@Top This Top That says
I fell in love with the Joy pillow on your home tour. Thanks for sharing ,,,,sorry about the yanking buttons but really what did you expect ?? Remember, I have boys to so I know.! 🙂
Melissa Riker says
Thanks Laura! Yes, I should have guess that little one would destroy my pillows-this is why I have to DIY things so inexpensively-my boys ruin most of my things!!
Maryann @ Domestically Speaking says
Melissa those pillows are so stinkin' cute! Love the JOY button one. So thrilled to be part of the Scoop on Handmade Christmas with you!
Melissa Riker says
Thanks so much Maryann! I'm loving this tour and so happy to be on it with you too!
Christy @ Our Southern Home says
Melissa, these pillows are beautiful and so easy! Thanks for the wonderful tutorials and online sources. Looking forward to making my own! Merry Christmas~Christy
Melissa Riker says
Thanks so much Christy! Merry Christmas to you too!
Ann says
These are so cute Melissa! I love, love, love buttons of any kind and combining them with a pillow is just brilliant. Happy Holidays!
Melissa Riker says
Thanks so much, Merry Christmas to you too Ann!
Michelle @ Hey Love Designs says
This is so pretty! I actually thought the buttons were sequins at first.
Dria says
Wow Melissa!!! These are stunning! You did an amazing job! I would love to have these 🙂
Rebecca @ My Girlish Whims says
These are so cute! And easy looking too!
Anne says
Great tutorial,beautiful pillow!
xx
Anne
Melissa Riker says
Thank you Anne!!
Michele R says
Melissa,
Your pillows are perfect! I would love to make some for our home and I don't think I'd put them away after Christmas!
button says
Very nice I fell in love with the Joy pillow on your home tour.
Melissa Riker says
Thanks so much!